52
03-914875-00:1
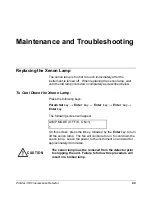
Lamp Replacement
After the xenon lamp is cooled down, turn off the Power switch.
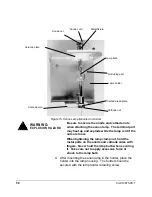
Then, remove the lamp holder (with the xenon lamp mounted) by
reversing steps (1) to (6) beginning on page 53.
Remove the xenon lamp by reversing steps (3) and (4) beginning
on page 53.
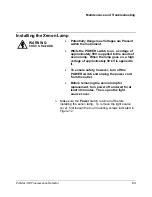
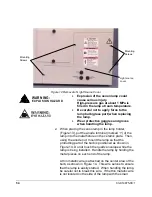
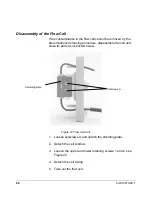
To place a new xenon lamp in the system, follow steps (1) to (6)
beginning on page 53.
NOTE:
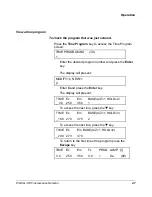
After the lamp has been replaced, reset the Logbook display
(which indicates the date that the lamp was replaced, the
number of lamp starts and the period of time that the lamp has
been on). When the lamp installation date is changed, the
cumulative time and the number of starts are automatically re-
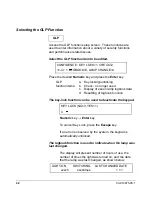
set to zero. For details on setting the logbook, refer to Selecting
GLP function, on page 42.
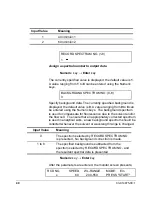
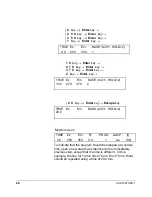
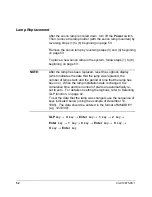
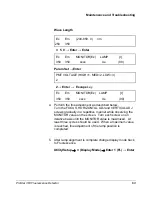
To set the data that the lamp was changed, use the sequence of
keys indicated below (using the example of December 10,
1999). The data should be entered in the format of MM/DD/YY
(e.g. 12/10/99).
GLP key
→
4 key
→
Enter key
→
1 key
→
2 key
→
Enter key
→
1 key
→
0 key
→
Enter key
→
9 key
→
9 key
→
Enter key
Summary of Contents for ProStar 363
Page 2: ......
Page 6: ...iv 03 914875 00 1...
Page 20: ...14 03 914875 00 1...
Page 82: ...76 03 914875 00 1...


