background image


ProStar 430 Autosampler Control Manual


- 11 - 

03-914947-33:2


Building a Method 

Creating a New Method 

The method contains parameters for instrument control, data 
acquisition, chromatogram processing, and editing of final 
results. To initially set up a method, it is not necessary to define 
all of the sub-method sections, however, the instrument control 
section must be filled in prior to starting an acquisition. 

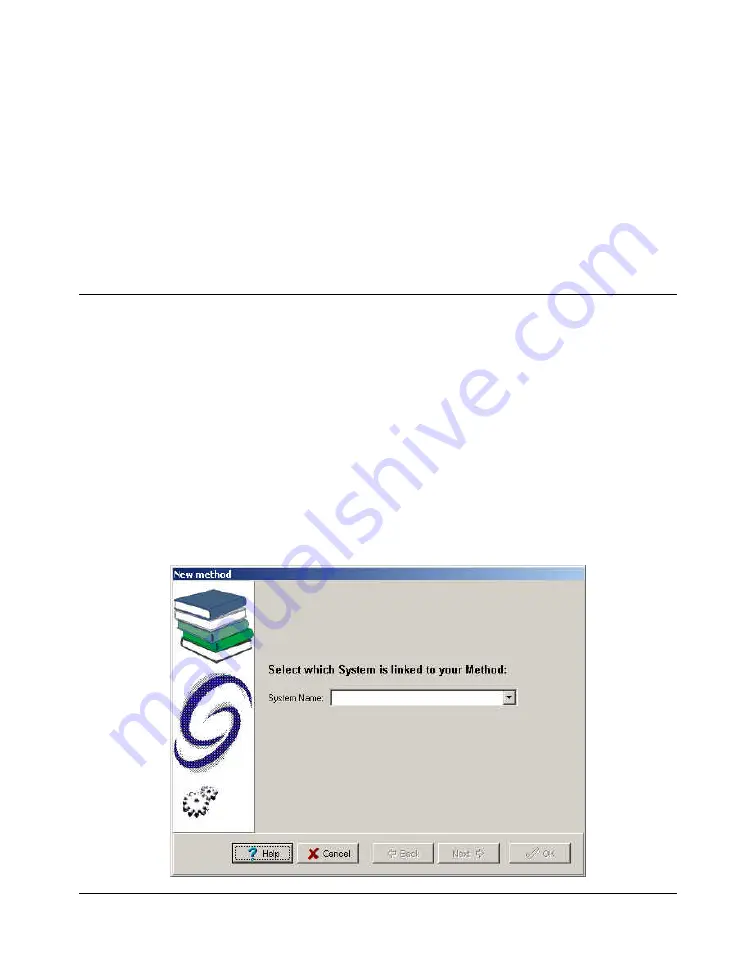
1.  To create a new method, select the 

FILE / NEW METHOD


option from the Galaxie Chromatography Data System main 
menu. 

A wizard guide will appear and provide assistance during 
the first steps of method creation: 


Summary of Contents for ProStar 430

Page 1: ...Varian Inc 2700 Mitchell Drive Walnut Creek CA 94598 1675 USA Varian Inc 2005 03 914947 33 Rev 2 ProStar 430 AutoSampler Control Galaxie Driver Manual...

Page 2: ...reating a New Method 11 Varian ProStar 430 Autosampler Control Method 13 Injection Control 15 Timed Events Control 19 Automix Control 21 User Program Control 24 Starting and Viewing an Acquisition 28...

Page 3: ...during an analysis The ProStar 430 is an autosampler that offers a wide variety of possibilities for HPLC It incorporates among other things the following features suitable for use with various types...

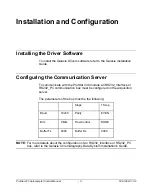
Page 4: ...To communicate with the ProStar 430 module an RS232_Interface or RS232_PC communication bus must be configured on the acquisition server The parameters of the bus must be the following Stops 1 Stop B...

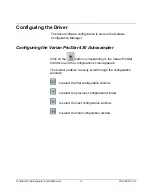
Page 5: ...Varian ProStar 430 Autosampler Click on the button corresponding to the Varian ProStar 430 driver and the configuration screen appears The toolbar enables to easily scroll through the configuration w...

Page 6: ...Name field select the name of the bus previously configured with the Communication Server Configuration program In the Autosampler Device Identifier field enter the device identifier of the ProStar 4...

Page 7: ...ler Check Plate feeder if installed in the autosampler Check Solvent selector valve if a 6 way integrated solvent selection valve is installed in the autosampler Check Integrated stream switching if a...

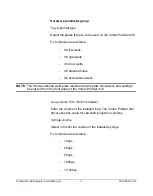
Page 8: ...96 user defined wells NOTE The 96 user defined wells plate requires that the plate dimensions and settings be entered from the front panel of the Varian ProStar 430 Loop volume 5 to 1000 microliters...

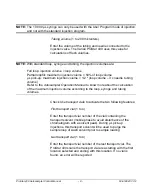
Page 9: ...tubing volume Refer to the Autosampler Operation Manual to know more about the calculation of the maximum injection volume according to the loop syringe and tubing volumes Check Use transport vials t...

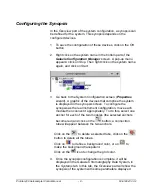
Page 10: ...that comprise the system is displayed in the synopsis screen To configure the synopsis as the real instrument configuration move each module then connect it appropriately To do this select one anchor...

Page 11: ...Galaxie Configuration Manager Screen Galaxie Chromatography Data System Screen NOTE Once the system has been created and correctly configured it must be associated with one or more projects in order...

Page 12: ...of final results To initially set up a method it is not necessary to define all of the sub method sections however the instrument control section must be filled in prior to starting an acquisition 1...

Page 13: ...New Method Name in the first field In the Description field enter information concerning the method optional 5 Once these two fields have been completed click on the OK button The new method is create...

Page 14: ...ils about the programming of each method section turn to the Galaxie Chromatography Data System User s Guide Varian ProStar 430 Autosampler Control Method Once the new method is created select the con...

Page 15: ...Timed Events and Automix or User program The User program sub section appears when this option is selected in the Injection sub section Injection mode parameter Click on the required sub section to d...

Page 16: ...er group Select one of the five available choices None Partial loopfill Full loop l pick up or User Program If User program is checked the Automix control sub section is replaced by the User program s...

Page 17: ...r group Select the Wash mode in the scrolling list Three choices are available None After injection single run or After sequence of injections If After injection is selected enter the Wash volume in t...

Page 18: ...oStar 430 The accuracy and reproducibility of the ProStar 430 can decrease when no headspace pressure is used However headspace pressure will only be useful if sample wells are airtight If Skip missin...

Page 19: ...the Scale Factor multiplied by the Syringe speed The speed of the syringe during the wash or the rinsing procedure of the buffer is not affected by this setting The Needle height is the distance betw...

Page 20: ...47 33 2 Timed Events Control Use timed events parameter group Check the Use timed events box to activate the program table Use the following buttons to edit the table to add a line to the table to del...

Page 21: ...V list the solvent stream to be used at a specified time Program the activation of the four available auxiliary relays Aux 1 4 Program the hexadecimal state value of the 4 bits binary output from the...

Page 22: ...sts the Transport vial number that contains each Reagent fluids A D Five choices are available None Transport 1 Transport 2 Transport 3 and Transport 4 Enter the number of the Destination well to be u...

Page 23: ...he first injection from the vial When unchecked the mix program will be performed before each injection Use the following buttons to edit the table to add a line to the table to delete a line in the t...

Page 24: ...of syringe Wait to program a pause from 0 to 599 99 minutes During the pause the needle will move to home position if the previous step is an Aspirate from or a Dispense to action To keep the needle i...

Page 25: ...required for a sample handling sequence in separate steps To access to this feature the User Program injection mode must be checked in the Injection sub section NOTE When this mode of injection is sel...

Page 26: ...stalled it enables to select a Destination plate other than the Sample plate In this case the available choices are Sample 1 2 3 4 5 6 or 7 Select from the list if the injection must start at the end...

Page 27: ...n To keep the needle in the same position an Aspirate from or a Dispense to step of 0 L must be programmed at the desired position Repeat the X entered last Step s The Count parameter defines how many...

Page 28: ...Auxiliary 1 4 On activates the four auxiliaries The auxiliaries will stay active until they are switched Off in a next programmed step Set Output 1 or 2 On activates the two outputs similar to the au...

Page 29: ...trument control method has been correctly programmed an analysis can be started The next section briefly describes how to start an acquisition Quick Start Single Acquisition 1 Press the button In the...

Page 30: ...romatography Data System the Injection Volume the Vial position and the Rack number if required must be entered Other parameters associated with each acquisition channel can be entered in the Channel...

Page 31: ...samples and the sequence name 2 The sequence is displayed Complete the sequence information columns refer to the Galaxie Chromatography Data System User s Guide The Method Name the Run Name the Run I...

Page 32: ...lick on the button corresponding to the ProStar 430 driver and the autosampler status screen will appear It contains up to five sub sections depending of the installed options Status Remote control Pl...

Page 33: ...he led is green when there is communication The ROM version field gives the ROM version of the autosampler During acquisition the injected well and volume are also displayed Auxiliaries parameter grou...

Page 34: ...dow to know more about the listed errors Then press to clear the error Remote control Window Keyboard parameter group Click on the button to lock the keyboard of the autosampler The unlock button is t...

Page 35: ...inge to end position if the syringe needle is to be replaced Click on the button to move the syringe to standard operating position again Click on the button to start a standard wash procedure All tub...

Page 36: ...cooling and the current temperature are shown The temperature set point can be changed by entering the new temperature set point and then by clicking on the button to send the new value to the autosa...

Page 37: ...meter group Click on the button to reset the lifts Click on the button to move the left lift up to the top to more easily take plates out of the lift Click on the button to move the left lift to stand...

Page 38: ...vial green for already used vial red for missing vial and uncolored for unused vials the current vial number is displayed The state On Off Idle Running of the sampler and the injected volume from the...

Page 39: ...switch ERROR 22 The syringe did not reach home position in time ERROR 23 The syringe spindle did not make the correct number of rotations ERROR 24 The spindle does not rotate ERROR 25 The syringe valv...

Page 40: ...issing vial Only available when Skip missing vial is unchecked in the method and during the execution of the Mix of a sample on 48 vial plate ERROR 62 Missing transport vial ERROR 64 Missing vial for...

Page 41: ...leave home position during run ERROR 92 Plate holder missing ERROR 93 Dirt on the plate holder Plate feeder ERROR 80 Cannot rotate the grab head while needle is down ERROR 81 Grab head did not reach h...

Page 42: ...iliters in a simple and reproducible manner Therefore three different modes of injection can be selected Full loop The sample loop is completely quantitatively filled with sample resulting in the maxi...

Page 43: ...sample loop To prevent contamination of the syringe the ProStar 430 is equipped with buffer tubing between the syringe and the injection valve The wash solvent is used to remove the sample from the b...

Page 44: ...schematically shown in the following figures 1 Initially the injection valve is in the Inject position The sample needle with air needle has entered the vial The head space pressure applied through t...

Page 45: ...from the sample vial to fill the sample line with sample and remove wash solvent Full loop injection flushing sample lines and needle 3 The injection valve is switched into the Load position placing...

Page 46: ...olume of the loop 3x loop volumes for loops 100 l 2x loop volumes for loops from 100 l to 500 l 1 x loop volumes for loops 500 l Full loop injection Filling the sample loop 5 The injection valve switc...

Page 47: ...ogrammable and is always 50 of the programmed flush volume If the total amount of sample withdrawn with the next injection from the vial will exceed the total volume of the buffer tubing the buffer tu...

Page 48: ...is schematically shown in the following figures 1 Initially the injection valve is in the Inject position The sample needle with air needle has entered the vial The head space pressure applied throug...

Page 49: ...om the sample vial to fill the sample line with sample and remove wash solvent Partial loop injection flushing sample lines and needle 3 The injection valve is switched into the Load position placing...

Page 50: ...ow aspirated into the sample loop Partial loop injection filling the sample loop 5 The injection valve switches into the Inject position The sample loop is now part of the HPLC mobile phase flow path...

Page 51: ...e withdrawal of sample for the next injection will exceed the total volume of the sample buffer tubing the buffer tubing is rinsed before the next injection The next injection will start with the prog...

Page 52: ...hematically shown in the following figures 1 Initially the injection valve is in the Inject position The sample needle has entered the vial of mobile phase This to avoid disturbance of the chromatogra...

Page 53: ...tes mobile phase from the mobile phase vial to fill the sample line with mobile phase and remove wash solvents L Pick up injection filling sample lines with mobile phase 3 The needle moves from the mo...

Page 54: ...tion volume is aspirated from the sample vial L Pick up injection filling the sample loop 5 The sample needle moves back to the mobile phase vial The sample is quantitatively transported into the loop...

Page 55: ...the HPLC mobile phase flow path sample is transported to the column The analysis starts L Pick up injection injecting sample For the next sequence the first withdrawal of mobile phase is omitted unles...

Page 56: ...le phase at the front of every sample plug Situation after filling the loop in case of L pick up injections with A or without air segment B NOTE In case of L pick up injections there will be no air pr...

Page 57: ...L min 3 normal 250 L min 625 L min 1250 L min 2495 L min 2 5 mL min 4 high 375 L min 940 L min 1880 L min 3765 L min 3 8 mL min 5 770 L min 1920 L min 3840 L min 7680 L min 7 7 mL min 6 1070 L min 267...

Page 58: ...the buffer tubing will increase To prevent damage of the buffer tubing the flow should not exceed the value of 6 mL min for water Maximum speed 9 for 100 L and 250 L syringes speed 6 for a 500 L syrin...

Reviews: