

VS Series Leak Detector Wireless Remote
DRAFT 11/2/06
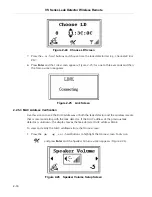
2-17
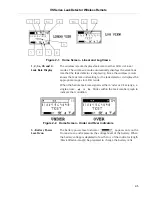
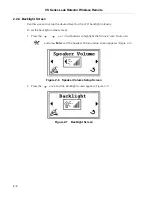
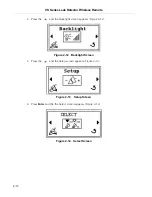
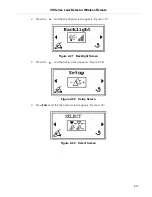
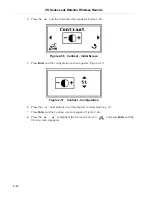
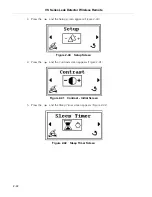
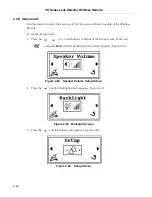
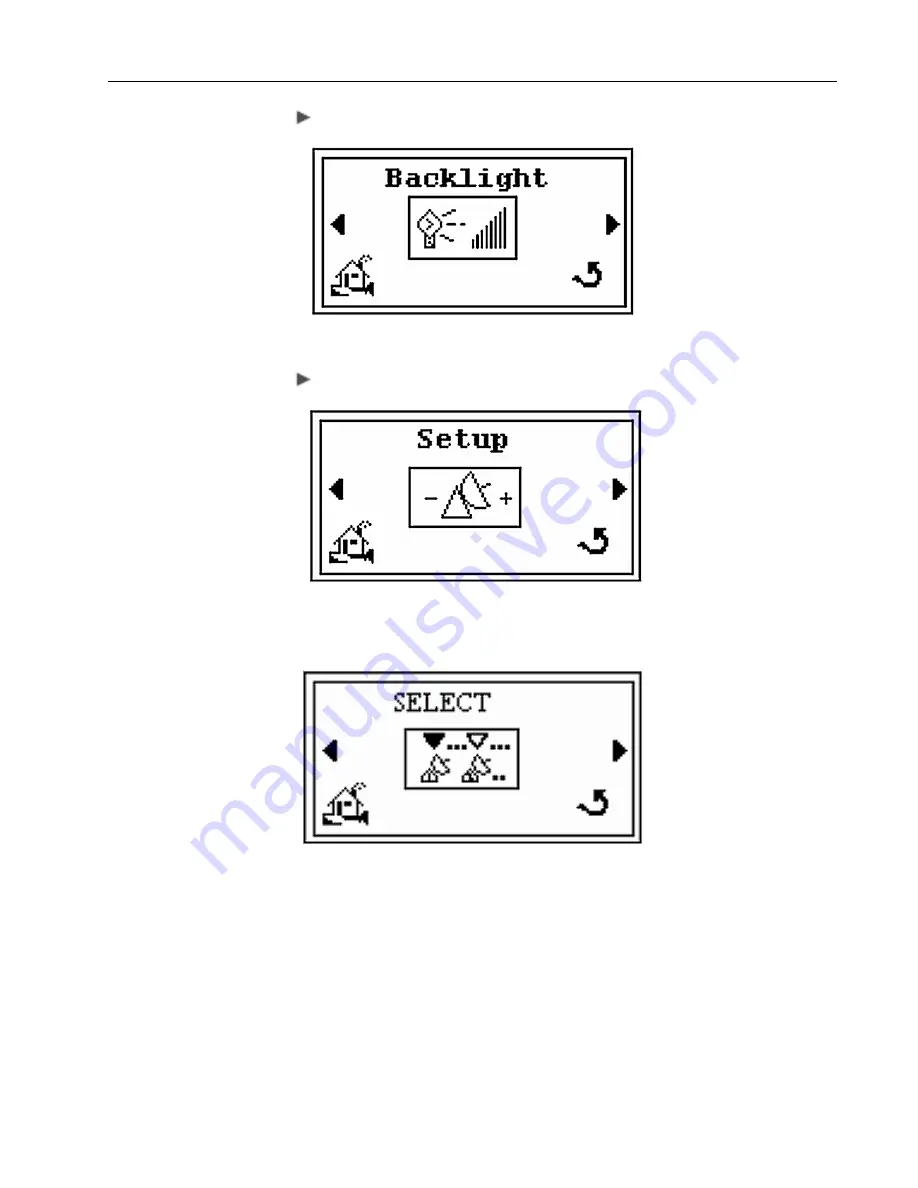
2. Press the
and the
Backlight
screen appears (Figure 2-27).
Figure 2-27 Backlight Screen
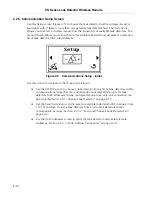
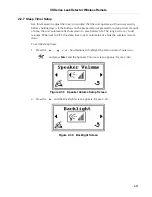
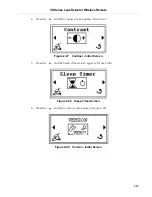
3. Press the
and the
Setup
screen appears (Figure 2-28).
Figure 2-28 Setup Screen
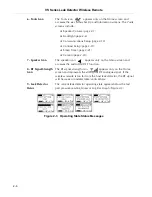
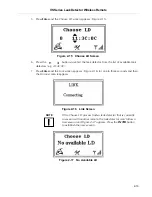
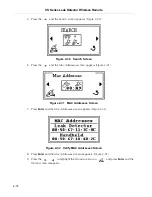
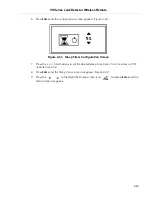
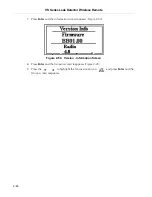
4. Press
Enter
and the the
Select
screen appears (Figure 2-29).
Figure 2-29 Select Screen


