20
• Do not bend, crush, pull or drive over the power
cable, protect from sharp edges, oil and heat.
• Do not lift the device using the cable or use the
cable for purposes other than intended.
• Check the plug and cable before each use.
• If the power cable is damaged immediately dis-
connect the plug. Never use the device if the
power cable is damaged.
• If the device is not in use make sure the plug is
pulled out.
• Make sure that the device is switched off before
plugging in the mains cable.
• Make sure that the device is switched off before
unplugging it.
• Disconnect the power supply before transport-
ing the device.
Maintenance
• Before conducting any maintenance on the
device, disconnect the mains plug.
• Only those maintenance and fault elimination
tasks described here may be carried out. Any
other tasks must be completed by a specialist.
• Only use original replacement parts. Only these
replacement parts are designed and suitable for
the device. Other replacement parts will not only
lead to an invalidation of the warranty, they may
also endanger you and your environment.
Device-specific safety instructions
• Extension cables must not be used.
• Disconnect the mains plug before all work on the
appliance.
• Do not install and switch on the appliance if there
are people or animals in the medium being
pumped (e. g. a swimming pool), or they are in
contact with it.
• Children and young people under the age of 16
years must not use this appliance, and must be
kept away from it when it is in operation.
• Do not leave the unit unattended. If leaving it for
any period of time, unplug.
• Repairs must be carried out only by a qualified
electrician. If repairs are carried out incorrectly,
there is a danger of liquid penetrating into the
electrical components of the appliance.
• Symbols affixed to your tools may not be
removed or covered. Information on the device
that is no longer legible must be replaced imme-
diately.
Your appliance at a glance
1.
Carrying handle
2.
Float switch height adjustment
3.
Float switch
4.
Elbow
5.
Pump casing
6.
Hose adapter for pressure connection
7.
Mains cable and plug
What is included
• Submersible pump
• Instructions for use
Operation
Installation and commissioning
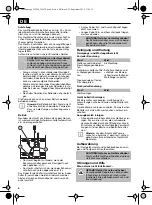
Attach a sufficiently long and strong rope to the han-
dle before first use. The pump is submerged into the
liquid on this holding rope and can also be carried
with it as well as with the handle.
Connect pressure pipe
Use a suitable water hose with a diameter of DN 25
to DN 40 for only occasional use.
The use of rigid pipes with a non-return valve is rec-
ommended for use at a fixed location. This prevents
return flow of the liquid when switching off.
– Screw pressure line onto the pressure connec-
tion.
– When using a hose, screw the hose adapter onto
the pressure connection.
– Push the hose firmly onto the hose adapter and
secure with a hose clamp.
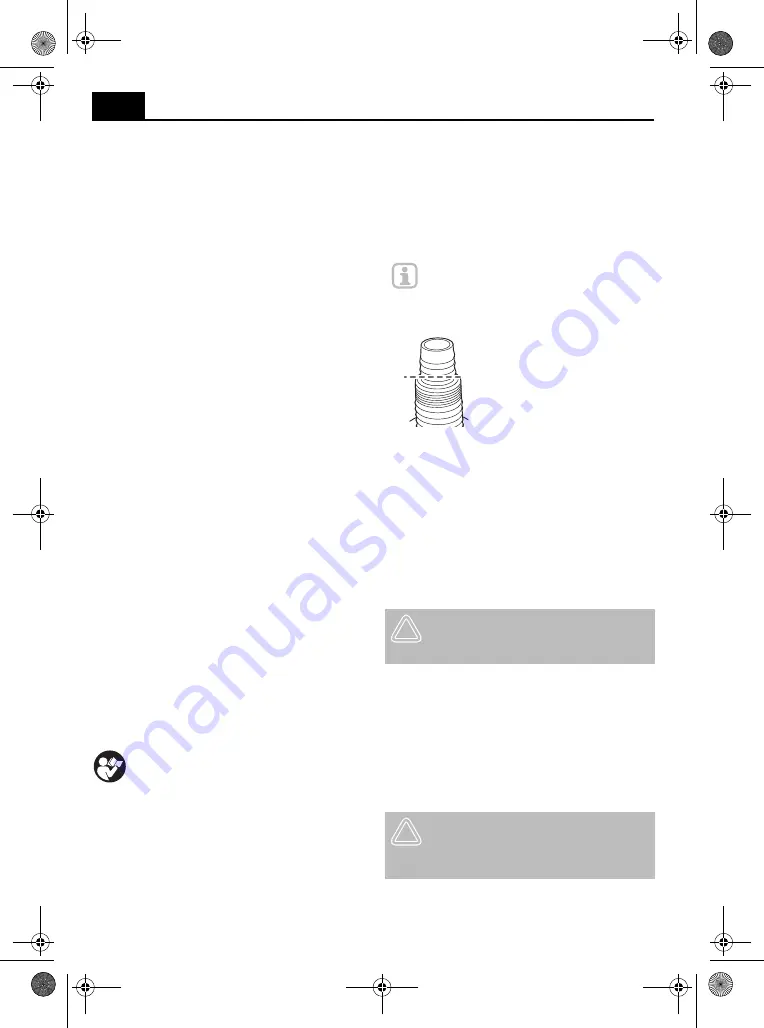
The hose adapter can also be shortened as shown.
In this case, connection of a hose with union nut
(DN 32) is possible.
Installation
The appliance needs an area of at least 50 × 50 cm
(the float switch must be able to move freely so that
it functions properly).
The appliance can be submerged under water up to
the submerged operating depth mentioned in the
technical data.
Install the appliance so that the suction openings
cannot be blocked by foreign bodies (place the
appliance on a firm, even base if necessary).
Ensure that the appliance is stable.
Read and observe the operating instruc-
tions before commissioning.
Note:
In the case of continuous use of the
pump with the rope, the condition of the
rope must be checked regularly as it can
decay and break over time.
NOTICE! Risk of damage to the appli-
ance!
Only tighten the hose adapter by
hand during mounting! Overtightening the
adapter damages the thread.
NOTICE! Risk of damage to the appli-
ance!
Do not lift the pump with the cable or
pressure hose as these are not designed for
the tensile stress from the weight of the
pump.
GB
Tauchpumpe_322904_396570.book Seite 20 Mittwoch, 23. September 2015 11:45 11
Summary of Contents for V-TP 400
Page 3: ...3 1 1 6 4 7 2 5 3 Tauchpumpe_322904_396570 book Seite 3 Mittwoch 23 September 2015 11 45 11...
Page 57: ...57 58 57 58 RU Tauchpumpe_322904_396570 book Seite 57 Mittwoch 23 September 2015 11 45 11...
Page 59: ...59 RU Tauchpumpe_322904_396570 book Seite 59 Mittwoch 23 September 2015 11 45 11...
Page 65: ...65 RU 1 2 24 3 Tauchpumpe_322904_396570 book Seite 65 Mittwoch 23 September 2015 11 45 11...
Page 66: ...66 4 20 13109 97 Tauchpumpe_322904_396570 book Seite 66 Mittwoch 23 September 2015 11 45 11...
Page 69: ...69 Tauchpumpe_322904_396570 book Seite 69 Mittwoch 23 September 2015 11 45 11...

