background image


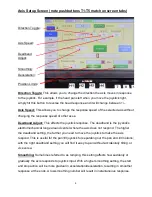
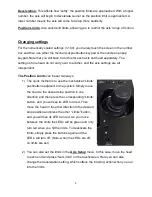
Deceleration:


This affects how “softly” the position limits are approached. With a higher 

number, the axis will begin to decelerate sooner as the position limit is approached. A 

lower number means the axis will come to a stop more suddenly. 

Position Limits:

 Also called soft limits, allowing 

you to restrict the axis’ range of motion. 


Changing settings 

For the numerically scaled settings (1-100), you merely touch the screen in the number 

box and then use either the mechanical pushbutton keypad or the onscreen popup 

keypad. Note that you will have to do this for each axis and head separately. The 

settings of one head do not carry over to another, and the axis settings are all 

independent. 

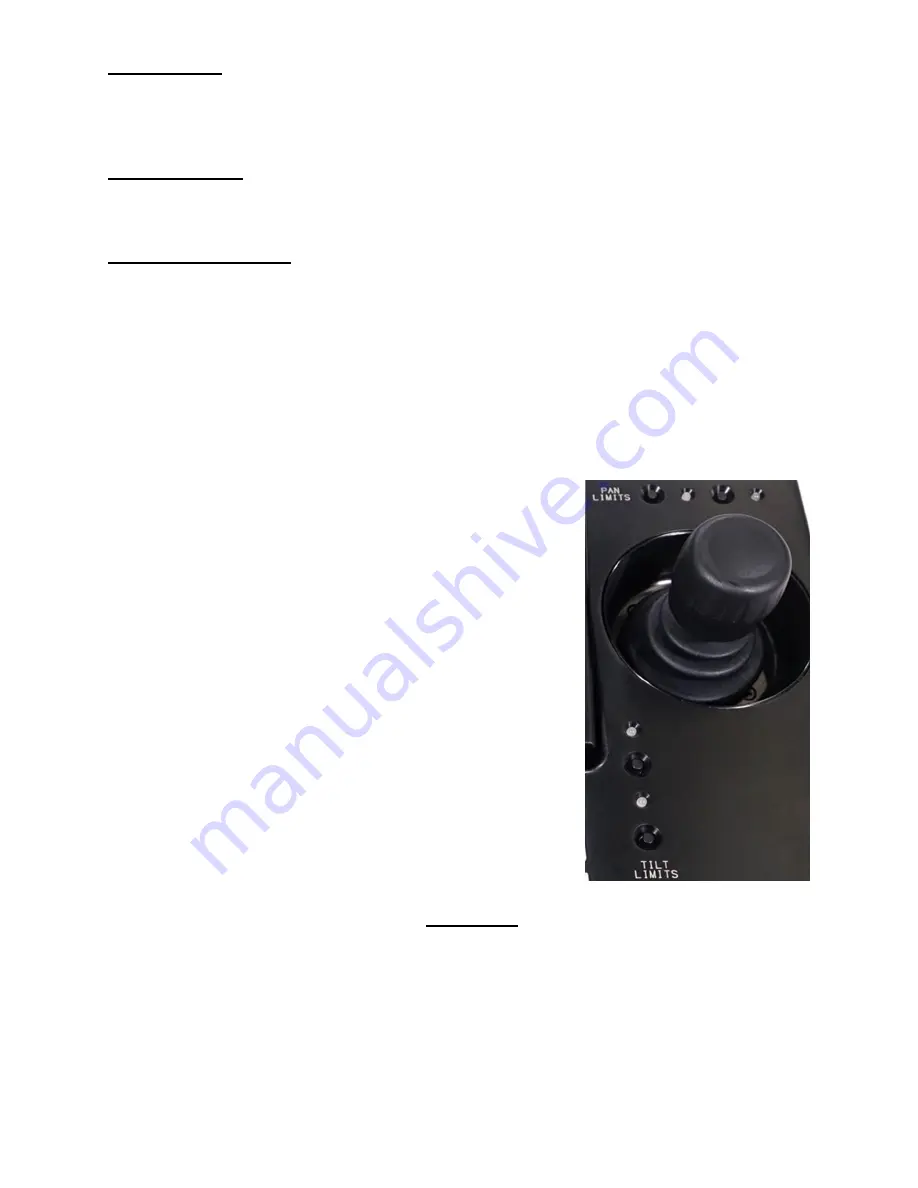
The Position Limits

 can be set two ways.  

1)  The quick 

method is to use the mechanical “Limits” 

pushbuttons adjacent to the joystick. Simply move 

the head to the desired stop position in one 

direction and then press the corresponding “Limits” 

button, and you will see its LED turn red. Then 

move the head in the other direction to the desired 

stop position and press the other “Limits” button, 

and you will see its LED turn red. As you move 

between the limits the LEDs will be green and only 

turn red when you hit the limits. To deactivate the 

limits, simply press the buttons again and the 

LED’s will turn off. (Note: when the LEDs are off, 

no limits are set) 


2)  You can also set the limits in the 

Axis Setup

 menu. In this case, move the head 

to each end 

and press “Set Limits” on the touchscreen. Here you can also 

change the deceleration setting

, which softens the ‘braking’ action when you run 

into the limits. 


Summary of Contents for River

Page 1: ...duction Setup warnings 1 When left unused for long periods switch power on and allow the River console warm up for 5 minutes before operating not a big problem but advisable 2 Do not plug all the head...

Page 2: ...alog inputs for external zoom focus grips or foot pedals The BNC connector allows camera sync for frame accurate motion control The black ports are for track control track not available yet The blue p...

Page 3: ...he axis is enabled while red checkbox means the axis is disabled On startup the connected devices will be enabled by default green checkbox Touch the onscreen button to enable disable Axis State The d...

Page 4: ...the joystick response The deadband is the joystick s electromechanical range around center where the axis does not respond The higher the deadband setting the farther you need to move the joystick to...

Page 5: ...e Position Limits can be set two ways 1 The quick method is to use the mechanical Limits pushbuttons adjacent to the joystick Simply move the head to the desired stop position in one direction and the...

Page 6: ...reversed when you invert the head from overslung to underslung PTZ Sensitivity ONLY use this if you are controlling a digital lens through the head Otherwise always leave it set to zero This setting p...

Page 7: ...til it stops zooming and then set the Low and High voltages equally far apart so the lens zooms the same max speed to wide and telephoto Zoom Mode should be set to Velocity For Focus adjust endpoint v...

Page 8: ...e Analog Inputs shouldn t be necessary but if a joystick seems to respond unevenly or is drifting you can use this feature Soft Pot Assignment is merely a status readout of an advanced feature nothing...

Reviews: