POWDP4060
EN
Copyright © 2019 VARO
P a g e
|
6
www.varo.com
7 ADDITIONAL SAFETY INSTRUCTIONS FOR BATTERIES AND
CHARGERS
Use only batteries and chargers applicable for this machine.
7.1
Batteries
▪
Never attempt to open for any reason.
▪
Do not store in locations where the temperature may exceed 40 °C.
▪
Charge only at ambient temperatures between 4 °C and 40 °C.
▪
When disposing of batteries, follow the instructions given in the section “Protecting the
environment”.
▪
Do not cause short circuits. If connection is made between the positive (+) and negative (-)
terminal directly or via accidental contact with metallic objects, the battery is short circuited
and an intense current will flow causing heat generation which may lead to casing rupture
or fire.
▪
Do not heat. If batteries are heated to above 100 °C, sealing and insulating separators
and other polymer components may be damaged resulting in electrolyte leakage and/or
internal short circuiting leading to heat generation causing rupture or file. Moreover do not
dispose of the batteries in fire, explosion and/or intense burning may result.
▪
Under extreme conditions, battery leakage may occur. When you notice liquid on the
battery, proceed as follows:
Carefully wipe the liquid off using a cloth. Avoid skin contact.
In case of skin or eye contact, follow the instructions below:
✓
Immediately rinse with water. Neutralize with a mild acid such as lemon juice or
vinegar.
✓
In case of eye contact, rinse abundantly with clean water for at least 10 minutes.
Consult a physician.
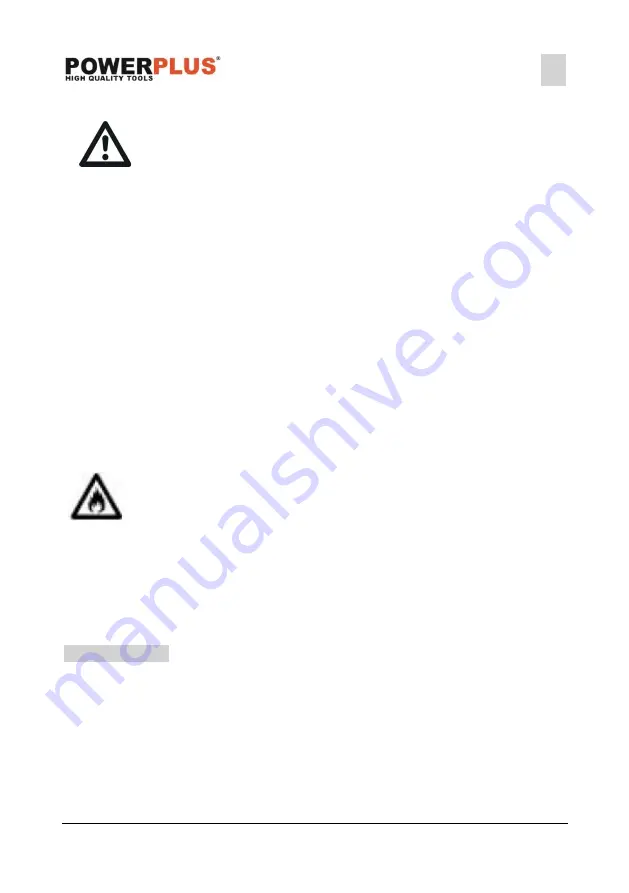
Fire hazard! Avoid short-circuiting the contacts of a detached battery. Do
not incinerate the battery.
7.2
Chargers
▪
Never attempt to charge non-rechargeable batteries.
▪
Have defective cords replaced immediately.
▪
Do not expose to water.
▪
Do not open the charger.
▪
Do not probe the charger.
▪
The charger is intended for indoor use only.
8 ASSEMBLY
8.1
Mounting sanding plate/ saw blade/ spatula (Fig. 1)
Take care with sharp tools such as spatulas, saw blades or cutting blades.
1
Loosen the quick release clamp (7) by pulling the quick-release lever (1) completely
open.
2
Spin the quick release lever anti-clock wise until the clamping plate is lose.
3
Put the quick-install saw blade, sanding plate or spatula toward the output spindle which
is situated between the cover clamp (9) and quick release clamp (7). Push the accessory
in and place it firmly onto the locating pins (8). Pay attention that the clamping plate is
placed well into the holder of the machine, otherwise you cannot spin the quick release
lever.


