background image

10.4” C1-D2 Compliant Panel Mount PC 


 486-0029-00-00 

10


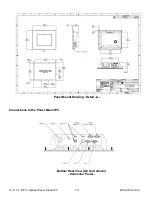
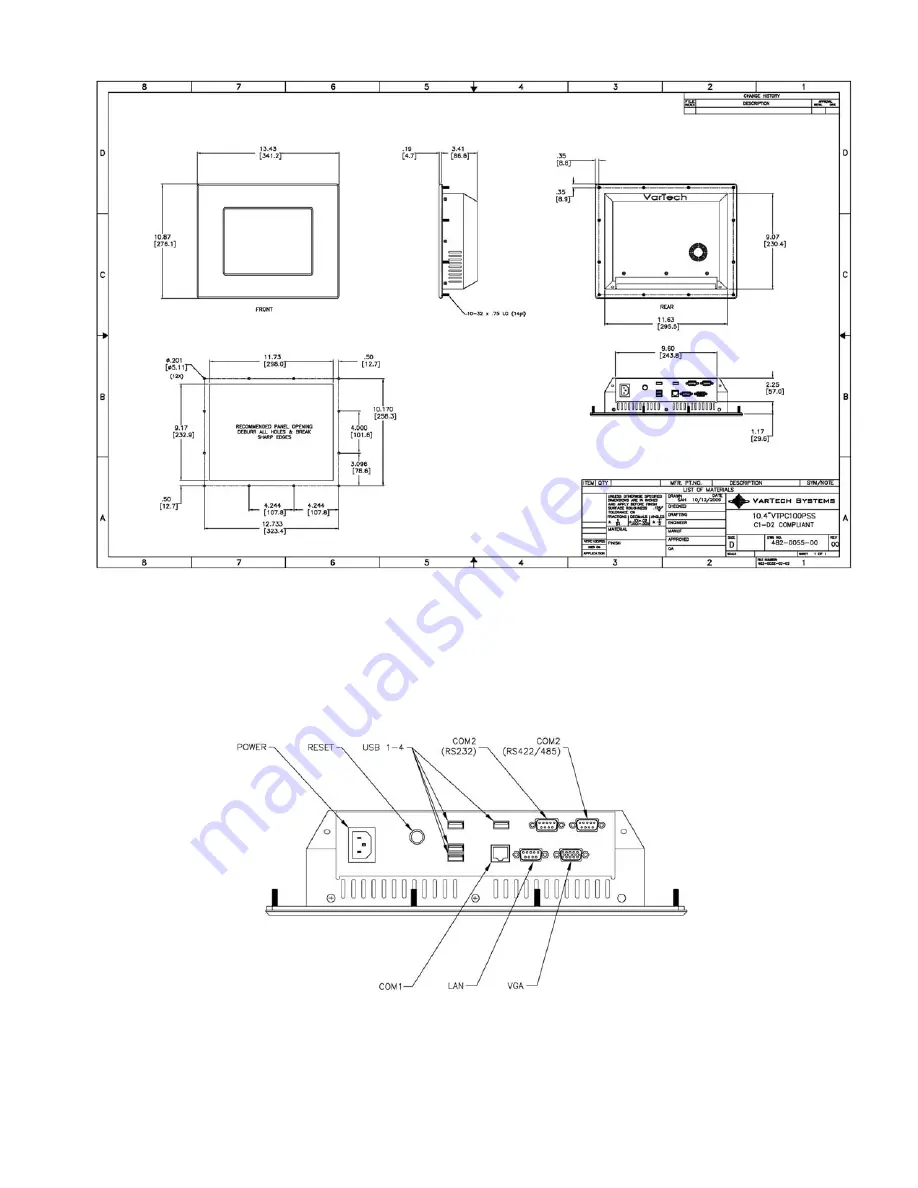
Panel Mount Drawing: Detail –A– 


Connections to the Panel Mount PC 


Bottom Rear View (AC Unit shown) 

- Connector Panel - 

Summary of Contents for VTPC100PSS

Page 1: ...s for Demanding Applications VARTECH S Y S T E M S I N C 10 4 C1 D2 Compliant Panel Mount PC Model VTPC100PSS User s Guide Read these instructions completely before attempting to operate your new Panel Mount PC ...

Page 2: ...10 4 C1 D2 Compliant Panel Mount PC 486 0029 00 00 2 Revision History Date Rev No Summary Page 10 12 09 00 First Issue ...

Page 3: ...etallic into the chassis openings This may create an electric shock hazard or hazard from rotating fan blades To avoid electric shock never touch the inside of the system There are no user adjustable components inside only a qualified technician should open the system s case Openings in the system enclosure are to allow for ventilation To prevent overheating these openings should not be blocked or...

Page 4: ...zardous locations Do not disconnect equipment unless power has been switched off and area is known to be non hazardous Do not connect or disconnect components unless power has been switched off All wiring must comply with N E C articles 501 4 b 502 4 b 503 4 b as appropriate Peripheral equipment must be suitable for the location in which it is used All hazardous location equipment must be mounted ...

Page 5: ...designed or rated for those specific environmental conditions that will be present and designed to prevent personal injury resulting from accesibility to live parts These units are shipped with a gasketed bezel to meet specified NEMA and IEC ratings if and only if mounted in a flat panel or enclosure with an equivalent rating Peripheral equipment must be suitable for the location in which it is us...

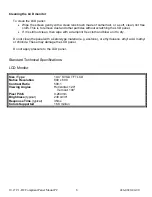
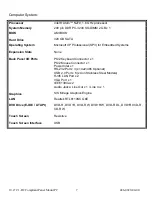
Page 6: ... wipe with a damp lint free cloth and blow on it to dry Do not clean the panel with a keton type material e g acetone or ethyl toluene ethyl acid methyl or chloride These may damage the LCD panel Do not apply pressure to the LCD panel Standard Technical Specifications LCD Monitor Size Type 10 4 SVGA TFT LCD Native Resolution 800 x 600 Contrast Ratio 500 1 Viewing Angles Horizontal 120 Vertical 100...

Page 7: ...tems Expansion Slots None Back Panel I O Ports PS 2 Keyboard Connector x 1 PS 2 Mouse Connector x 1 Power Inlet x 1 RS 232 Port x 3 x1 422 485 Optional USB 2 0 Port x 6 x4 on Stainless Steel Models RJ45 LAN Port x 2 VGA Port x 1 IEEE1394a x 2 Audio Jacks Line Out x 1 Line In x 1 Graphics SIS Mirage Graphics Engine LAN Realtek RTL8110SC GbE DVD Drive E IDE ATAPI DVD R DVD R DVD RW DVD RW DVD R DL D...

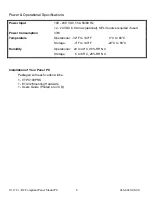
Page 8: ...optional SELV source required if used Power Consumption 37W Temperature Operational 32 F to 140 F 0 C to 60 C Storage 4 F to 149 F 20 C to 65 C Humidity Operational 20 to 40 C 90 RH NC Storage 5 to 65 C 28 RH NC Installation of Your Panel PC Packaged with each carton will be 1 VTPC100PSS 1 10 32 Mounting Hardware 1 Users Guide Printed or on CD ...

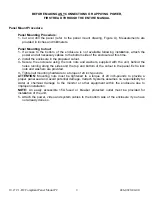
Page 9: ...nclosure using the lock nuts and washers supplied with the unit behind the holes running along the sides and the top and bottom of the cutout in the panel Extra lock nuts and washers are provided 4 Tighten all mounting hardware to a torque of 24 inch pounds ATTENTION Mounting nuts must be tightened to a torque of 24 inch pounds to provide a proper panel seal and avoid potential damage Vartech Syst...

Page 10: ...10 4 C1 D2 Compliant Panel Mount PC 486 0029 00 00 10 Panel Mount Drawing Detail A Connections to the Panel Mount PC Bottom Rear View AC Unit shown Connector Panel ...

Page 11: ... industrial type power supply plug to their power outlet Also the end user must either supply a switch to their power outlet suitable for Class I Division 2 use if adjacent to the power outlet or locate the said switch outside the hazardous area Serial Connections COM1 2 The Panel Mount PC is supplied with three serial connectors COM1 is configured for RS 232 two COM2 ports are provided one config...

Page 12: ...properly shut down and power turned off when the Panel Mount PC is not in use LCD Monitor Warm up Time All LCD monitors need time to become thermally stable the first time you turn them on Therefore to achieve more accurate adjustments for parameters allow the LCD monitor to warm be on for at least 20 minutes before making any screen adjustments Maintenance The Panel Mount PC is designed to provid...

Reviews: