34
©Vecow ECX-3000 User Manual
GETTING TO KNOW YOUR ECX-3000
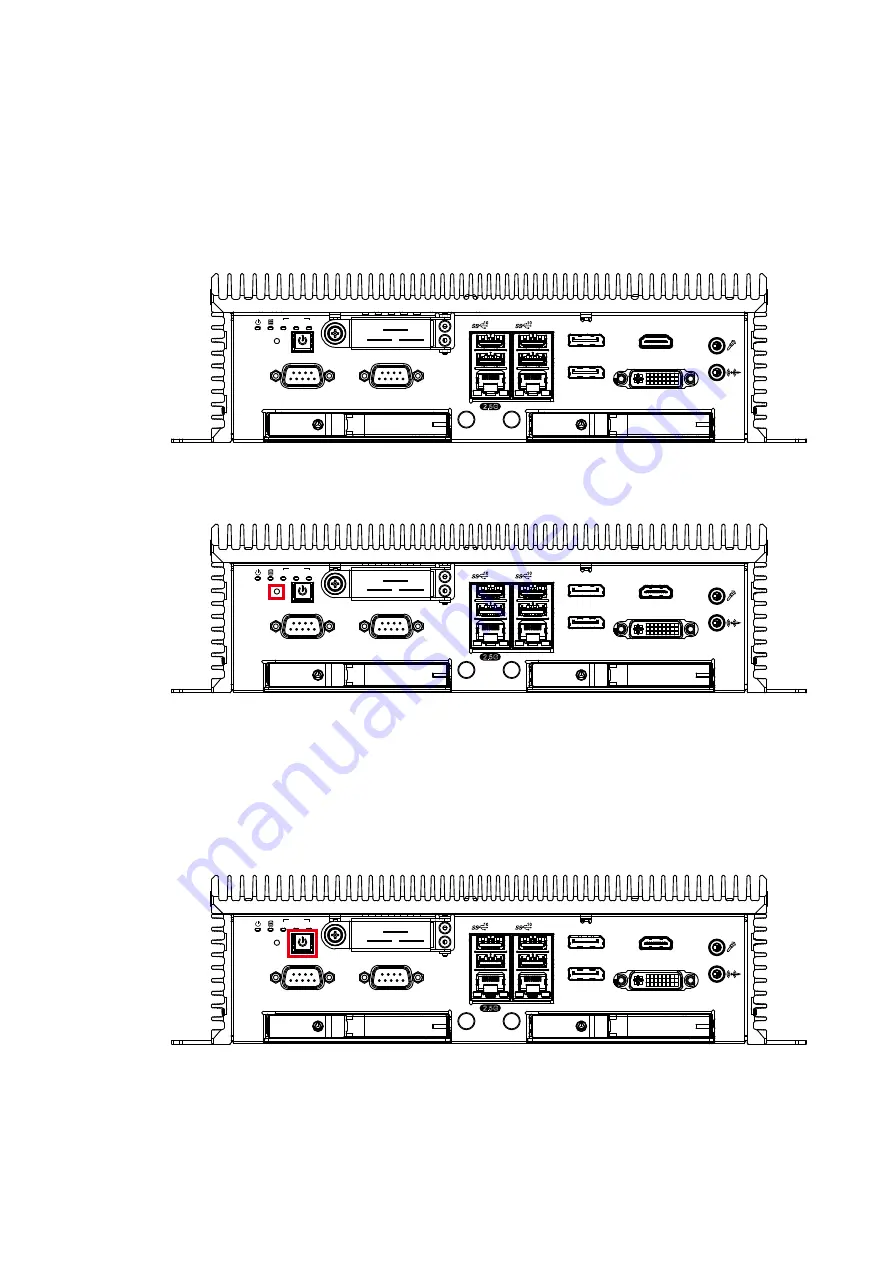
2.2 Front Panel I/O Functions
In Vecow ECX-3000 series family, all I/O connectors are located on front panel
and rear panel. Most of the general connections to computer device, such as
USB, LAN Jack, HDMI, DVI-I, Display Port and any additional storage, are
placed on the front panel.
DP
DP
HDMI
DVI-I
COM 3
COM 4
LAN 2
SIM 1
SIM 2
RTC
WLAN
1
2
3
RST
2.5G
LAN 1
2.2.1 Reset Tact Switch
2.2.2 Power Button
It is a hardware reset switch. Use this switch to reset the system without power
off the system. Press the Reset Switch for a few seconds, then reset will be
enabled.
The Power Button is a non-latched switch with dual color LED indication. It
indicates power status: S0, S3 and S5. More detail LED indications are listed as
follows:
DP
DP
HDMI
DVI-I
COM 3
COM 4
LAN 2
SIM 1
SIM 2
RTC
WLAN
1
2
3
RST
2.5G
LAN 1
DP
DP
HDMI
DVI-I
COM 3
COM 4
LAN 2
SIM 1
SIM 2
RTC
WLAN
1
2
3
RST
2.5G
LAN 1
Summary of Contents for ECX-3000
Page 86: ...78 Vecow ECX 3000 User Manual SYSTEM SETUP Step 2 Open bottom cover...
Page 89: ...81 Vecow ECX 3000 User Manual SYSTEM SETUP Step 2 Open bottom cover...
Page 94: ...86 Vecow ECX 3000 User Manual SYSTEM SETUP Step 2 Insert 2 5 SSD HDD into the tray...
Page 101: ...93 Vecow ECX 3000 User Manual SYSTEM SETUP Step 7 Install M 2 tray...
Page 103: ...95 Vecow ECX 3000 User Manual SYSTEM SETUP Step 2 Open bottom cover...


