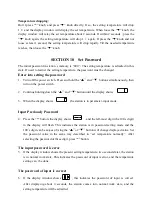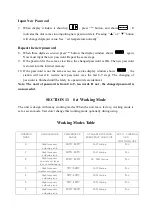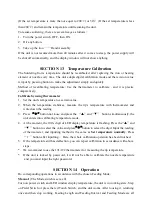
useless when the Feeding Mode is set as manual.
Auto:
Turn on Power Switch. The unit will work according to setting parameters when stepping on
pedal switch or pressing Touch Switch once. All functions are useful
SECTON 15 Tip care and use
1
.
Choose an appropriate temperature, too high temperature can weaken solder ing tip
function and accelerate oxidation and shorten its service life. Under the circumstance of
able to work normally, choose the temperature as low as possible. Lower temperature can
also solder adequately and protect sense elements. Suggest to set temperature to 350
℃。
2
.
. Make sure set the temperature of soldering iron to 220
℃
when use first time. Make the
soldering tip be tinned adequately. Best of all, dip it in tin for 5 minutes and then clean it
with cleaning sponge, set the temperature to 300
℃
again. Repeat above steps. Finally set
the temperature to work temperature. The purpose of this is to form a protecting film on
tinned layer of soldering tip, so it can prevent the oxidation at high temperature and
failure of heat transport.
3
.
If the tinned part of soldering tip has black oxide, it can be covered with new tin. Clean it
with humid sponge repeatedly until the oxide is completely removed, and then covered
with new tin. Please do this cleaning regularly.
4
.
Turn off the Power supply when not use. Clean the soldering tip with a cleaning sponge and then
covered with new tin. Repeat above steps when use it again.
5
.
Replace soldering tip if it is twisted or eroded badly.
SECTION 16 Check and replace Heating Element
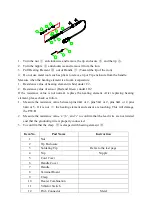
Disconnect the plug and measure the resistance value between the connecting plug pins as
follows:
If the values of ‘a’ and ‘b’ are outside the below value, replace the heating element (sensor)
and /or cord assembly. If the value of ‘c’ is over the below value, remove the oxidization film
by lightly rubbing with sand-paper or steel wool the points as shown.
a.
Between pins 4&5 (Heating Element)
Under 1
Ω
(Normal)
b.
Between pins 1 & 2 (Sensor)
Under 10
Ω
(Normal)
c.
Between pins 3 & Tip
Under 2
Ω
1
6
3
5
4
2

