background image


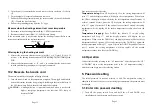
larger sponge above it wet at all times. 

3.


The  large  sponge  may  be  used  alone  without  small  sponge  and  water. 
Dampen the large cleaning sponge and place it on the iron holder base. 


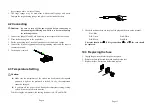
4.2 Connecting   

Caution:


Be  sure  to  turn  off  the  power  switch  before  connecting  or 
disconnecting the soldering iron. Failure to do so may damage 
the soldering station.


1.


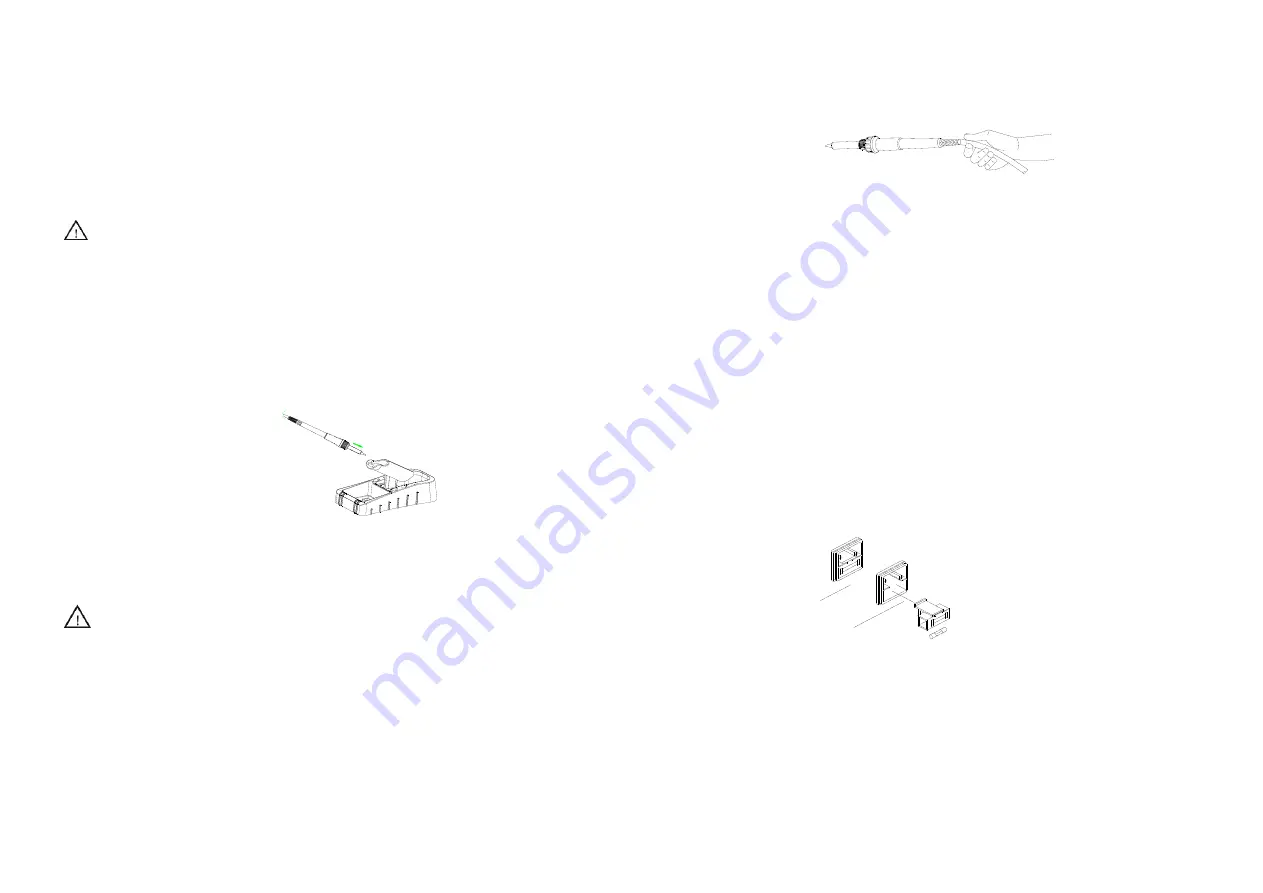
Connect the plug of Handle Cord Assembly to the receptacle in front of unit. 

2.


Place the Soldering Iron in the iron holder. 

3.


Put the power plug into 3-terminal grounded socket with rated voltage. 

4.


Connect the terminal of grounding cord to grounding socket and the other is 
connected to earth. 

5.


Turn on power switch. 


4.3 Temperature Setting 

Caution:


Make  sure  the  temperature  of  the  station  can  be  adjusted  (the  inputted 
password  is  right  or  the  password  is  initial).  Or  else,  the  temperature 
cannot be changed. 


If  you turn off the power switch during the temperature setting, setting 
value will not be stored in the memory. 

While setting the temperature, the heating element is off. UP and DOWN   


2.


Check the resistance between the pin of the plug and the wire on the terminal. 

Pin 1: Blue                                                     
Pin3: Green                                                    Pin4: White 
Pin5: Black                                                    Pin6: Red 

The value should be 0

Ω

. If it is greater than 0

Ω

or is 

, the cord should 

be replaced. 


10.3  Replacing the fuse 

1.


Unplug the power cord form the power receptacle. 

2.


Remove the fuse holder and then take out the broken fuse. 

3.


Replace the fuse. Put the fuse holder back in place. 


Page 4 

Page 13 

Summary of Contents for 966D

Page 1: ...INSTRUCTION MANUAL Thank you for purchasing the lead free soldering station It is designed for lead free soldering Please read this manual before operating the unit Store this manual in a safe easily...

Page 2: ...e mishandling may lead to burns or fire be sure to comply with the following precautions Don t misuse the unit it is used in accordance with Operation Manual Don t touch the metallic parts near the Ti...

Page 3: ...ment Many kinds of long service life and general tips can be matched and easy to use Digital type calibration and it is easy to operate The portable soldering iron uses comfortably Original appearance...

Page 4: ...by 191 or 192 thermometer Specifications and design subject will be changed without notice 4 Setting and Operation of the Soldering Station Caution Please check whether the power voltage is in accord...

Page 5: ...ected to earth 5 Turn on power switch 4 3 Temperature Setting Caution Make sure the temperature of the station can be adjusted the inputted password is right or the password is initial Or else the tem...

Page 6: ...p of heater will flash keys are used to select the value Temperature rising Press UP key directly If so the setting temperature will raise 1 and the display window will display the set temperature Whe...

Page 7: ...into normal work state and the setting temperature will be admitted 5 3 Input a new password 1 When display window is showing press key and shows It indicates the station comes into inputting new pas...

Page 8: ...revious password 3 After inputting the three digits press key and the display shows At the time it must repeat the above steps to input the new password again 4 If the password is the same as the next...

Page 9: ...covered with oxide which can greatly reduce the tip s heat conductivity 5 After using wipe the tip and coat the tip with fresh solder It helps to prevent tip from oxidation 8 2 Tip s maintenance 1 Ins...

Reviews: