80 Vectorworks 2010 Products
Vectorworks Spotlight 2010 Getting Started Guide
Assigning Textures
Textures can be assigned to objects in a variety of ways; by Class definition, by
selecting an object in the OIP, going to the Render Tab and assigning a texture
from the drop down menu (which access the default textures and textures in the
document), by Class definition, by selecting an object and then double clicking
on a texture in the Resource Browser and by Class Definition.
I cannot (clearly) stress enough the importance of developing the habit of using
Classes to define the graphic attributes within your documents. By extension,
this means planning your documents ahead of developing designs. Notice in
your class definitions, textures are assigned differently to Walls, Roofs and
other objects.
Textures and Walls
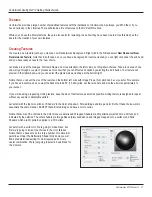
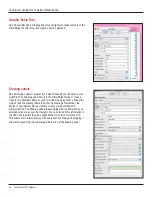
Now that you have some textures, let’s add them to some classes. Open the
Class Tab in the Organization Dialogue. You must have Use at Creation checked
and Use Textures at Creation Checked. You will see that you can have different
textures for different sides of walls and roof objects. All other modeled objects
are textured as Other.
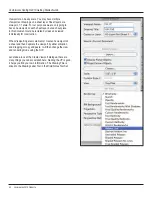
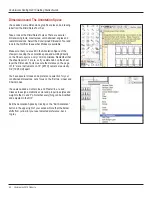
Textures in the OIP
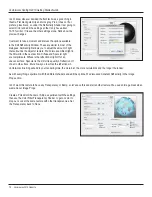
Once you have textured an object by class, select the object and look in the
Render Tab of the OIP. You now have many options, including over ruling the
class assignment.
Let’s take a look.
The OIP allows for many options with scale and placement of textures. You can
also select different texture options for different faces of objects, just as you can
texture different wall surfaces differently. With walls, via the class dialogue,
consider a set that spins around. You might want the interior to have one look
and the exterior to be a clapboard or brick. With objects, you might want a
platform to have a carpeted top and painted sides.
What else can we do with textures?


