9-22
Calibration and Maintenance
ADJUSTING THE COARSE ALIGNMENT
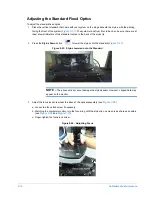
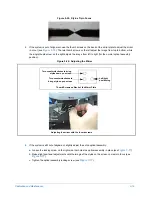
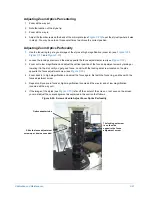
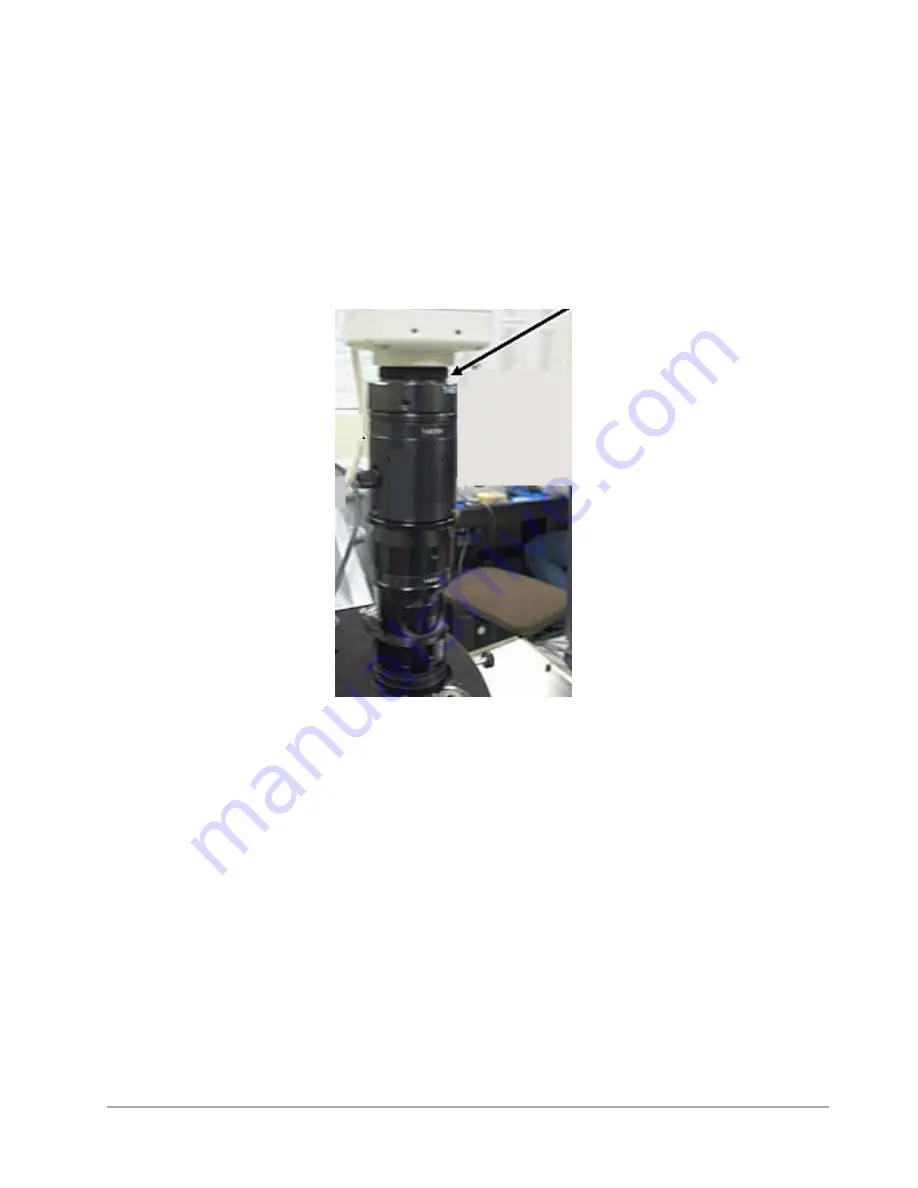
If the image of the stylus (see
) is far off the center of the screen, or not even on the
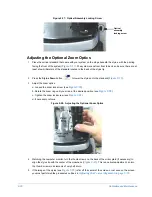
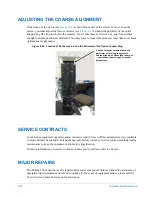
screen, you must adjust the three set screws (see
) around the perimeter of the optics
adapter ring (the ring just below the camera). Never take these set screws out—just loosen them
enough to enable positional adjustment. You may have to repeat this process several times to achieve
optimal coarse alignment.
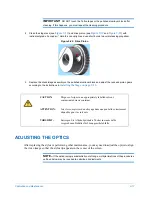
Figure 9-30: Location of Set Screws around the Perimeter of the Optics Adapter Ring
SERVICE CONTRACTS
To maximize equipment operation and avoid major repairs, Veeco offers customized service contracts
to meet customer needs and to extend the one-year factory warranty. Service contracts include routine
maintenance to keep the equipment up to factory specification.
For more information on service contracts, contact your local Veeco Service Center.
MAJOR REPAIRS
The Dektak 150 cannot be readily repaired after major component failures without the assistance of
specialized test equipment and software routines. In the event of equipment failure, please call the
Veeco Service Center nearest you for assistance.
Use the three set screws around the
perimeter of this ring to adjust the
coarse alignment. Never take them out
-- just loosen them enough to enable
adjustment.
Summary of Contents for Dektak 150
Page 1: ......
Page 7: ......
Page 17: ......
Page 81: ......
Page 105: ......
Page 149: ......
Page 191: ......
Page 251: ......
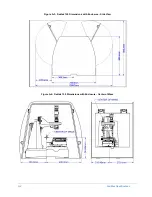
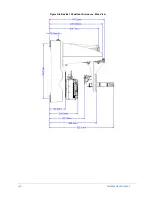
Page 257: ...A 6 Facilities Specifications Figure A 6 Dektak 150 without Enclosure Side View ...
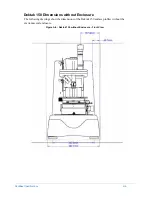
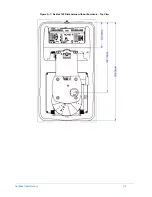
Page 258: ...Facilities Specifications A 7 Figure A 7 Dektak 150 Dimensions without Enclosure Top View ...
Page 259: ...A 8 Facilities Specifications Figure A 8 Dektak 150 without Enclosure Center of Mass ...
Page 273: ......
Page 283: ......
Page 321: ......
Page 331: ......
Page 333: ......
Page 336: ......
Page 337: ......
Page 349: ......

