3-22
Basic User Interface and Stage Positioning Techniques
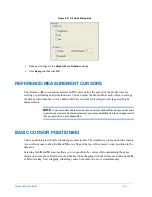
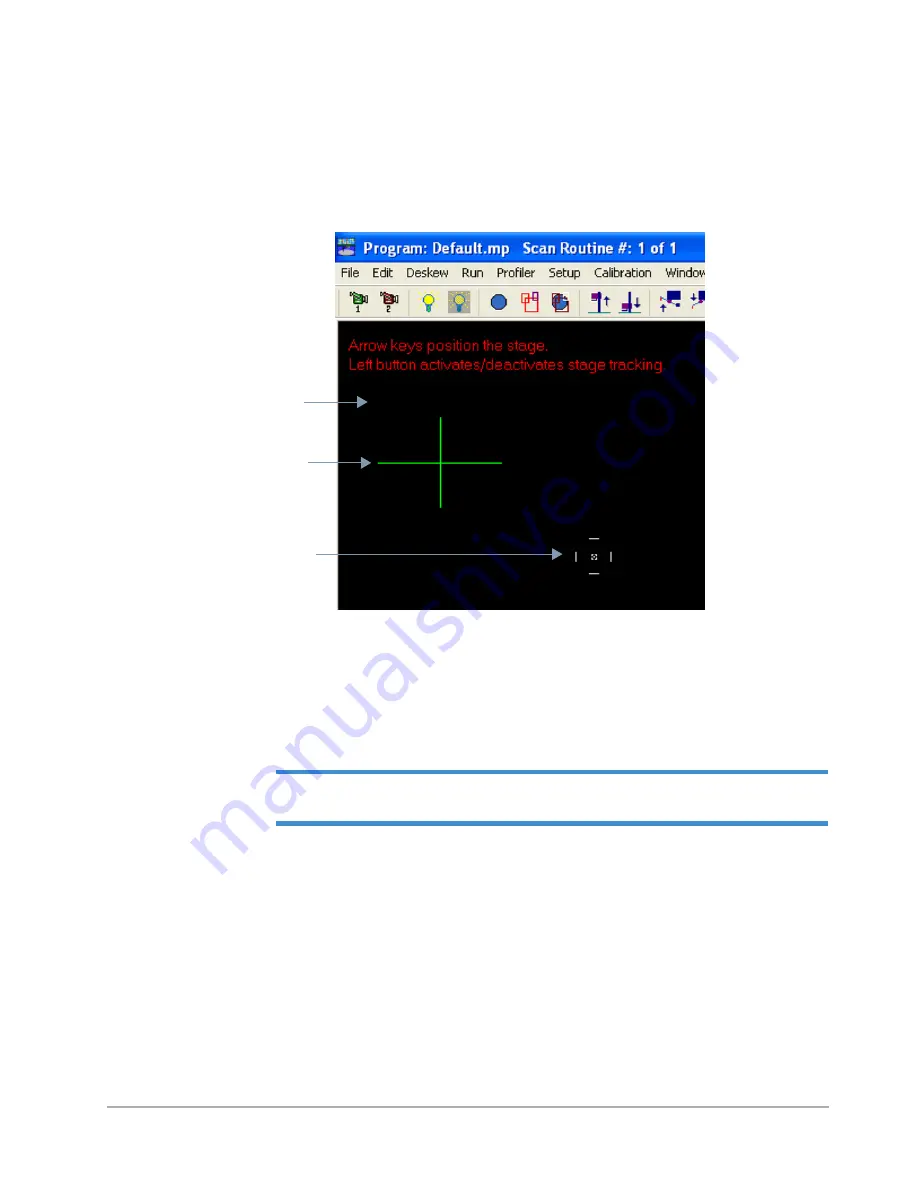
FEATURE RETICLE ALIGNMENT
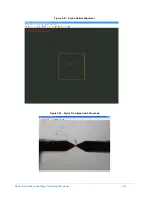
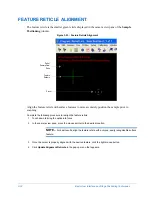
The feature reticle is the smaller green reticle displayed in the camera view pane of the
Sample
Positioning
window.
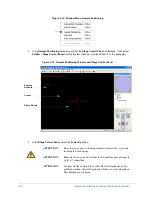
Figure 3-23: Feature Reticle Alignment
Align the feature reticle with surface features to more accurately position the sample prior to
scanning.
Complete the following procedure to realign the feature reticle:
1
Touch down to bring the optics into focus.
2
In the camera view pane, move the mouse pointer to the desired location.
NOTE –
For best results, align the feature reticle with a unique, easily recognizable surface
feature.
3
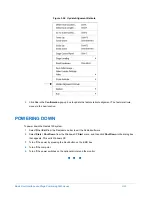
Once the cursor is properly aligned with the desired feature, click the right mouse button.
4
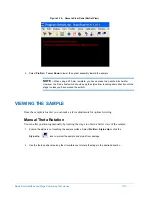
Click
Update Alignment Reticule
in the pop-up menu that appears.
Part of
Camera View
Pane
Feature
Reticule
Cursor
Summary of Contents for Dektak 150
Page 1: ......
Page 7: ......
Page 17: ......
Page 81: ......
Page 105: ......
Page 149: ......
Page 191: ......
Page 251: ......
Page 257: ...A 6 Facilities Specifications Figure A 6 Dektak 150 without Enclosure Side View ...
Page 258: ...Facilities Specifications A 7 Figure A 7 Dektak 150 Dimensions without Enclosure Top View ...
Page 259: ...A 8 Facilities Specifications Figure A 8 Dektak 150 without Enclosure Center of Mass ...
Page 273: ......
Page 283: ......
Page 321: ......
Page 331: ......
Page 333: ......
Page 336: ......
Page 337: ......
Page 349: ......

