3-10
Basic User Interface and Stage Positioning Techniques
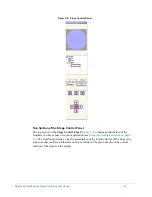
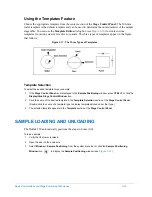
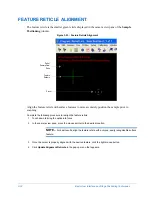
Figure 3-7: Top Section of Stage Control Panel
You can move the stage by placing the pointer at the desired location in the illustration of the
template in the top section of the
Stage Control Panel
and double-clicking the left mouse
button.
NOTE –
The illustration of the template is always adjusted to fit in the display area in the top
section, regardless of the actual template dimensions.
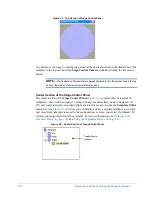
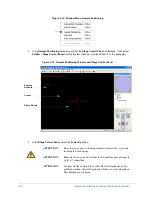
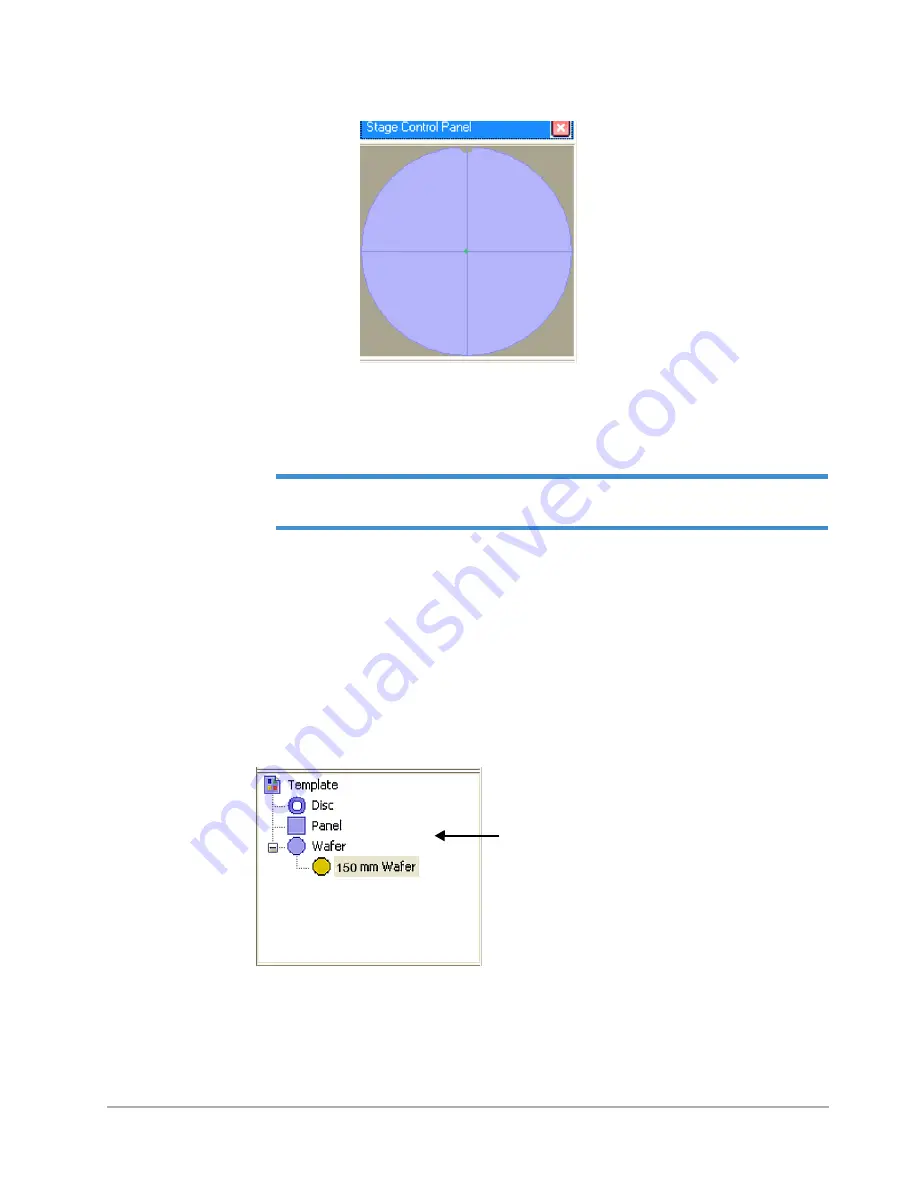
Center Section of the Stage Control Panel
The center section of the
Stage Control Panel
(
) contains three categories of
templates—disc, wafer ,and panel—along with any templates that you have designed. (A
150-mm wafer is already provided.) Right-click in this section to open the
Template Editor
dialog box (see
), where you can modify and save existing templates and create
new ones. Each template is saved to the configuration, so when you restart the Dektak 150
system, your template will still be available. For more information, see
Using the Templates Feature on page 3-13
Figure 3-8: Center Section of Stage Control Panel
Template Selector
and Editor
Summary of Contents for Dektak 150
Page 1: ......
Page 7: ......
Page 17: ......
Page 81: ......
Page 105: ......
Page 149: ......
Page 191: ......
Page 251: ......
Page 257: ...A 6 Facilities Specifications Figure A 6 Dektak 150 without Enclosure Side View ...
Page 258: ...Facilities Specifications A 7 Figure A 7 Dektak 150 Dimensions without Enclosure Top View ...
Page 259: ...A 8 Facilities Specifications Figure A 8 Dektak 150 without Enclosure Center of Mass ...
Page 273: ......
Page 283: ......
Page 321: ......
Page 331: ......
Page 333: ......
Page 336: ......
Page 337: ......
Page 349: ......

