3-20
Basic User Interface and Stage Positioning Techniques
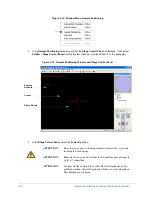
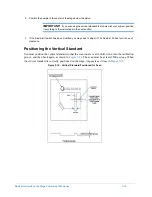
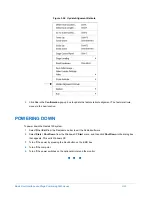
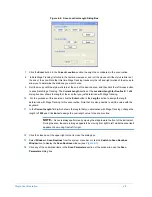
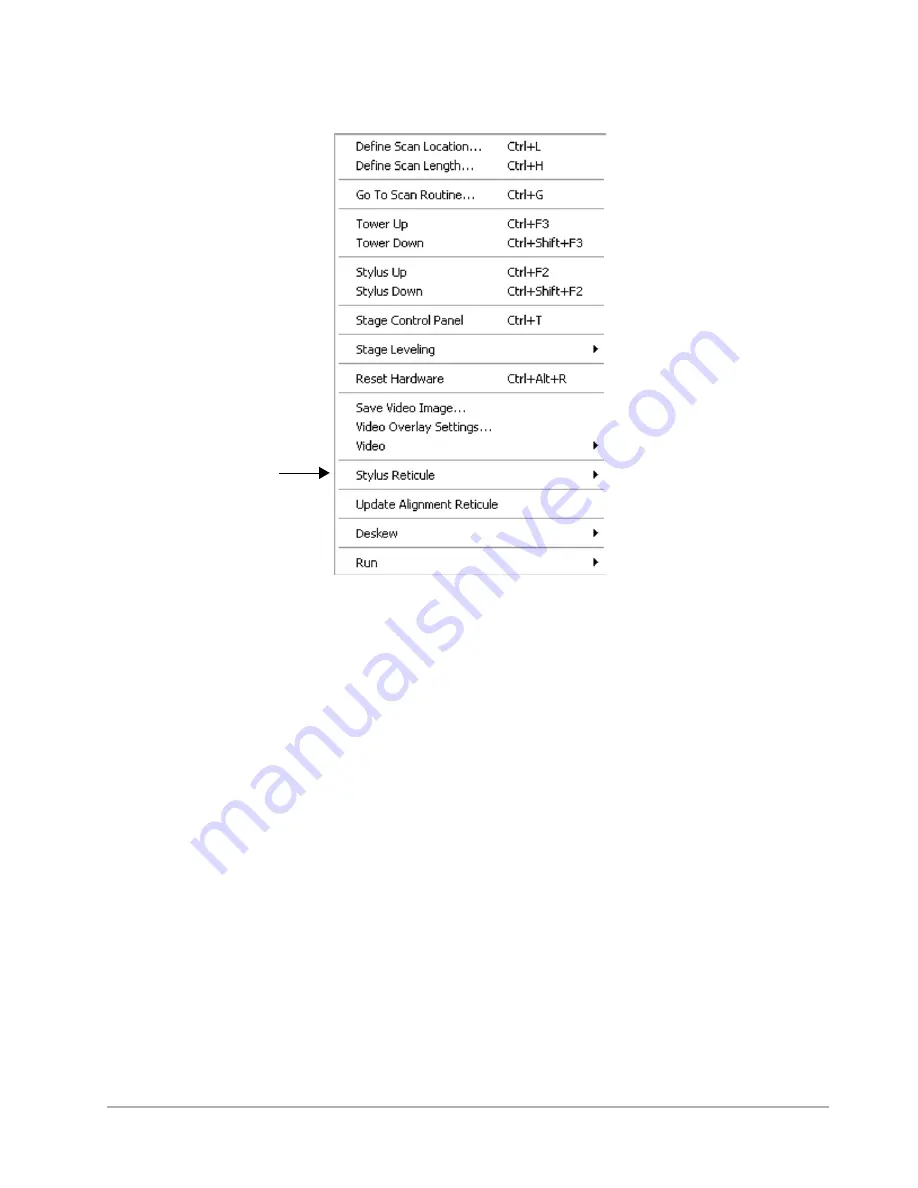
Figure 3-20: Sample Positioning Window Pop-up Menu
2
In the pop-up menu, click
Stylus Reticule
to display two options:
Align
and
Reset
.
•
Align
allows you to manually reposition the reticle.
•
Reset
repositions the reticule to the original default location in the center of the screen.
3
Select
Align
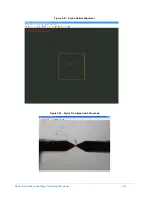
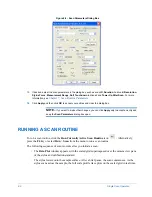
to display the crosshair box (
). The stylus touches down on the surface, ready for
alignment.
4
Align the crosshair with the stylus tip (
), and then double-click the left mouse button.
5
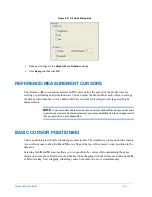
In the dialog box that appears, click
Yes
to update the stylus reticule location,
No
to retry the alignment, or
Cancel
to close the dialog box and return to the
Sample Positioning
window.
Summary of Contents for Dektak 150
Page 1: ......
Page 7: ......
Page 17: ......
Page 81: ......
Page 105: ......
Page 149: ......
Page 191: ......
Page 251: ......
Page 257: ...A 6 Facilities Specifications Figure A 6 Dektak 150 without Enclosure Side View ...
Page 258: ...Facilities Specifications A 7 Figure A 7 Dektak 150 Dimensions without Enclosure Top View ...
Page 259: ...A 8 Facilities Specifications Figure A 8 Dektak 150 without Enclosure Center of Mass ...
Page 273: ......
Page 283: ......
Page 321: ......
Page 331: ......
Page 333: ......
Page 336: ......
Page 337: ......
Page 349: ......

