6
Interfacing ProtoNode to Devices
Device Connections to ProtoNode
RS-232 NETWORK
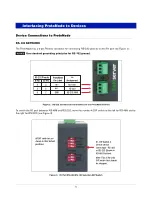
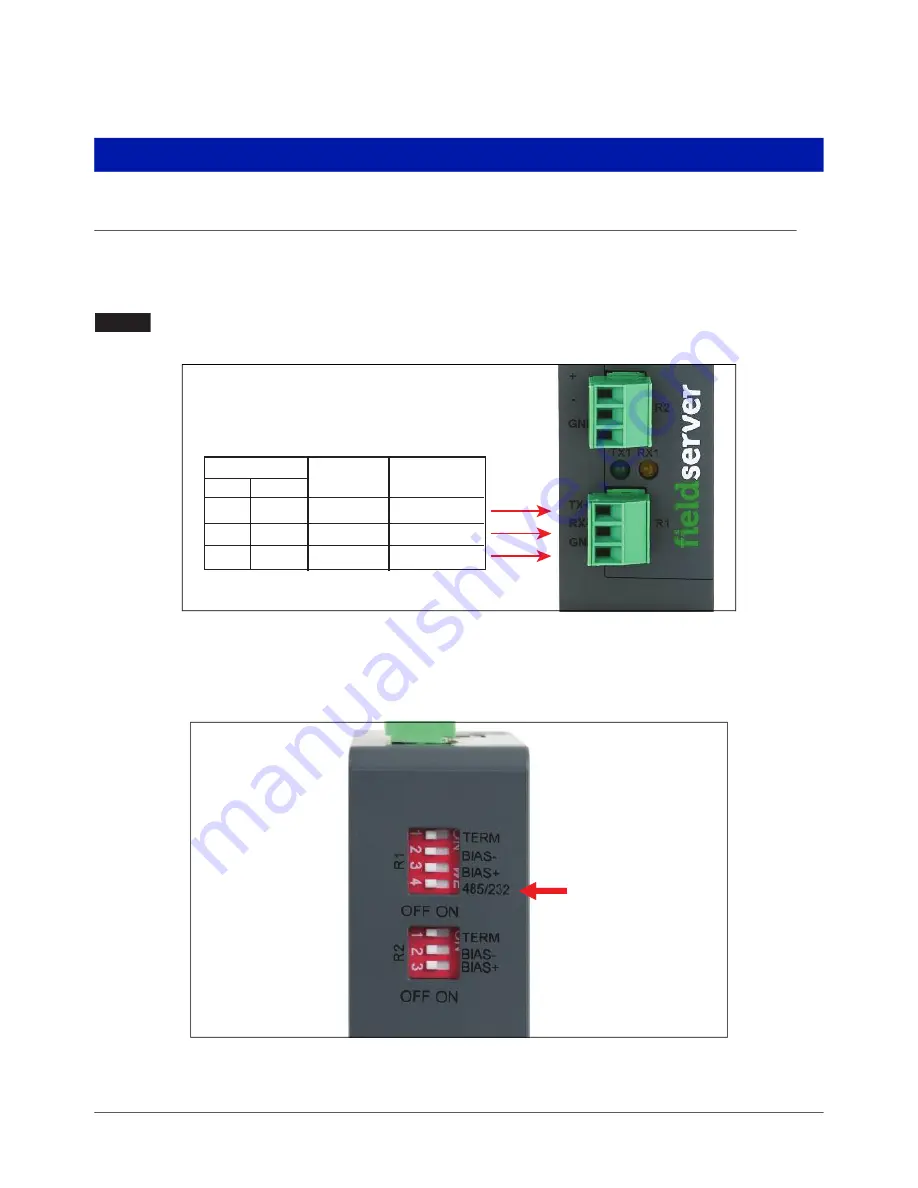
The ProtoNode has a 3-pin Phoenix connector for connecting RS-232 devices on the R1 port see Figure 2).
Use standard grounding principles for RS-232 ground.
Figure 2. RS-232 Connections from Devices to the ProtoNode R1 Port
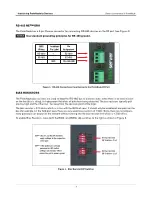
To switch the R1 port between RS-485 and RS-232, move the number 4 DIP switch to the left for RS-485 and to
the right for RS-232 (see Figure 3).
Figure 3. R1 Port RS-485/RS-232 Selection DIP Switch
NOTICE
9 Pin
2
3
5
3
2
7
TX+
RX-
GND
RS-232+
RS-232-
RS-232 GND
25 Pin
ProtoNode
Pin Label
RS-232 Pinouts
Pin
Assignment
All DIP switches are
shown in their default
positions.
R1, DIP Switch 4 -
Selects device
comm type - RS-485
or RS-232 (Shown in
RS-485 Position).
Note: This is the only
DIP switch that should
be changed.


