25
Line Disable Setup
In-Tank Alarms
25-2
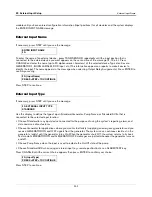
This message shows the first kind of alarm condition for In-Tank Alarms: LEAK. You must tell the system whether to
assign the displayed alarm condition (in this case In-Tank Leak Alarms) to the selected line for No Tanks, All Tanks,
or Single Tanks. To choose No Tanks, press STEP. (The system displays the next In-Tank Alarm condition: HIGH
WATER.)
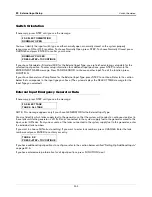
To choose All Tanks, press CHANGE once. Press ENTER to confirm your choice. The system displays:
Press STEP to specify the assignment method for the next In-Tank Alarm condition (HIGH WATER).
To choose Single Tanks, press CHANGE twice in response to the LEAK: NO TANKS message. Press ENTER to
confirm your choice. The system displays:
Press STEP to display the message:
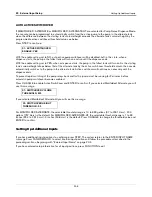
Use this display to specify the tank number(s) that you want to assign to the line. If you do not want to assign the
tank number shown (T1, T2, etc.), press TANK/SENSOR until you see the tank number that you want to assign to
the line. When the correct tank number appears, press CHANGE and press ENTER. The system confirms your
entry (for T1) with the message:
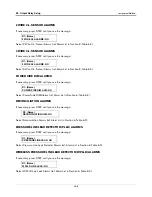
Continue to press TANK/SENSOR to select additional tanks. For example, pressing TANK once would display the
following message:
Repeat the steps described above to assign additional tanks to the line. When you have assigned all the tanks you
want to the line, press STEP. The system displays the assignment method message for the next In-Tank Alarm
condition:
Repeat the procedures described for the LEAK alarm condition until you have specified an assignment method for
all remaining In-Tank Alarm conditions (ref. Alarm List in Section 6, Table 6-2).
When you have specified the assignment method for each In-Tank Alarm condition, press STEP. The system
displays the next available alarm or input assignment group.
REMAINING ALARM GROUPS
Continue to step through all of the available alarm groups, selecting the various alarms from the groups that you
want to have disable the selected line (Q1, Q2, etc.). The procedure for bypassing or selecting alarms from each
group and then assigning them to a device in that group is the same as discussed for In-Tank alarms above.
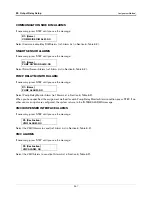
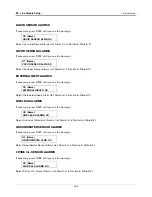
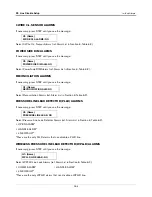
The remaining alarm groups/alarms are shown below. Only installed components will display, so some of the alarm
groups may not appear.
LEAK: ALL TANKS
PRESS <STEP> TO CONTINUE
LEAKS: SINGLE TANKS
PRESS <STEP> TO CONTINUE
Q1: (Name)
T1 LEAK: NO
Q1: T1 LEAK: YES
PRESS <TANK> TO CONTINUE
Q1: (Name)
T2 LEAK: NO
Q1: IN TANK ALARMS
HIGH WATER: NO TANKS


