Initial Setup Of The Console Using Workflow Wizard
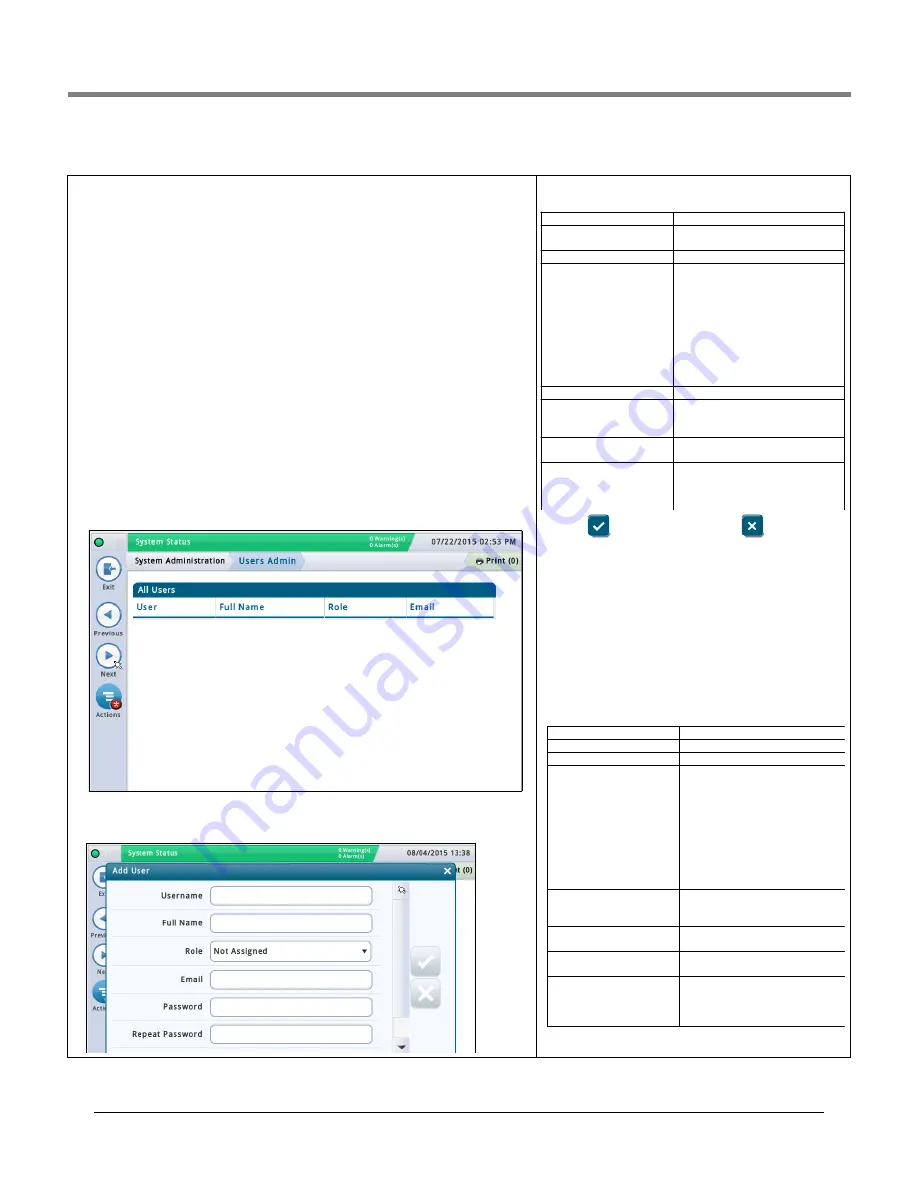
System Administration>Users Admin
56
System Administration>Users Admin
This screen lets you set up users with different roles (levels of security) so you can control a
user's access to specific screens on the console. This is necessary when you want to ensure
untrained personal are not changing the progra
mm
ing and possibly disabling different
aspects of your co
m
pliance reporting. NOTE: the first user created
m
ust have the ad
m
in role.
IMPORTANT
• If this is the first ti
m
e you are entering users on the console, you have full access to add,
m
odify, or delete users at any role (level). Once you setup users, however, only users with
an Ad
m
inistrator role have the ability to add or delete users.
• After you add a user,
m
ake sure you enable the Front Panel Security field in “Setup>Sys-
>Security” screen for the user login feature to be activated.
The data in this colu
m
ns of this screen will differ for Users and Ad
m
inistrators as follows:
Logged in User
User
- Login na
m
e of the person who is currently logged in.
Full Name
- Full na
m
e of the logged in user.
Role
- Role (level of security) assigned to the logged in user.
- E
m
ail address of logged in user.
Logged In Administrator User
User
- Login na
m
e of the Ad
m
in user.
Full Name
- Full na
m
e of the Ad
m
in user.
Role
- Role (level of security) assigned to that Ad
m
in user.
- E
m
ail address of that Ad
m
in user.
Adding a User
(available to an Ad
m
inistrator user only)
1. Select
Actions>Add User
:
2. Enter infor
m
ation in the Add User fields as described
below:
3. Touch
to save your entry. Touch
and touch the
X
in the upper right corner to exit without saving changes.
Editing a User
(available to that user and/or an Ad
m
inis-
trator user) - NOTE: there has to be at least one user with an
Ad
m
in role.
You
m
ay need to edit a user if a person’s responsibility has
changed and you need to reassign their role.
1. Select a user to
m
odify (a check
m
ark appears next to the
entry), then select
Actions>Edit User
.
2. Change infor
m
ation in the following fields. NOTE: You can-
not change the login na
m
e of a user. If you need to change
the login na
m
e, delete the user, and then re-enter a new
user with a login na
m
e you desire.
Continued on next page
Field
Description
User
Login name of user (cannot have
spaces).
Full Name
Full name of user.
Role
Level of security for that user -
choices are:
• Administrator
• Operator
• Regulator
• Any custom roles that you have
setup for (example, "Manager").
See Action>Help>System
Administration> Roles Admin
topic for more information.
Email address of user.
Password
Password for user (minimum of 3;
maximum of 123 alpha-numeric
characters).
Repeat Password
Repeat entry of password to
confirm.
Force Change Password
[checkbox]
When checked, forces the user to
enter a new password then next
time the user logs on to the
console.
Field
Description
Full Name
Full name of user
Email address of user
Role
[field accessible by an
Administrator user only]
Level of security for that user -
choices are:
• Administrator
• Operator
• Regulator
• Any custom roles that you have
setup for (example, "Manager").
See Action>Help>System
Administration> Roles Admin
topic for more information.
Change Password
[checkbox]
When checked, let's a user
change his/her password while in
this screen
Password
Password for user (minimum of 3
alpha-numeric characters)
Repeat Password
Repeat entry of password to
confirm
Force Change Password
[checkbox]
[field accessible by an
Administrator user only]
When checked, forces the user to
enter a new password then next
time the user logs on to the
console


