14
•
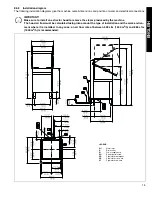
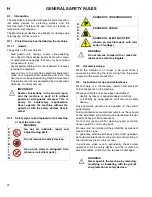
The appliance must be fixed to the floor using the two
clamps supplied (Figure 9).
Figure 9 Machine fixing clamp
•
Accessing the appliance bottom panel.
•
Fit the clamps on feet as shown in supplied technical
sheet.
•
Screw the appliance steadily to the floor using hole
clamps.
E5
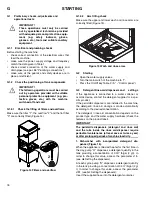
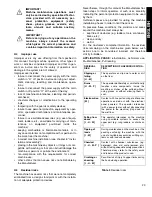
Disposal of packing
All materials used for packing are environmentally com-
patible. They can be safely kept, and recycled or burnt in
a special waste incineration plant. Plastic parts subject
to possible recycling are marked as follows:
Parts in wood and cardboard can be disposed of
respecting the current regulations in the country of use.
E6
Plumbing connections
IMPORTANT
Watermark labelled machines must be installed in
accordance with AS/NZS 3500.1.
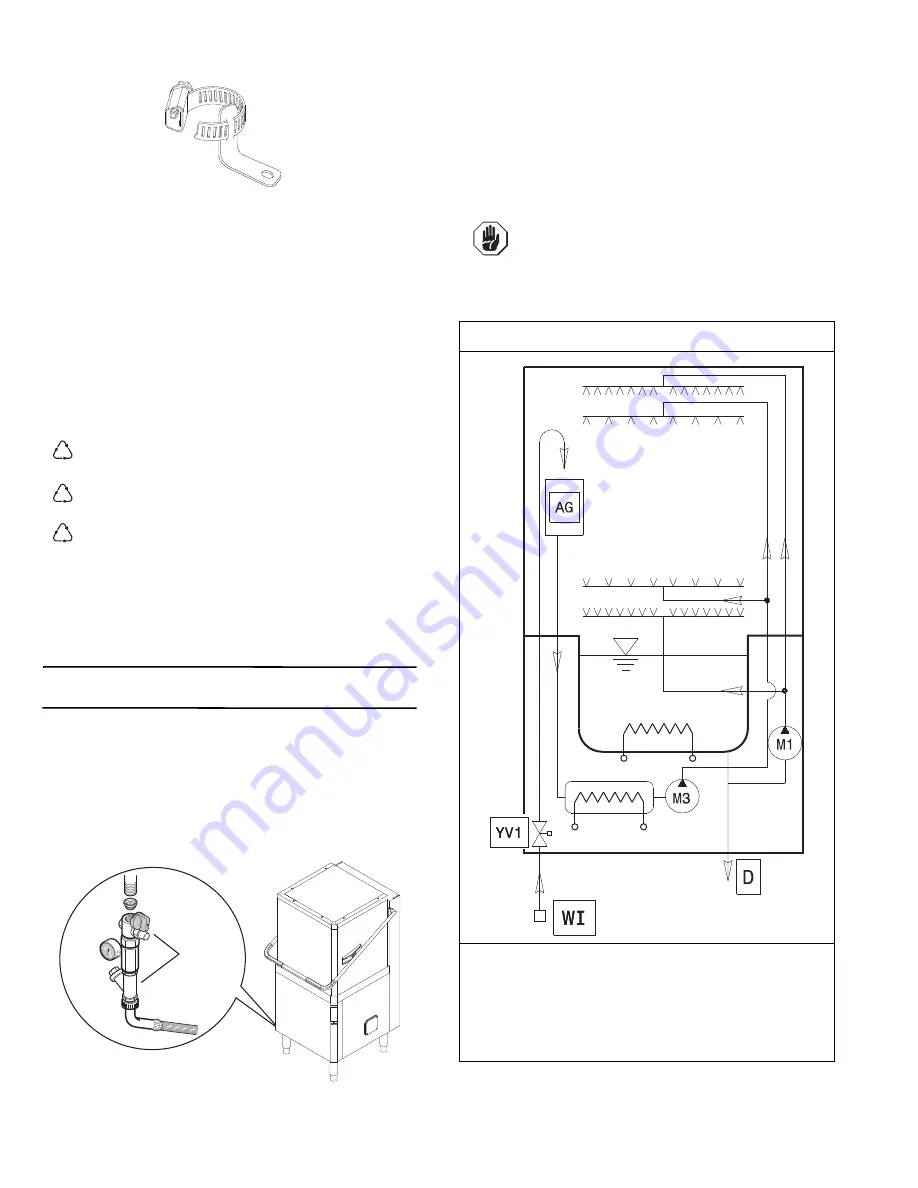
Install the machine water filling and drain pipes according to
the plumbing circuit and installation diagrams given below.
•
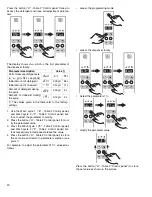
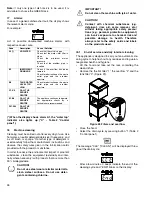
Connect the appliance water supply pipe “WI” (see
paragraph E6.2 Installation diagram) to the mains, fit-
ting a cut-off valve, the filter provided and a pressure
gauge between the appliance and the mains
(Figure 10).
Figure 10 Feed pipe connection
•
Check that the
dynamic
water supply
pressure
,
measured between the appliance and the main, is
between 7.25 and 101 psi (50 and 700 kPa)
(test
while dishwasher tank or boiler is filling with water).
If the pressure is too high, fit a suitable pressure
reducer on the inlet pipe.
•
Connect the waste outlet pipe “D” (see pargraph E6.2
Installation diagram) to the main drain pipe, fitting a trap,
or place the outlet pipe over an S trap set into the floor.
E6.1
Plumbing circuits
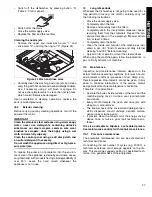
polyethylene:
outer wrapping, instruc-
tion booklet bag.
polypropylene:
roof packing panels,
straps.
polystyrene foam:
corner protectors.
PE
PP
PS
!
IMPORTANT!
Always use a new set of joints if you
remove and reinstall the water inlet pipe
to the appliance.
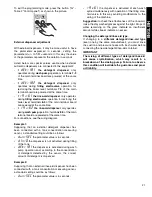
Plumbing circuit diagram
LEGEND
WI =
Water inlet
M1 =
Wash pump
M3 =
Rinse pump
AG =
Air Gap
YV1 = Filling solenoid valve


