4
M
ounting
4
.
1
G
eneral instructions
S
elect an installation position you can easily reach for
mounting and connecting as well as later retro
fi
tting of an
indicating and adjustment module
.
T
he housing can be rotated
by
330
°
without the use of any tools
.
Y
ou can also install the
indicating and adjustment module in four di
ff
erent positions
(
each displaced by
90
°
).
M
ount the instrument at a place where there are as few
obstacles as possible between the emitter and receiver
.
D
irect
intervisibility is the optimal precondition for the radio link
.
T
o
bypass possible obstacles
,
a remote antenna with a
3
m cable
is optionally available for standard versions
.
U
se the recommended cables
(
see chapter
"
C
onnecting to
power supply
"
)
and tighten the cable gland
.
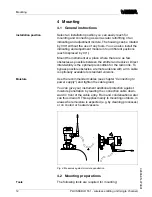
Y
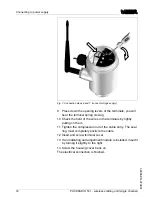
ou can give your instrument additional protection against
moisture penetration by leading the connection cable down
-
ward in front of the cable entry
.
R
ain and condensation water
can thus drain o
ff
.
T
his applies mainly to mounting outdoors
,
in
areas where moisture is expected
(
e
.
g
.
by cleaning processes
)
or on cooled or heated vessels
.
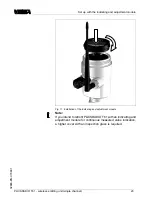
F
ig
.
4
:
M
easures against moisture penetration
4
.
2
M
ounting preparations
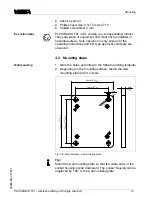
T
he following tools are required for mounting
:
I
nstallation position
M
oisture
T
ools
12
PLICSRADIO T
61
-
wireless emitting unit
(
single channel
)
M
ounting
32865
-
EN
-
070801

