23
6 Set up with the display and adjustment module PLICSCOM
VEGACAL 69 • Two-wire 4 … 20 mA/HART
31178-EN-200929
Note:
If you intend to retrofit the instrument with a display and adjustment
module for continuous measured value indication, a higher lid with an
inspection glass is required.
6.3 Adjustment system
1
2
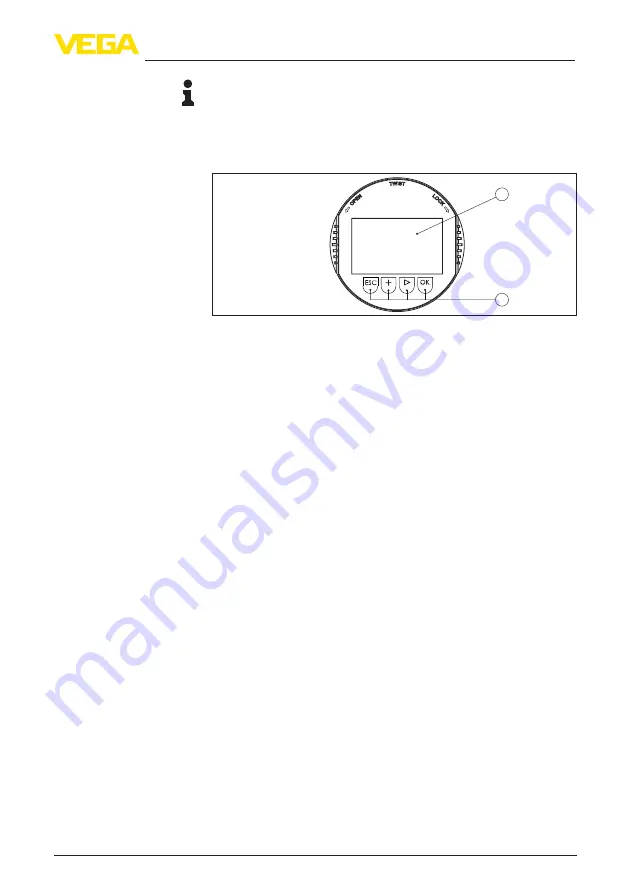
Fig. 21: Display and adjustment elements
1 LC display
2 Indication of the menu item number
3 Adjustment keys
•
[OK]
key:
– Move to the menu overview
–
Confirm selected menu
– Edit parameter
– Save value
•
[->]
key to select:
– Menu change
– Select list entry
– Select editing position
•
[+]
key:
– Change value of the parameter
•
[ESC]
key:
– Interrupt input
– Jump to next higher menu
The instrument is operated via the four keys of the display and
adjustment module. The individual menu items are shown on the LC
display. You can find the function of the individual keys in the previous
illustration.
When the
[+]
and
[->]
keys are pressed quickly, the edited value,
or the cursor, changes one value or position at a time. If the key is
pressed longer than 1 s, the value or position changes continuously.
When the
[OK]
and
[ESC]
keys are pressed simultaneously for more
than 5 s, the display returns to the main menu. The menu language is
then switched over to "
English
".
Key functions
Adjustment system
Time functions
Summary of Contents for VEGACAL 69
Page 14: ...14 4 Mounting VEGACAL 69 Two wire 4 20 mA HART 31178 EN 200929 Fig 6 Inflowing medium...
Page 57: ...57 Notes VEGACAL 69 Two wire 4 20 mA HART 31178 EN 200929...
Page 58: ...58 Notes VEGACAL 69 Two wire 4 20 mA HART 31178 EN 200929...
Page 59: ...59 Notes VEGACAL 69 Two wire 4 20 mA HART 31178 EN 200929...


