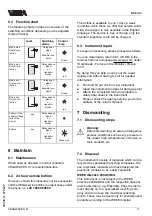
F
lows
T
o minimise
fl
ow resistance caused by the tuning
fork
,
VEGAWAVE S
61
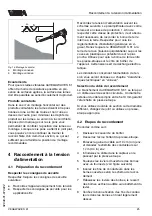
should be mounted in such
a way that the surfaces of the blades are parallel to
the product movement
.
A
dhesive products
I
n case of horizontal mounting in adhesive prod
-
ucts
,
the surfaces of the tuning fork should be
vertical in order to reduce buildup on the blades
.
O
n the screwed version you will
fi
nd a marking on
the hexagon
.
W
ith this
,
you can check the position
of the tuning fork when screwing it in
.
W
hen the
hexagon touches the seal
,
the thread can be still
turned by approx
.
half a turn
.
T
his is su
ffi
cient to
reach the recommended installation position
.
4
C
onnecting to voltage
supply
4
.
1
P
reparing the connection
N
ote safety instructions
G
enerally note the following safety instructions
:
l
C
onnect only in the complete absence of line
voltage
l
T
ake note of safety instructions for
E
x appli
-
cations
C
onnect the power supply according to the
following diagrams
.
T
he oscillator with relay output
is designed in protection class
1
.
T
o maintain this
protection class
,
it is absolutely necessary that the
ground conductor be connected to the internal
ground terminal
.
T
ake note of the general installa
-
tion regulations
.
A
s a rule
,
connect
VEGAWAVE S
61
to vessel ground
(
PA
),
or in case of plastic
vessels
,
to the next ground potential
.
O
n the side of
the housing there is a ground terminal between the
cable entries
.
T
his connection serves to drain o
ff
electrostatic charges
.
T
he data for power supply are stated in chapter
"
T
echnical data
"
in the
"
S
upplement
"
.
S
electing connection cable
VEGAWAVE S
61
is connected with screened
cable according to
F
ieldbus speci
fi
cation
.
A
cable
diameter of
5
…
9
mm ensures the seal e
ff
ect of
the cable gland
.
I
f cable with a di
ff
erent diameter or wire cross
section is used
,
exchange the seal or use an
appropriate cable connection
.
4
.
2
C
onnection procedure
P
roceed as follows
:
1
U
nscrew the housing cover
2
L
oosen compression nut of the cable entry
3
R
emove approx
.
10
cm
(
4
in
)
of the cable
mantle
,
strip approx
.
1
cm
(
0
.
4
in
)
insulation
from the ends of the individual wires
4
I
nsert the cable into the sensor through the
cable entry
5
L
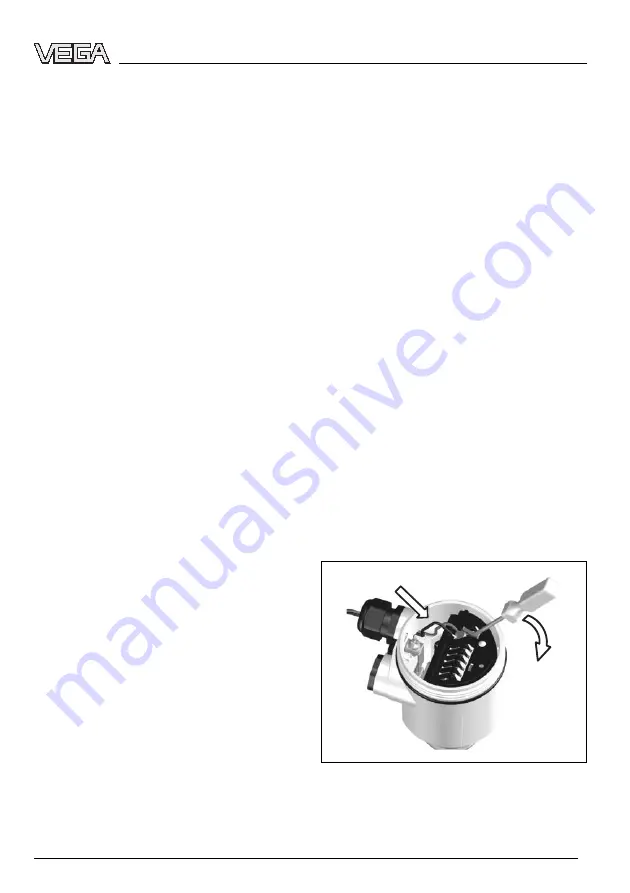
ift the opening levers of the terminals with a
screwdriver
(
see following illustration
)
6
I
nsert the wire ends into the open terminals
according to the wiring plan
7
P
ress down the opening levers of the termi
-
nals
,
you will hear the terminal spring closing
8
C
heck the hold of the wires in the terminals by
lightly pulling on them
9
T
ighten the compression nut of the cable entry
.
T
he seal ring must completely encircle the
cable
10
I
f necessary
,
carry out a fresh adjustment
11
S
crew the housing cover back on
T
he electrical connection is
fi
nished
.
F
ig
.
10
:
C
onnection steps
5
and
6
VEGAWAVE S
61
15
C
onnecting to voltage supply
32949
-
01
-
070222


