Cihazın bakım ve onarımı için su tesisatının uygun bir yerine cihazın giriş
suyunu kapatacak şekilde ilave bir vana (su montaj düzenlemelerine uygun
olacak şekilde) bağlanmalıdır.
Cihazın Hazırlanması :
Ön kapağa sabitlenmiş olan kademe kontrol anahtarını çıkarmaya
çalışmayınız.
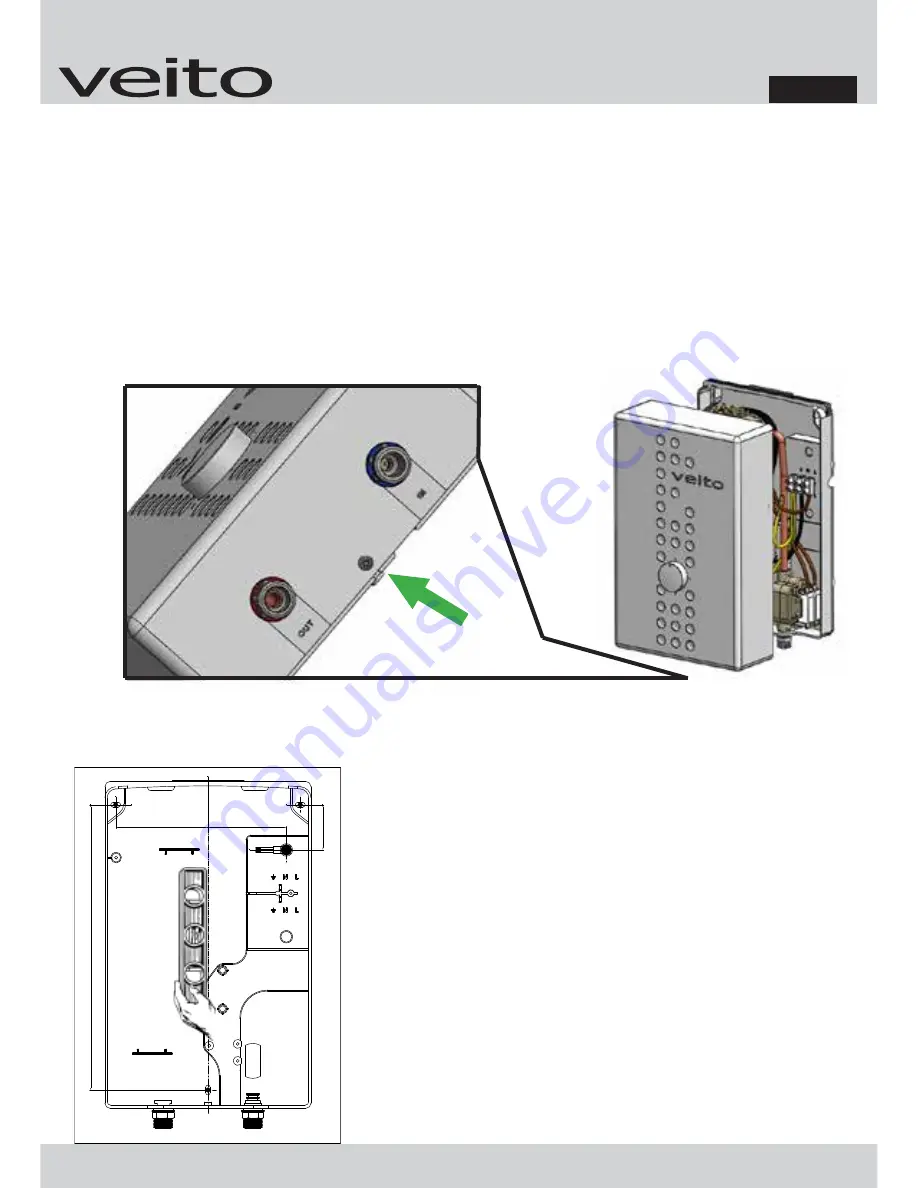
Cihazın altında yer alan ve yukarıdaki şekilde görülen vidayı sökerek, ön
kapağı arka kapaktan ayırınız.
Cihazın duvardaki konumu belirlendikten sonra
yandaki şekilde görülen ve kitapçık ile birlikte
verilen montaj şablonunu duvarda sabitleyin.
Delikleri işaretleyin, delin ve dübelleri yerleştirin.
Bağlantı kablosunu arka kapakta yer alan kablo
deliğinden geçirin ve vida deliklerinden duvara
vidalayın.
Bağlantı kablosu için arka yüzdeki öngörülmüş
açıklıkları kullanın.
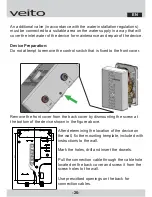
An additional valve (in accordance with the water installation regulations)
must be connected to a suitable area on the water supply in a way that will
cover the inlet water of the device for maintenance and repair of the device.
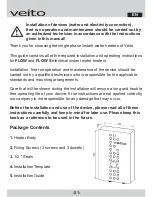
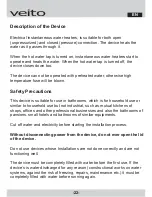
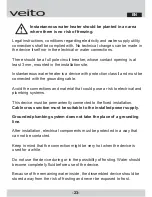
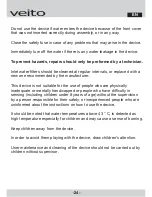
Device Preparation:
Do not attempt to remove the control switch that is fixed to the front cover.
Remove the front cover from the back cover by dismounting the screw at
the bottom of the device shown in the figure above.
After determining the location of the device on
the wall, fix the mounting template, included with
instructions to the wall.
Mark the holes, drill and insert the dowels.
Pull the connection cable through the cable hole
located on the back cover and screw it from the
screw holes to the wall.
Use prescribed openings on the back for
connection cables.
103
87,5
50,5
318,5
EN
-26-
Summary of Contents for FLOW
Page 40: ......


