4
2/NOV/2020
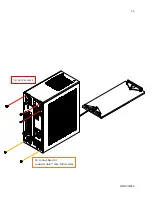
SUMMARY OF ASSEMBLY STEPS
Before starting assembly in the case, test all other components for functionality. If using a
PCIe gen 4 graphics card and motherboard with the included PCIe gen 3 riser, the
compatibility mode must be set to gen 3 in BIOS. Doing so will require performing the
first boot with integrated graphics (if available) or with the graphics card plugged directly
into the motherboard without a riser.
1.
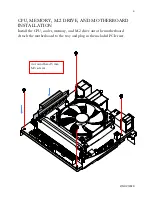
Install your CPU, CPU cooler, memory, and M.2 drive onto the motherboard, attach it to
the tray
2.
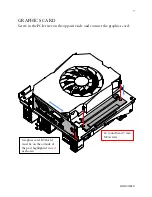
Insert riser into the PCIe slot, flip over the tray, install graphics card and screw in riser
3.
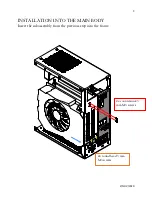
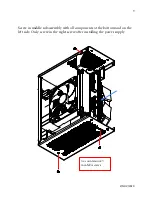
Install IO shield and install that subassembly back into the main body of the case with the
top PSU holder attached
4.
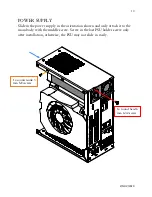
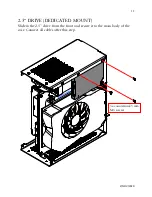
Install power supply, 2.5” drive, attach all cables
5.
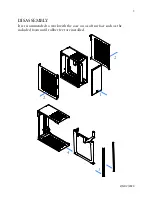
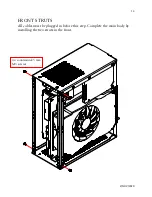
Install front struts, install power button into the front panel and plug it in without
installing the front panel, install side panels, then the front panel


