background image

17 

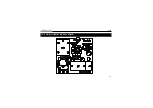
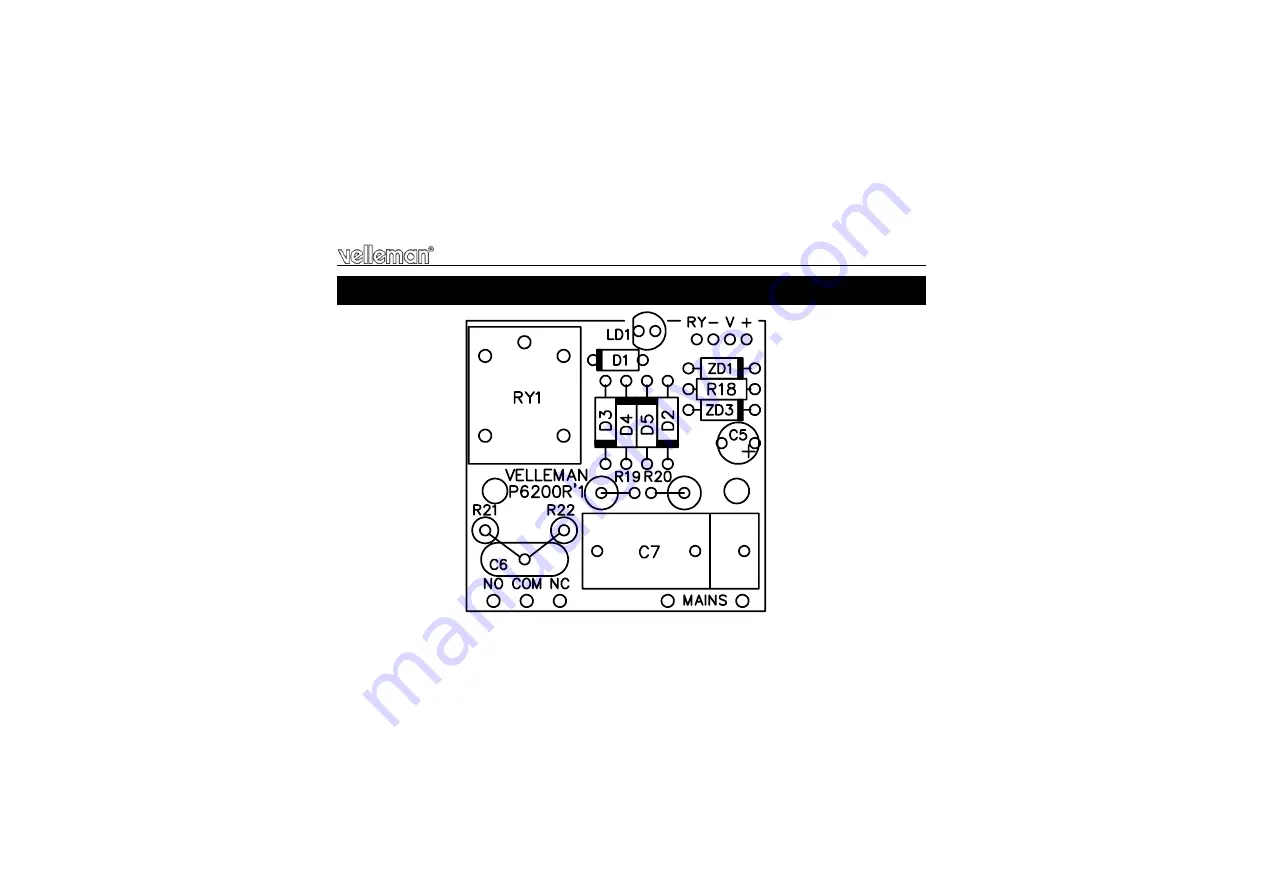
18.  PCB layout (RELAY MODULE P6200R) 

PCB 


Summary of Contents for High-Q K6200

Page 1: ...0 TO 60 HOUR START STOP TIMER K6200 ILLUSTRATED ASSEMBLY MANUAL H6200IP 1 Total solder points 96 43 Difficulty level beginner 1 2 3 4 5 advanced Broad range mains operated start stop timer...

Page 2: ...VELLEMAN NV Legen Heirweg 33 9890 Gavere Belgium Europe www velleman be www velleman kit com...

Page 3: ...es while the fine tuning is achieved by turning a trimming potentiometer The timer has push buttons for starting and untimely stopping and it further allows to control the circuit by relay or open col...

Page 4: ...he eyes Needle nose pliers for bending leads or to hold components in place Small blade and Phillips screwdrivers A basic range is fine For some projects a basic multi meter is required or might be ha...

Page 5: ...refully solder the leads 2 Make sure the solder joints are cone shaped and shiny 3 Trim excess leads as close as possible to the solder joint REMOVE THEM FROM THE TAPE ONE AT A TIME DO NOT BLINDLY FOL...

Page 6: ...1K 1 0 2 B 3 Resistor R ASSEMBLY OF THE RELAY MODULE P6200R CATHODE ZD LD1 5mm RED 4 LED Watch the polarity COLOR 2 5 LD CATHODE Min 30mm Mains 2x NO COM NC 5 PCB tabs R19 220 2 2 1 B 9 R20 100K 1 0 4...

Page 7: ...Required if you are going to control starting and stopping via an open collector output e g the 15 channel IR receiver K8050 For 220 240VAC C7 470nF 400V 7 Choose your operating voltage C7 C7 Fig 1 0...

Page 8: ...fter you connect the free ends of the resistor and the capacitor together see fig 2 0 In case you want to suppress the NC contact DON T fit R21 but R22 220 ohm 1 2W in the same way REMARK with small l...

Page 9: ...lternate current it may be necessary to suppress them Suppress resistive loads bulb resistor Suppress inductive loads transformer motor In case all the preceding solutions fail 11 Tips in the case of...

Page 10: ...1K 1 0 2 B R2 1K 1 0 2 B R3 1K 1 0 2 B R4 10K 1 0 3 B R5 10K 1 0 3 B R6 10K 1 0 3 B R7 10K 1 0 3 B 8 Vertical resistors R Construction ASSEMBLY OF THE BASIC MODULE P6200B ZD2 15V0 CATHODE ZD 1 Zenerdi...

Page 11: ...3 B R13 10K 1 0 3 B R14 1K 1 0 2 B R15 10K 1 0 3 B R17 180K 1 8 4 B RV1 220K 10 Trimmer RV SW1 SW2 Mount them on the solder side and carefully solder their connections 11 Push button Construction 12 I...

Page 12: ...nsformer must be connected to these points which can supply 24 to 28VAC at 50mA BEWARE when using mains power certain points in the circuit will carry this voltage Be careful what you touch Press the...

Page 13: ...ows to stop it Driving through open collector outputs e g the 15 channel IR receiver K6711 fig 7 0 Use a 24 to 28VAC 50mA transformer to feed the timer attention C7 must be short circuited Connect the...

Page 14: ...sing First make the holes in the cover as shown in figure 4 0 Connect the mains plug to the MAINS connections Mount the modules into the housing as shown in figure 5 0 After having fitted the cover ch...

Page 15: ...15 STOP START SW1 SW2 MAINS MAINS P6200R P6200B P6200B P6200R MAINS SW2 SW1 18 24VAC 50mA C7 Other connections Fig 6 0 Fig 7 0...

Page 16: ...igher you select the start time to be adjusted the more accurate the time finally set will be 17 Setting the desired time SW3 settings Time range SW3 settings 1 2 3 4 1 2 3 4 OFF OFF OFF OFF 2 8 sec O...

Page 17: ...17 18 PCB layout RELAY MODULE P6200R PCB...

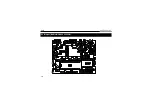
Page 18: ...18 PCB layout BASIC MODULE P6200B PCB...

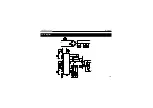
Page 19: ...ZD1 C4 LD1 MAINS STOP IC1 16 3 5 4 13 14 12 11 10 9 D C B A 7 6 8 15 2 1 NC NO COM C6 R22 R21 R12 V R7 R6 R5 R4 SW3 D1 RY1 V1 T1 R15 R16 R2 C1 RV1 R17 R11 V C2 R1 V SW1 V ZD3 C5 D3 D5 D2 D4 C7 R19 R2...

Page 20: ...Modifications and typographical errors reserved Velleman nv H6200IP 2004 ED1 VELLEMAN NV Legen Heirweg 33 9890 Gavere Belgium Europe 5 4 1 0 3 2 9 3 3 5 1 4 4...

Reviews: