COMP1_v2
VELLEMAN
4
4. Batteries
The
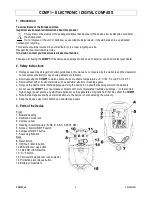
COMP1
operates on 2 AAA type batteries (not included).
Installation / replacement procedure: Loosen the screw of the battery compartment (#16), open the battery
compartment cover, take the exhausted batteries out (if applicable), insert 2 fresh AAA batteries (respect the polarity
indications), put the cover back and fasten the screw.
Do not mix old and new batteries as this may cause batteries to start leaking.
Replace the batteries when the "low battery" indicator comes on (just below the heading in cardinal points).
5. Use
a. General
•
The compass can be switched on and off separately by pressing button #6. Switch the compass off when you
don't need it to save energy. If the compass is not switched off manually, it will auto switch off after a certain time.
•
Press the Light button (#7) to switch the backlight on for 4 seconds. To avoid unnecessary battery drain, use the
backlight feature only when necessary.
•
Press the °C/°F button (#13) to switch the temperature readout from °C to °F and vice versa.
b. Compass
•
Keep the compass completely horizontal to get a precise readout. The
COMP1
is held horizontally when the air
bubble in the level at the bottom of the device is located in the middle of the circle on the level.
•
There are three readouts of the compass: the numeric heading (#1), the heading in cardinal points (#4) and the arrow
heading (also with cardinal points). The numeric heading is precise up to 1°, the arrow heading changes in 22.5° steps.
c. Compass calibration
1. Press and hold 'Snooze/Light' (#7) and press and hold 'Compass on/off' (#6) for 2 seconds until you hear a ’beep'
sound. The numeric heading (#1) and the calibration icon (#7) will start blinking.
2. Keep the
COMP1
level and press 'Snooze/Light' (#7) to start the calibration. If you want to set the 'TRUE
NORTH' angle, execute step 3 ; if not, jump to step 4.
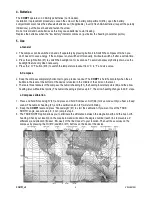
3. The TRUE NORTH option allows you to eliminate the difference between the magnetic north and the true north
heading. Check your location on the map below and write down the degree number (each line represents a 2°
difference) and direction (E=east ; W=west) of the line closest to your location. Then set those values on the
compass by pressing the Hr (#10) and Min (#11) buttons on the back of the device.
Summary of Contents for COMP1
Page 2: ...COMP1_v2 VELLEMAN 2...


