DVM894
V. 01 – 21/01/2015
13
©Velleman nv
Fuse Replacement
USE ONLY FUSES OF THE SPECIFIED TYPE, RATINGS, AND SPEED
(F250MA/250 V, F10A/500 V CERAMIC). THE FUSE RARELY NEEDS TO BE
REPLACED AND A BLOWN FUSE IS ALMOST ALWAYS CAUSED BY A HUMAN
ERROR. TO AVOID SHOCK OR PERSONAL INJURY, BEFORE OPENING THE
HOUSING,
ALWAYS
TURN OFF THE METER AND DISCONNECT THE TEST
LEADS.
1.
Switch off the meter.
2.
Remove the test probes from the circuit under test. Remove the test leads
from the input sockets.
3.
Remove the battery.
4.
Remove the protective cover, unscrew the screws at the back of the meter
and gently open the housing.
The fuses are located at the bottom of the PCB.
5.
Replace the blown fuse with a fuse of the same type and rating.
6.
Close the housing and tighten the screws. Put the protective cover back.
7.
Place the battery back and close the battery cover.
Storage
Remove the batteries from the device if it will not be used for a long time. Old
batteries can begin to leak and damage the device.
Do not store the device in a high temperature or high humidity environment.
Fuse Replacement
REPLACE THE TEST LEADS WITH IDENTICAL OR COMPATIBLE LEADS.
LEAD SPECIFICATIONS: 1000 V, 10 A.
Replace worn leads.
9.
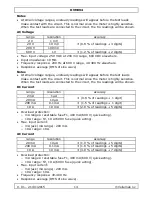
Technical Specifications
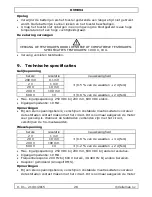
DC Voltage
range
resolution
accuracy
200 mV
0.1 mV
± (0.5 % of re 2 digits)
2 V
1 mV
20 V
10 mV
200 V
100 mV
600 V
1 V
± (0.8 % of re 2 digits)
Max. input voltage: 250 VDC at 200 mV range, 600 VDC elsewhere.
Input impedance: 10 MΩ.


