DVM894
V. 01 – 21/01/2015
8
©Velleman nv
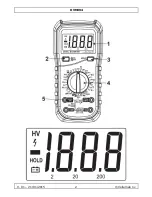
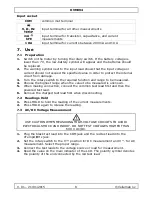
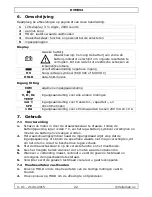
Input socket
COM
common inut terminal
V, Ω, Hz
TEMP
input terminal for all other measurements
mA
hFE
input terminal for transistor, capacitance, and current
measurements
10A
input terminal for currents between 200 mA and 10 A
7.
Use
7.1
Preparation
1.
Switch on the meter by turning the rotary switch. If the battery voltage is
lower than 7 V, the low-battery symbol will appear and the batteries should
be replaced.
2.
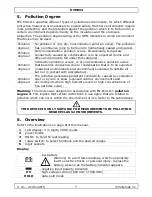
The warning symbol next to the input lead shows that the input voltage or
current should not exceed the specified value in order to protect the internal
circuit from damage.
3.
Turn the rotary switch to the required function and range to be measured.
4.
Choose the highest range when the value to be measured is unknown.
5.
When making connection, connect the common test lead first and then the
powered test lead.
6.
Remove the charged test lead first when disconnecting.
7.2
Readings Hold
1.
Press HOLD to hold the reading of the current measurements.
2.
Press HOLD again to release the reading.
7.3
AC/DC Voltage Measurement
USE CAUTION WHEN MEASURING HIGH-VOLTAGE CIRCUITS TO AVOID
ELECTRICAL SHOCK AND INJURY. DO NOT TEST VOLTAGES HIGHER THAN
600 V AC/DC.
1.
Plug the black test lead into the COM jack and the red test lead into the
VTempΩ Hz jack.
2.
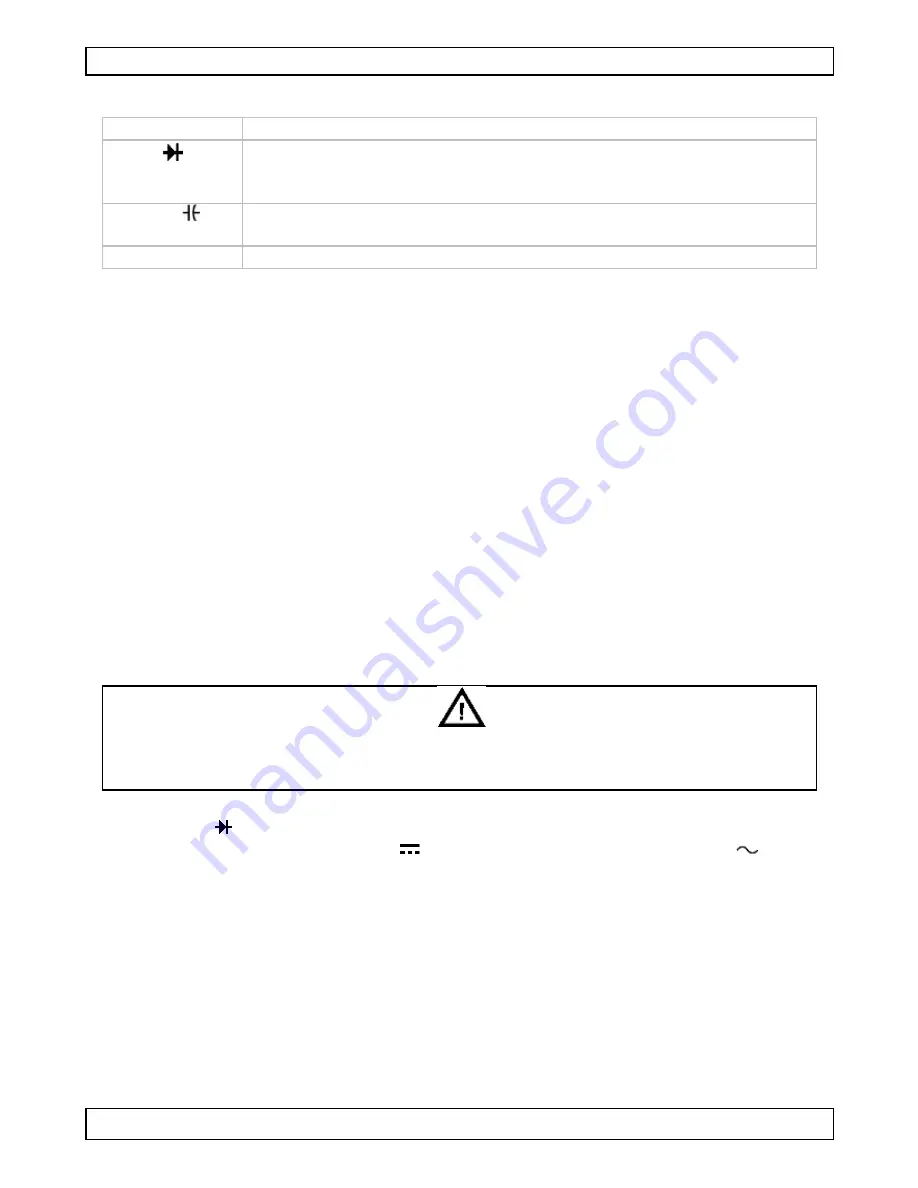
Set the rotary switch to the V
position for DC measurement and V
for AC
measurement. Select the proper range.
3.
Connect the test leads to the voltage source or load for measurement.
4.
Read the value on the main indicator of the LCD. The polarity symbol denotes
the polarity of the end connected by the red test lead.


