background image

Assembly hints 

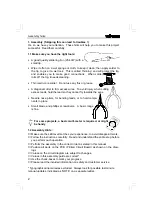
1. Assembly  (Skipping this can lead to troubles ! ) 

Ok, so we have your attention.  These hints will help you to make this project 
successful.  Read them carefully. 
 

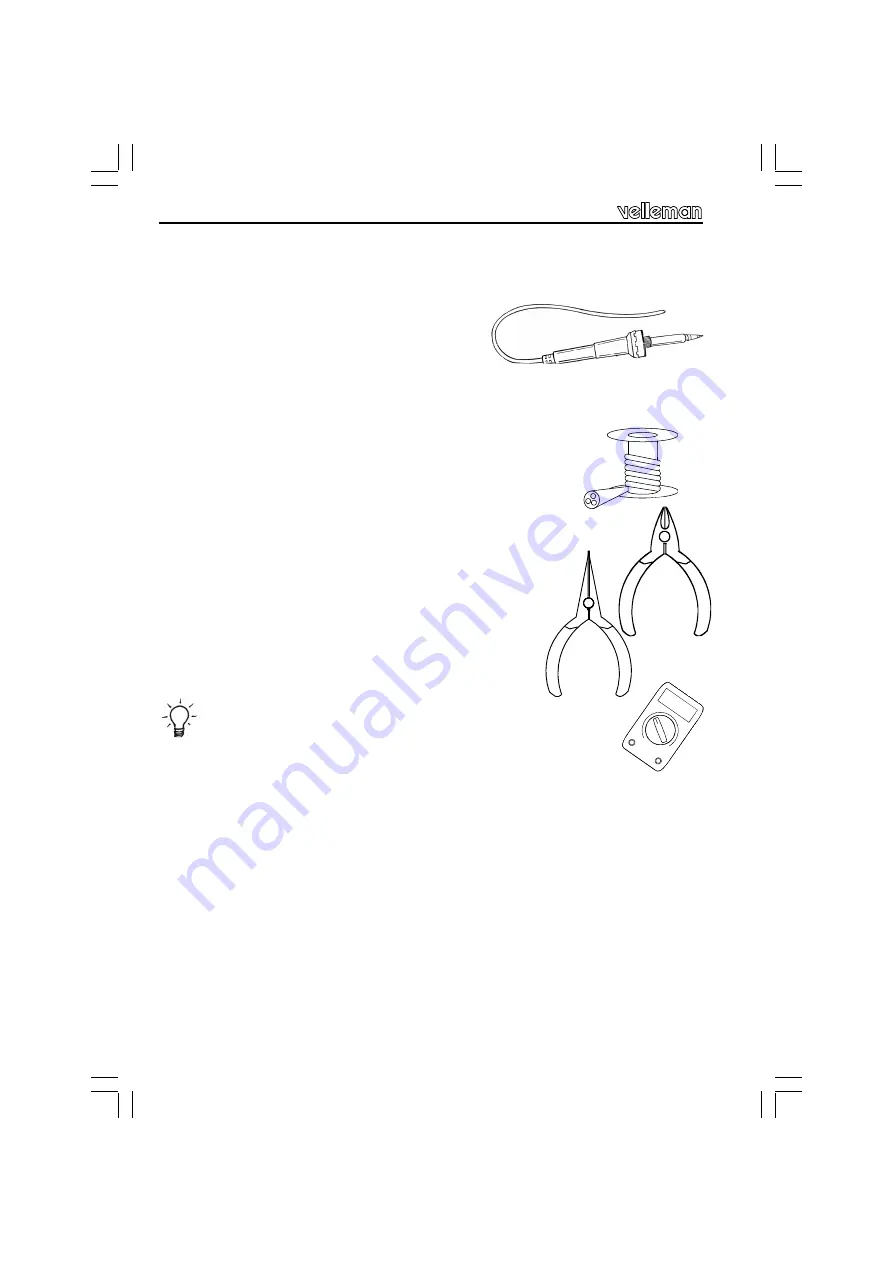
1.1 Make sure you have the right tools: 


A good quality soldering iron (25-40W) with a 
small tip. 


Wipe it often on a wet sponge or cloth, to keep it clean; then apply solder to 
the tip, to give it a wet look.  This is called ‘thinning’ and will protect the tip, 
and enables you to make good connections.   When solder 
rolls off  the tip, it needs cleaning. 


Thin raisin-core solder.  Do not use any flux or grease. 


A diagonal cutter to trim excess wires.  To avoid injury when cutting 
excess leads, hold the lead so they cannot fly towards the eyes. 


Needle nose pliers, for bending leads, or to hold compo-
nents in place. 


Small blade and phillips screwdrivers.  A basic range 
is fine. 


For some projects, a basic multi-meter is required, or might 

be handy 


1.2 Assembly Hints : 


Make sure the skill level matches your experience, to avoid disappointments. 

Follow the instructions carefully.  Read and understand the entire step before 
you perform each operation.  

Perform the assembly in the correct order as stated in this manual 

Position all parts on the PCB (Printed Circuit Board) as shown on the draw-
ings.  

Values on the circuit diagram are subject to changes. 

Values in this assembly guide are correct* 

Use the check-boxes to mark your progress. 

Please read the included information on safety and customer service 

 
* Typographical inaccuracies excluded.  Always look for possible last minute 
manual updates, indicated as ‘NOTE’ on a separate leaflet.   


0.000

Summary of Contents for High-Q Velleman-kit K8022

Page 1: ...Range up to 15m yards depending on environment Manual operation possible Gold plated RCA connectors Relay controlled input section Totally passive Specifications Preamp Inputs 2 line level Outputs 1 l...

Page 2: ...e eyes Needle nose pliers for bending leads or to hold compo nents in place Small blade and phillips screwdrivers A basic range is fine For some projects a basic multi meter is required or might be ha...

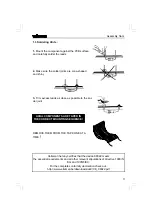
Page 3: ...close as possible to the sol der joint REMOVE THEM FROM THE TAPE ONE AT A TIME Velleman hereby certifies that the device K8022 meets the essential requirements and all other relevant stipulations of...

Page 4: ...do Oranssi Orange Orange Orange Orange Orange Orange Oranje 3 4 Giallo Amarelo Amarillo Keltainen Gul Gul Gul Gelb Yellow Jaune Geel 4 5 Verde Verde Verde Vihre Gr n Gr n Gr nn Gr n Green Vert Groen 5...

Page 5: ...2 q R3 1K 1 0 2 q R4 1K 1 0 2 q R5 10K 1 0 3 q R6 10K 1 0 3 q R7 10K 1 0 3 q R8 10K 1 0 3 q R9 270 2 7 1 q R10 18K 1 8 3 q R11 33K 3 3 3 q R12 5K6 5 6 2 q R13 2K7 2 7 2 q R14 18K 1 8 3 q R15 6K8 6 8...

Page 6: ...s C q T1 BC547C q T2 BC547C q T3 BC557C q T4 BC557C q T5 BF199 q T6 BC547C 8 Transistors q SW1 TS 04PV q SW2 TS 04PV 9 Push buttons Mount them straight against the PCB surface q SK1 DJ 005 10 Adaptor...

Page 7: ...C7 1000 25V q C8 470 25V q C18 1 50V 14 Electrolytic capacitors Watch the polarity C q VR1 7809 q VR2 7806 15 Voltage regulators VR q RV1 16 Potentiometer Mount it straight and against the PCB Connect...

Page 8: ...ring Last Solder the second connection q LD1 q LD2 q LD3 q LD4 q LD5 17 Mounting the LED s Check the polarity Short lead Cathode or IMPORTANT Mount these LED s exactly like in the drawing otherwise so...

Page 9: ...C 12CE518 IC2 LM258 or eq 18 IC s Watch the position of the notch Make sure to remove the protective foil from the front and rear panel Stick the supplied rubber feet onto the bottom of the enclosure...

Page 10: ...control automatically turns to zero The volume down led will also light until the volume control has reached it s endpoint Press any button to stop this action Now you can perform the adjustment of t...

Page 11: ...Volume will now turn to zero Learning cycle is completed and the new code will be memorised Repeat this proce dure if code is not memorised correctly e g due to interference Code will be retained in...

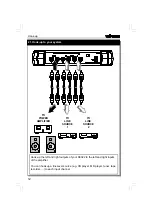
Page 12: ...Hook up the left and right outputs of your K8022 to the left and right inputs of the amplifier You can hook up a line level source e g CD player MD player tuner tape recorder to each input channel TO...

Page 13: ...own is pressed on remote control Volume control Turn clockwise to increase volume Volume up indicator Lights when volume up is pressed on remote control 1 2 3 4 5 6 7 Remote control 1 2 Volume down pu...

Page 14: ...annel indication will toggle briefly Press both remote buttons When learn cycle is completed volume will turn to 0 LD2 will turn on briefly to confirm Channel indication will toggle briefly to confirm...

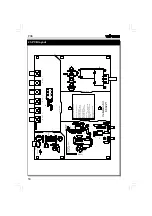
Page 15: ...GND R E LAY SW S K1 DCJAC K D1 1N4007 G ND C 1 1000 GND C 2 100n G ND I O GND VR1 UA7809 G ND C 3 100n G ND C 4 470 G ND C 5 100n G ND I O GND VR 2 UA7805 G ND C 6 100n G ND C 7 1000 G ND C8 470 GND D...

Page 16: ...VELLEMAN COMPONENTS NV Legen Heirweg 33 9890 Gavere Belgium Europe Info support www velleman be Modifications and typographical errors reserved Velleman Components NV H8022IP 2002 ED2...

Reviews: