21
Test & final assembly of the cabinet
The amplifier can now be connected to loudspeakers of 8 or 4 Ohms, the common connection is in the
middle.
Now a preamplifier can be connected and the unit can be tested with music.
31. Test
IMPORTANT
If 8 Ohm loudspeakers have been connected, then first check that not too much hum can be heard
in the loudspeakers, which is why a preamplifier should not yet be connected. Should too much
hum be audible, then the output transformer of the channel concerned should be turned a little
clockwise or anti-clockwise until the hum weakens. This operation has no effect on the 4 Ohm
connection.
Note that the amplifier is under voltage. Be careful when turning the transformer because
if any of the leads come away the transformer will be damaged. It is best to place a small
loudspeaker close to the amplifier such that you can turn and listen for the best result.
!
Before fitting the covers, check the supply and amplifier PCBs to see that no components have been
mounted too high.
Mount the cover on the base (set the cabinet on its side) using black Allen bolts.
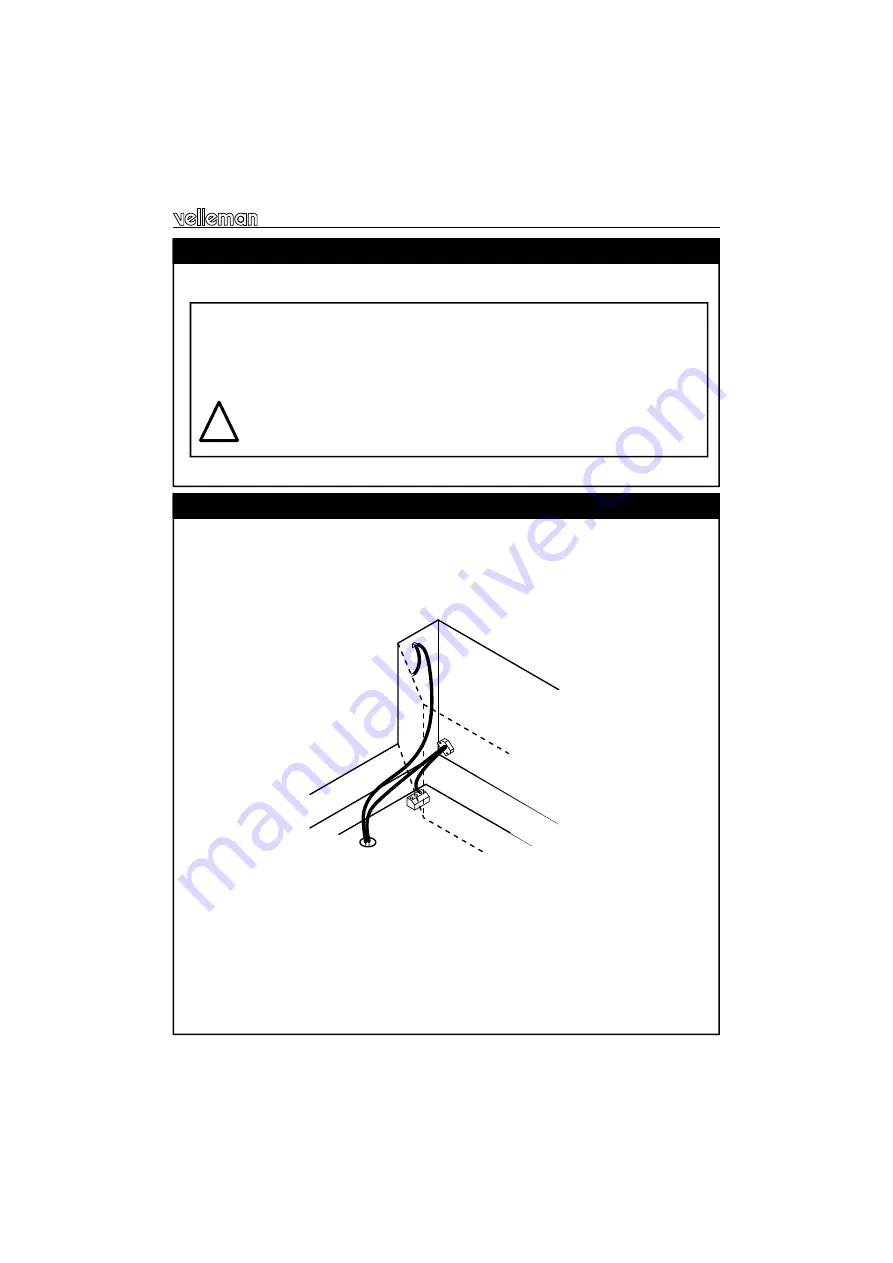
Make a loop of the three earth connections in the cabinet, via the spade plugs and the length of loose
earthing wire, the last lead goes to the rear mirror.
Mount the cage nuts in the rear mirror (be careful of scratches), the groove for the earth lead
goes upwards, then the nuts of the cage nuts should be below.
Attach the cover plate for the tubes to the rear mirror (do not yet tighten the bolts). When using a
black cover, a masking sticker may have to be removed from around one of the holes, such that
plates can make an electrical contact.
Mount the cover plate and rear mirror on the cabinet and fasten them temporarily with Allen bolts.
32. Final assembly of the cabinet
Fig. 12


