9
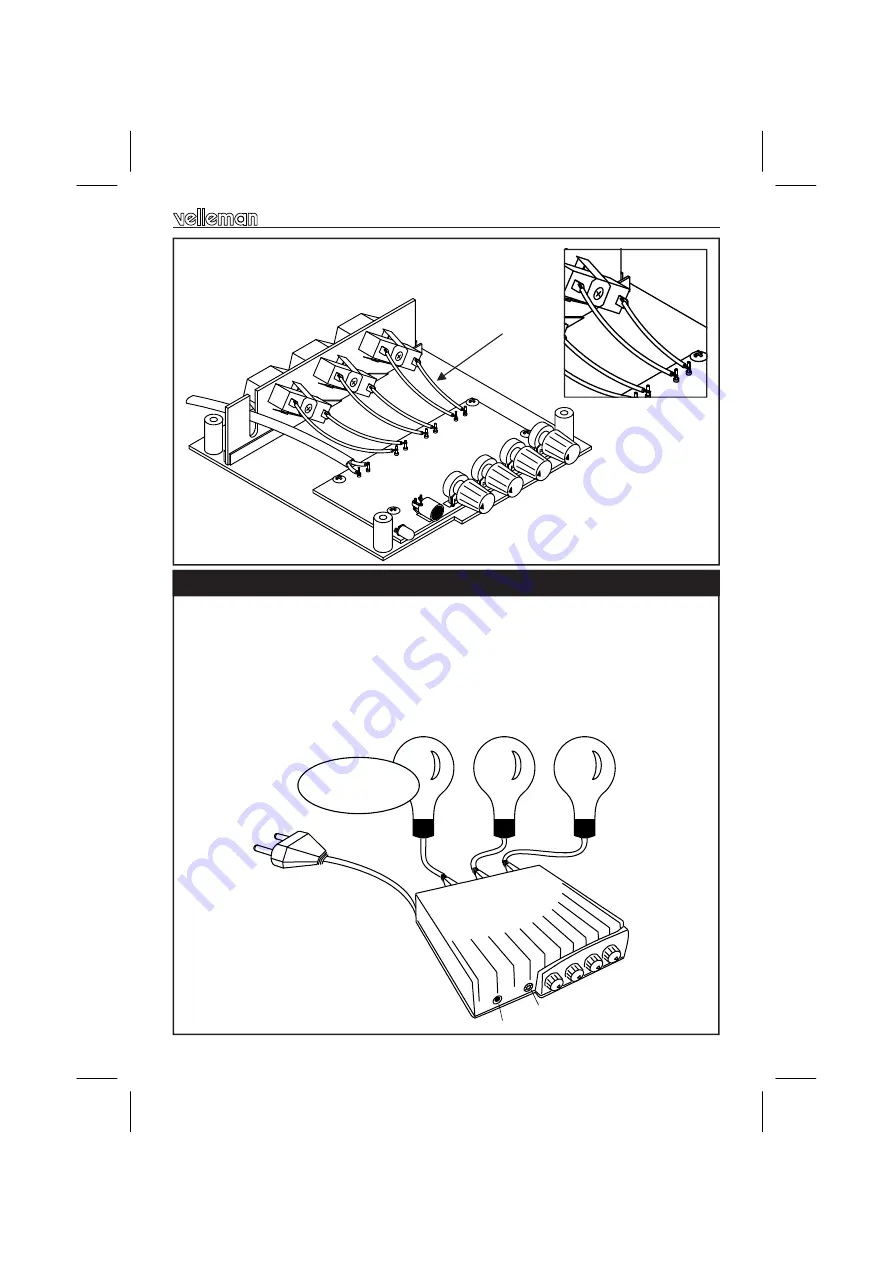
As this kit is shipped to different countries, there is no AC plug supplied. You will need to attach a
plug that matches your electrical system to the loose end of the AC cable. Always close and fasten
the enclosure lid before operating this kit. Make sure the AC voltage is correctly set. Fill out the
included power rating label and stick it to the bottom of the enclosure. To test the unit, turn all con-
trols fully clockwise and plug it in. When the AC cord is plugged in, the power indicator LED should
light. Tap the enclosure gently. The internal LED’s will flash. Now you can test the unit with light
bulbs connected. Make sure the max. rating per channel is not exceeded ! You can adjust the over-
all sensitivity by turning the master level control, while the level for each individual channel can be
adjusted with the low-, mid- and high level controls.
Hook-up & Use
Solder the AC cable to the SK1 pins. Connect the AC sockets to the
board with the supplied wire. Inspect the whole assembly once
more before closing the lid. Fasten the lid with the supplied screws.
17. Hook-up and use
POWER INDICATOR
MICROPHONE
MASTER LEVEL
LOW LEVEL
MID LEVEL
HIGH LEVEL
100W @ 110-125VAC
200W @ 220-245VAC
MAX !
AC PLUG (OPTION)
+/- 6cm (2,4”)


