MONCOLHA8DVD
01 (09/04/2009)
Velleman
®
5
5.
Overview
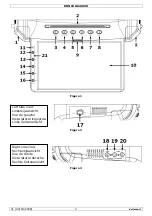
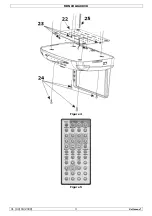
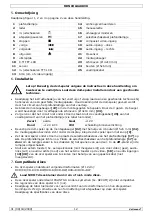
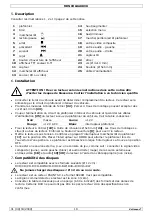
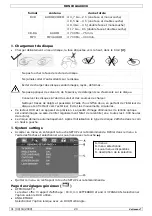
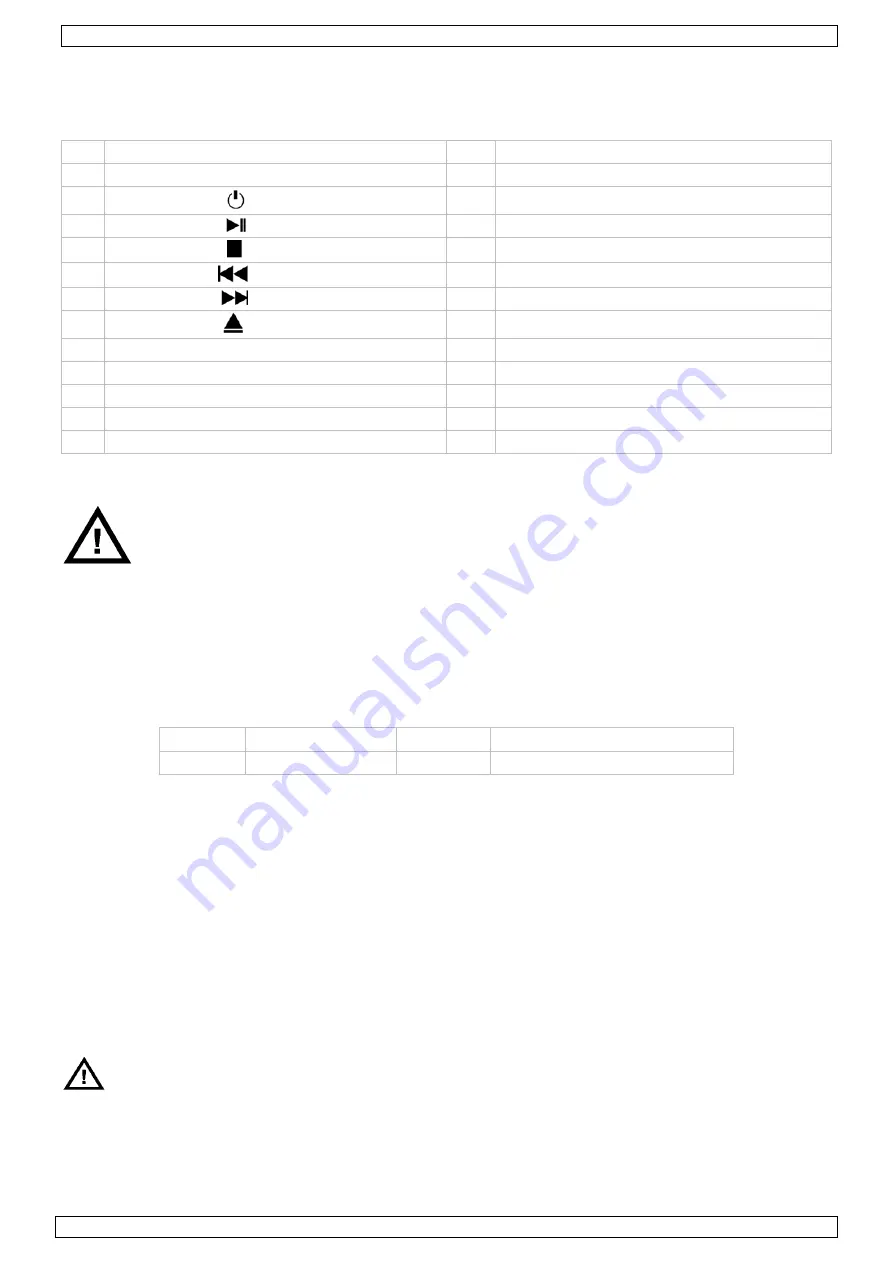
Refer to Figure 1, Figure 2 and Figure 3 on page 2 of this manual.
1
Dome light
14
Adjust up or increase
2
Disc loader
15
Menu select
3
Power
16
Adjust down or decrease
4
Play/pause
17
Dome light on/door/off switch
5
Stop
18
Composite video input
6
Previous
19
Audio input – left
7
Next
20
Audio input - right
8
Eject
21
IR sensor
9
Open LCD button
22
Mounting bracket
10
8.5” TFT colour LCD screen
23
Tapping screws (Ø4x10mm)
11
Control sensor pick-up
24
Mounting bolts (Ø5x6mm)
12
Power TFT on/off
25
Power cable
13
Source (CD or Video input)
6.
Installation
Warning: To prevent injury this apparatus must be securely attached in
accordance with the installation instructions. The installation should be carried
out by a qualified technician.
•
Refer to the technical manual of the vehicle or experienced advice from qualified people when
determining the location of the device. Keep in mind that the system is powered by the same
leads that are used for the interior light.
•
Use the mounting bracket
[22]
to determine the location of the mounting holes. Drill the 4
mounting holes. Note that the bracket will be secured using 4 tapping screws size Ø4x10mm
[23]
.
•
Make sure there is no power on the leads from the interior light. Connect the power leads
[25]
of the device with the power leads of the interior light, based on the overview below:
Black
Ground
Yellow
+12V
Red
+12V ACC
White
Interior illumination switching
•
Mount the device on the mounting bracket
[22]
with 4 mounting bolts size Ø5x6mm
[24]
. The
mounting holes are located under the display. Press on the ‘open LCD’ button
[9]
to move the
display in the ‘open’ position.
•
Apply power to the device. Check by moving the dome light switch
[17]
to the
on
-position. The
dome lights should turn on. Moving the dome light switch
[17]
to the
door
-position will switch
on the dome lights when opening the doors of the vehicle. In the
off
-position, the dome lights
will always be off.
•
When using an external input device e.g. a game console (not included), connect the composite
video (yellow), audio-left (white) and audio-right (red) of that device must be connected to the
video
[18]
and audio inputs
[19][20]
of the media player with an appropriate cable (not
included).
7.
Compatible discs
•
The multimedia player supports following types of discs (Ø12cm):
DVD/CD/CD-R/CD-RW/DVD-R/DVD-RW/DVD+R/DVD+RW
DO NOT play discs smaller than 12cm or odd shaped discs.
•
The player uses the PAL/NTSC colour system. Other systems e.g. SECAM will not work.
•
The region code for this player is set to 0 (zero).
•
Refer to the table below for an (indicative) overview of disc formats and playing times. Note that
some DVD discs might have special requirements or settings which prevent them from being
played in this device. Refer to the specifications of those discs.


