VTSSC78
V. 01 – 12/04/2016
3
USER MANUAL
1.
Introduction
To all residents of the European Union
Important environmental information about this product
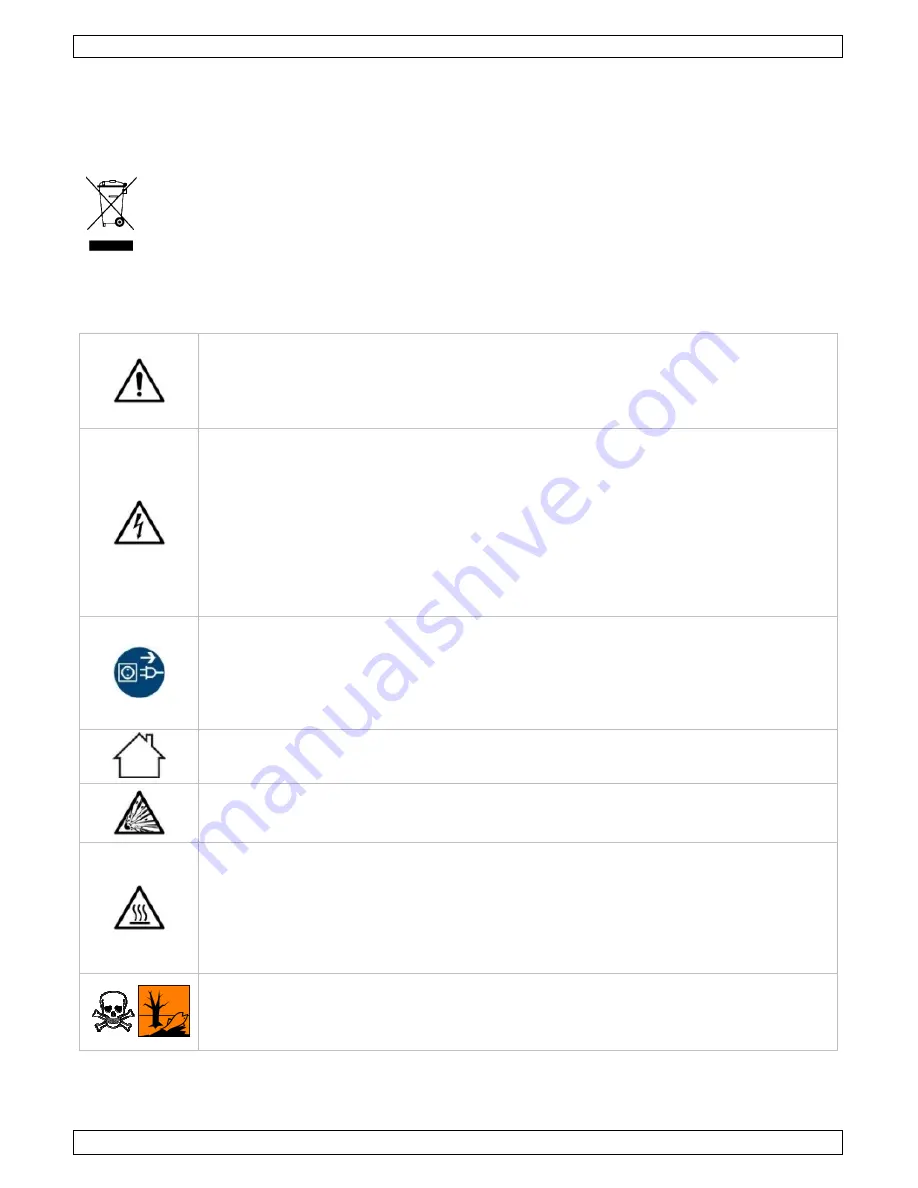
This symbol on the device or the package indicates that disposal of the device
could harm the environment. Do not dispose of the unit (or batteries) as unsorted municipal
waste; it should be taken to a specialized company for recycling. This device should be returned
to your distributor or to a local recycling service. Respect the local environmental rules.
If in doubt, contact your local waste disposal authorities.
Thank you for choosing Velleman! Please read the manual thoroughly before bringing this device into
service. If the device was damaged in transit, do not install or use it and contact your dealer.
2.
Safety Instructions
This appliance is not intended for use by persons (including children) with reduced
physical, sensory or mental capabilities, or lack of experience and knowledge, unless
they have been given supervision or instruction concerning use of the appliance by a
person responsible for their safety.
Children shall be supervised to ensure that they do not play with the appliance.
Do not crimp the power cord and protect it against damage.
Warning!
If the power cord is damaged, it must be replaced by the manufacturer, its
service agent, or similarly qualified persons in order to avoid any hazard.
Make sure that the available voltage does not exceed the voltage stated in the
specifications of this manual.
Plug the power cord into a suitable,
earthed
mains outlet.
Risk of electroshock
when opening the cover. Touching live wires can cause life
threatening electroshocks. Do not disassemble or open the housing yourself. Have the
device repaired by qualified personnel.
Do not operate the device with wet hands.
Always disconnect mains power when the device is not in use or when servicing or
maintenance activities are performed. Handle the power cord by the plug only.
Caution!
After switching off,
leave the power cord plugged in
When you switch off the unit, the automatic cooling function blows cooling air through
the heater pipe for a short period. This protects the heater from damage and extends its
lifetime. Do not disconnect the mains plug during this cooling process.
Indoor use only
. Keep this device away from rain, moisture, splashing and dripping
liquids. Never put objects filled with liquids on top of or close to the device.
Do not use near inflammable products or in explosive atmospheres. Heat can cause fire
to inflammable products even when they are not in sight. Only use in properly ventilated
rooms.
Incorrect use may cause fire.
Do not touch the shafts, tips, or hot air gun as this can cause serious burns.
tips and hot air away from the body, clothes, or other flammabl
the hot air gun at the eyes. Use gloves and/or heat-resistant tools to pick up the PCB
assembly to prevent burns. Always return the irons and gun to
uses; always let the device cool down after use and before stor
Place the device on a level, stable, and fire resistant working surface.
Do not inhale solder fumes. The vapours that are released during soldering are harmful.
Therefore, you shall only use the soldering station in well-ventilated areas or under
exhaust hood (solder fume extractor). Dispose of fume filters and
accordance with local regulations.
©Velleman nv
This symbol on the device or the package indicates that disposal of the device after its lifecycle
could harm the environment. Do not dispose of the unit (or batteries) as unsorted municipal
waste; it should be taken to a specialized company for recycling. This device should be returned
vice. Respect the local environmental rules.
Thank you for choosing Velleman! Please read the manual thoroughly before bringing this device into
t install or use it and contact your dealer.
This appliance is not intended for use by persons (including children) with reduced
physical, sensory or mental capabilities, or lack of experience and knowledge, unless
en supervision or instruction concerning use of the appliance by a
l be supervised to ensure that they do not play with the appliance.
If the power cord is damaged, it must be replaced by the manufacturer, its
service agent, or similarly qualified persons in order to avoid any hazard.
Make sure that the available voltage does not exceed the voltage stated in the
when opening the cover. Touching live wires can cause life-
threatening electroshocks. Do not disassemble or open the housing yourself. Have the
not in use or when servicing or
maintenance activities are performed. Handle the power cord by the plug only.
leave the power cord plugged in
for a few minutes.
off the unit, the automatic cooling function blows cooling air through
the heater pipe for a short period. This protects the heater from damage and extends its
lifetime. Do not disconnect the mains plug during this cooling process.
this device away from rain, moisture, splashing and dripping
on top of or close to the device.
Do not use near inflammable products or in explosive atmospheres. Heat can cause fire
even when they are not in sight. Only use in properly ventilated
as this can cause serious burns. Keep the
tips and hot air away from the body, clothes, or other flammable material. Do not aim
resistant tools to pick up the PCB
to their stands between
cool down after use and before storage.
Place the device on a level, stable, and fire resistant working surface.
Do not inhale solder fumes. The vapours that are released during soldering are harmful.
ventilated areas or under an
fume filters and solder residue in