25
.
w w w . v e l o d y n e . c o m
Digital Drive User’s Manual
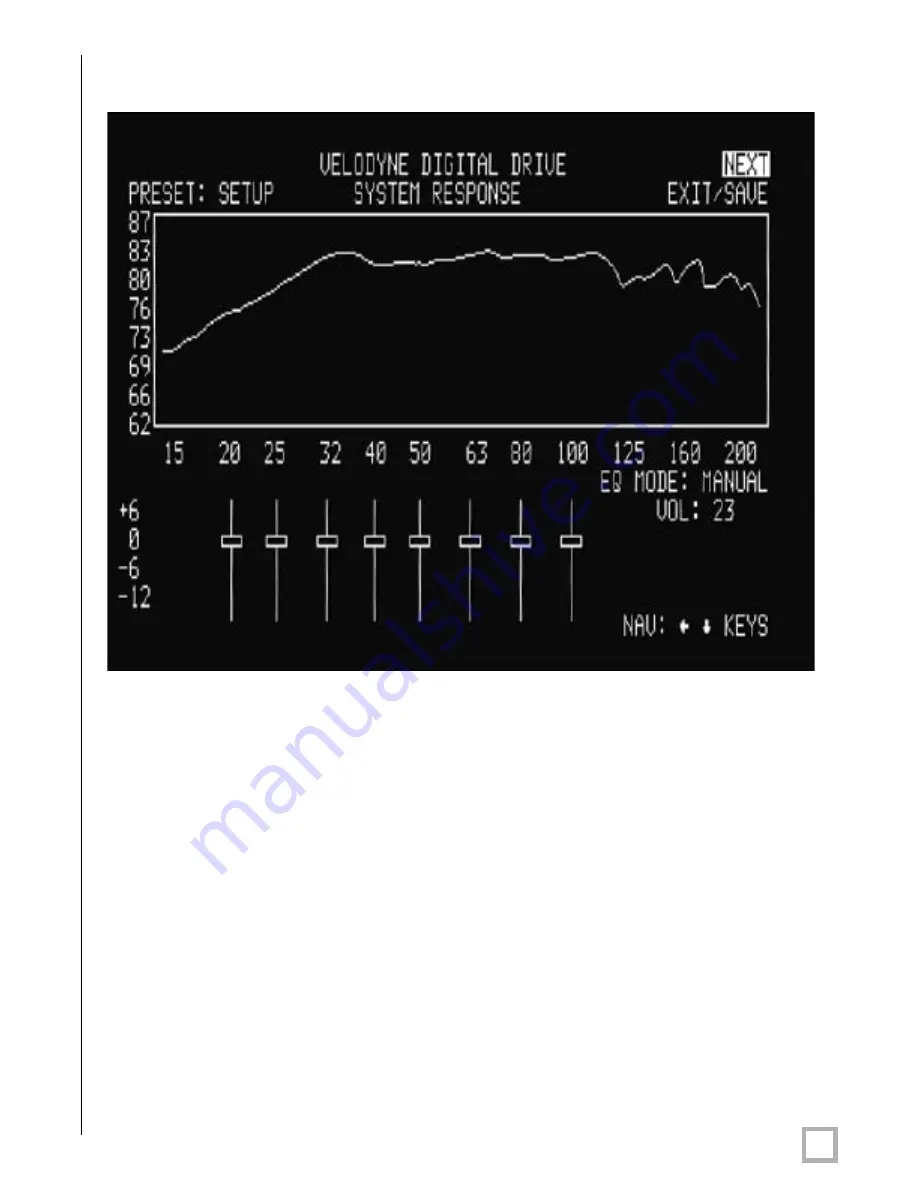
TIP: To see immediate feedback on the effects of your changes to the “SYSTEM RESPONSE”
graph, press the TEST button. The following screen appears:
Press TEST again to return to the SYSTEM SETTINGS screen.
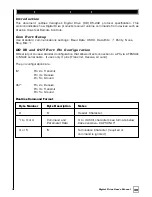
NOTE: Some receivers/processors supply a signal that is already crossed over
–
i.e. just the
bass frequencies. If this is the case, you will want to defeat the SMS
-
1’s low pass crossover.
To defeat the low pass crossover, press the SELECT key, then the RESET key. OFF appears
in all the low pass crossover and low pass slope fields.
NOTE: Your goal in setting the low pass crossover is to make the crossover point (the point at
which the subwoofer meets the main speakers in terms of frequency) as smooth as
possible. Another big factor in smoothing this point in the curve is phase, discussed in step
17, below.
15. Now adjust the low pass crossover slope. This setting is shipped at 24 dB/octave
–
a
fairly steep slope to prevent the subwoofer from playing upper frequencies that might call
attention to it during normal operation. At this stage, set the crossover settings under the
column entitled SETUP. Reduce the slope if necessary and use the TEST button to return
to the EQ setup screen and observe the “SYSTEM RESPONSE” graph
–
it should be as flat
as possible at the crossover frequency and immediately to the left and right of it. Too
gradual a slope (e.g. 6 dB/octave) may produce a bump at the crossover frequency, and
too steep a slope may produce a dip.
Summary of Contents for SMSTM -1
Page 2: ...Caution i w w w v e l o d y n e c o m Digital Drive User s Manual...
Page 3: ...Attention ii w w w v e l o d y n e c o m Digital Drive User s Manual...
Page 4: ...Vorsicht iii w w w v e l o d y n e c o m Digital Drive User s Manual...
Page 5: ...Attenzione iv w w w v e l o d y n e c o m Digital Drive User s Manual...
Page 9: ...3 w w w v e l o d y n e c o m Digital Drive User s Manual Remote Contr ol...


