Note: VeloView is not intended to generate point cloud files in LAS, XYZ, or PLY formats (see
Point Cloud Formats on page 66
). See the list of Velodyne system integrators at
for vendors who can sell you more advanced imaging software or a complete mapping
system.
E.2 Install VeloView
Installers for VeloView for Windows (32-bit and 64-bit) and Macintosh computers can be found on the USB stick included
with your sensor. Links to the latest installers can be found on the Velodyne web site. You can install VeloView from the
USB stick or follow the steps below to install from the web site.
http://velodynelidar.com/downloads.html#software
.
2. Click the VeloView Download button to go the official VeloView download page.
3. Scroll down to the How to Obtain section.
4. Choose the correct binary installer for your operating system; click the link.
5. Save the executable installer to disk.
6. Launch the installer and follow the on-screen instructions.
E.3 Visualize Streaming Sensor Data
1. Setup access to your sensor over Ethernet as described in
Unboxing & Verification on page 22
and power it up.
2. Start the VeloView application.
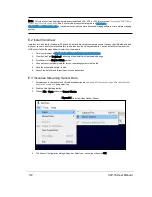
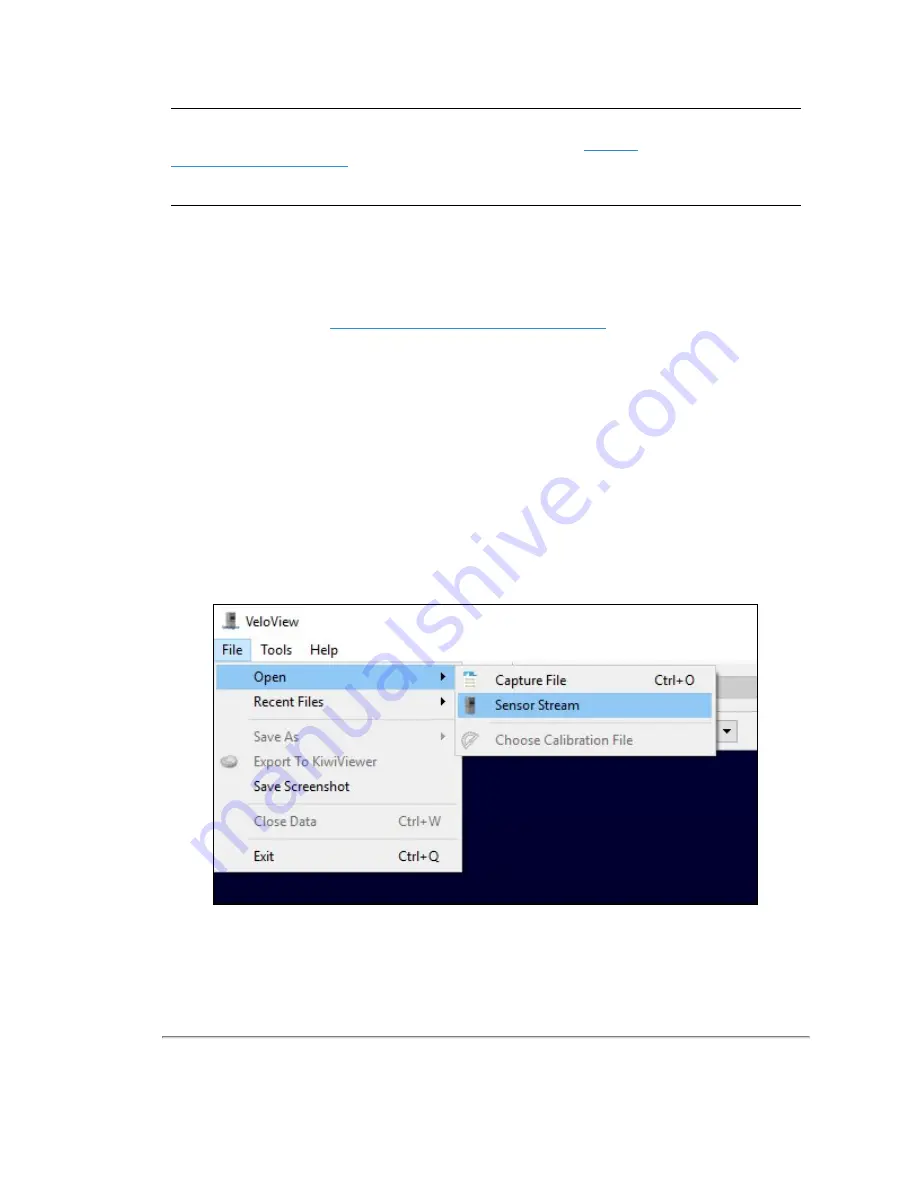
3. Click on File > Open and select Sensor Stream.
Figure E-1 VeloView Open Sensor Stream
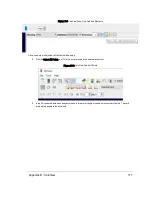
4. The Sensor Configuration dialog will appear. Select your sensor type then click OK.
112
VLP-16 User Manual


