8
4. Working
Commissioning
➢
Switch on the instrument using the main switch (E)
➢
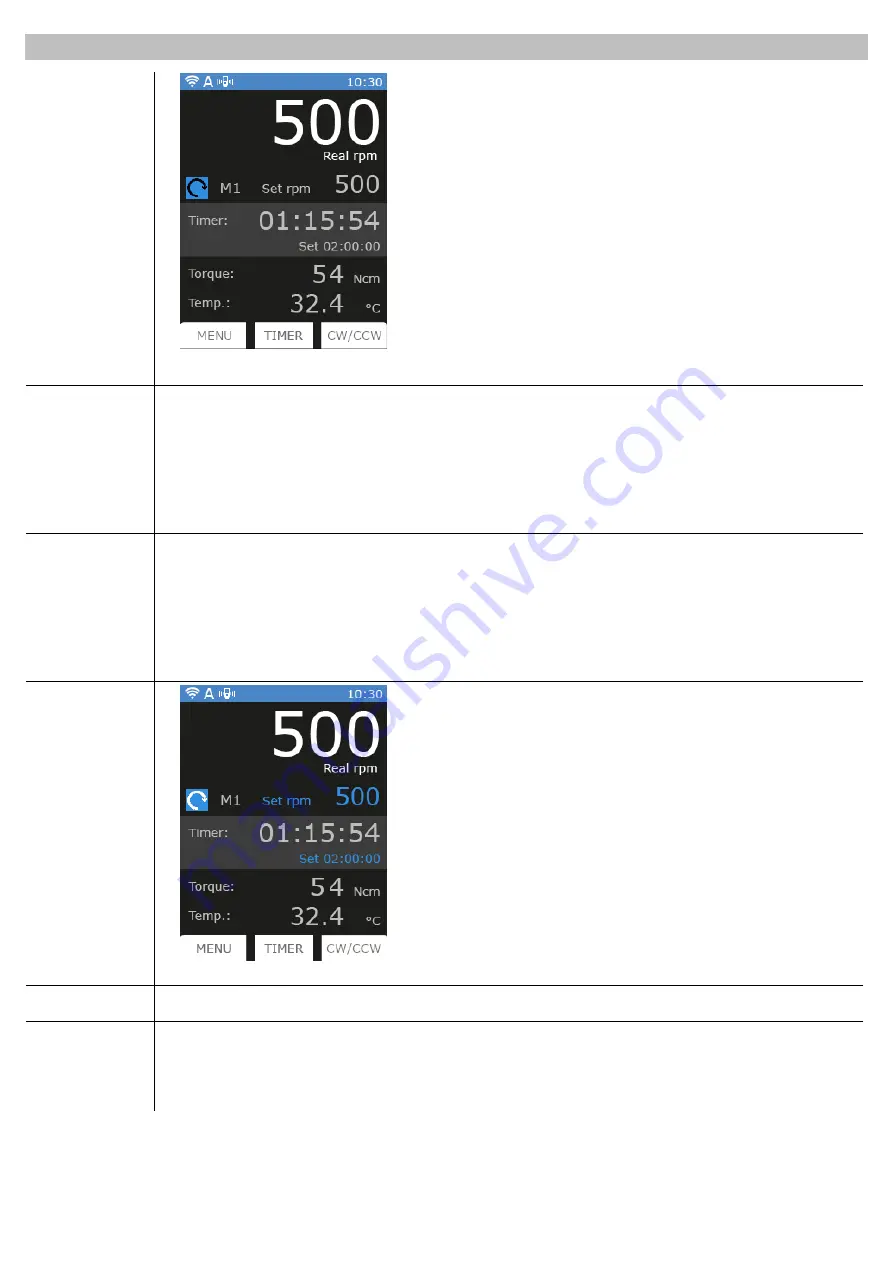
Display (A) shows Welcome page and the main screen
Stirring
➢
Adjust speed set point by turning the speed control knob (C). As soon as the knob is moved, set rpm (6)
becomes blue.
➢
Click the speed control knob (C) to start stirring.
➢
Speed increases until set point is achieved.
➢
A microprocessor ensures constant speed even when the viscosity changes (counter-reaction).
➢
Switch off the stirring by clicking the knob (C).
Timer
➢
Click Timer button (12) to select the timer.
➢
Set timer (8) - time becomes blue. Adjust timer by turning the speed control knob (C).
➢
Click the knob (C) to confirm.
➢
If the instrument is already working, timer countdown starts immediately, otherwise timer (7) is fixed as set
timer (8) until stirring begins.
➢
If timer is not set, set timer (8) shows hh:mm:ss and timer (7) works as a counter.
CW / CCW
➢
Set the rotating direction by clicking CW/CCW button (11) and
rotating the speed control knob (C).
➢
Click the knob (C) to confirm clockwise (CW) or counterclockwise
(CCW) direction. Once confirmed,
“CW/CCW” symbol becomes
black.
Torque
➢
The intensity of the torque is indicated on the main screen (9).
Lock
➢
Holding the Lock key (D) for 3 seconds, the instrument will lock its settings during operations.
➢
Unlock the control panel by holding the Lock key (D) for 3 seconds.
➢
If other buttons are clicked while the instrument is locked, the two LEDs aside lock button blink for many
seconds.
Figure 4.
Main screen
Figure 5.
Set Rotation Direction


