


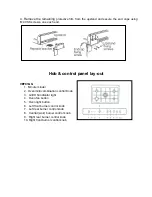


contact the authorised service provider.
Please state the cooker model
number to the
service agent. The model number is stated on the data plate. The data plate is located on
the inside of the oven door, centre bottom.
Ventilation
The use of gas burners leads to the production of heat and moisture in the kitchen. For this
reason make sure that the room is properly ventilated. Keep ventilati
o
n openings, such as
windows, open or provide a mec
h
anical ventilation device (e.g. a range hood o
r
overhead
exhaust fan)
.
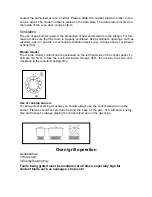
Minute minder
The minute minder control knob is positioned on the left hand side of the control panel. To
activate the timer, rotate the knob clock-wise through 360°, then return the knob anti-
clockwise to
the
required cooking time
.
Use of cooktop burners
For safe and economi
c
gas usage you should always use the correct
sized
pan on the
burner. Flames should not protrude beyond the base of the pan. You will save energy,
time and money by always placing the correc
t
size
d pan
on the gas ring
s.
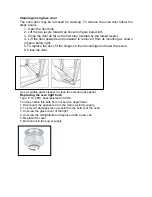
Oven /grill operation
Accessories
1
W
ire shel
f
1
E
namel baking tray
Foods being grilled must be monitored at al
l
times, especially high fat
content foods such as sausages, chops, e
tc
.


