background image

Press

Press

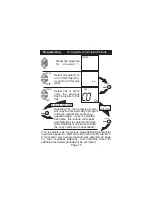
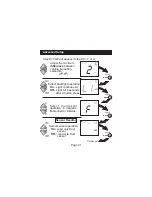
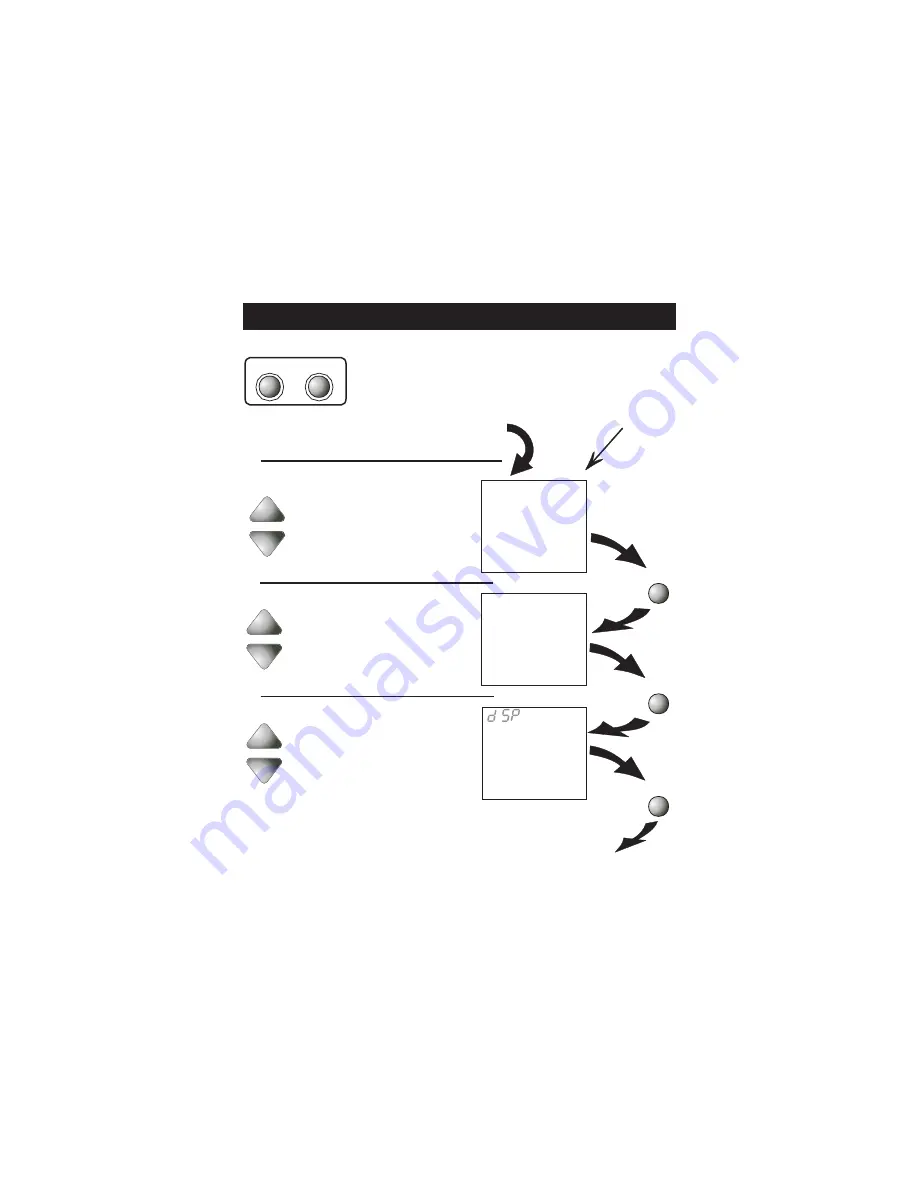
Select Display operation:
  

On

 = Full Display


Off

 = Minimal display

Select the day of the
week.

Display On

Display Off

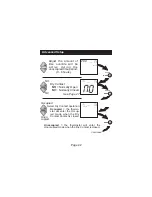
See Page 29

MODE

MODE

Adjust the time of day.

Tip: To change hours 
quickly, press and hold 
the FAN button and 
press the UP or DOWN 
buttons.

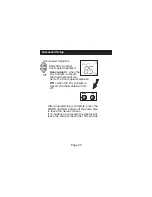
NOTE:

  Each  step

#  is  located  at  the 
top  right  corner  of 
the display for easy 
reference.

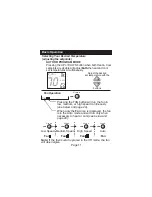
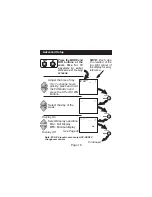
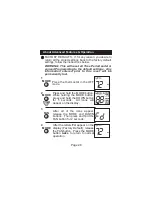
Press the MODE and 
FAN  buttons  at  the 
same  time  for  10 
seconds  to  enter 
A d v a n c e d   S e t u p  
screens.

Advanced Setup

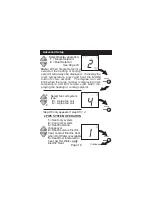
MODE

FAN

  2

Setup

   I

Am

Setup

I2:00

  3

ON

Setup

Press

MODE

Continued

Page 18

Note: #3 & #4 require accessory ACC-SENFC
changeover sensor

    Mo

Summary of Contents for T1075

Page 1: ...STRUCTIONS 3 Occupied 1 Unoccupied Override capable 3 speed fan control Auto 2 pipe changeover when used with accessory changeover sensor Dry contact equipped Backlit display Works with most fan coil...

Page 2: ...SETUP ADVANCED SETUP TABLE ABOUT ADVANCED FEATURES OPERATION WARRANTY SAMPLE WIRING DIAGRAMS 2 3 6 11 12 18 24 38 34 25 Page 1 13 SELECTING THE HEAT OR COOL MODE 7 Model T1075 CAUTION WARNING Disconn...

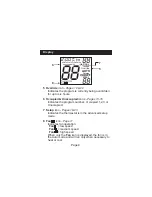
Page 3: ...72 74 70 Am COOL HEAT AUTO Mo I2 00 Front Panel Page 2 Liquid Crystal Display Up Down Buttons Mode Button Fan Override Button Heat or Cool Indicator Heat Red Cool Green 1 1 2 3 4 5 2 3 4 5 Mode Fan...

Page 4: ...geover between heat and cool modes as the temperature varies PROGRAM ON Indicates the time period program is enabled to run OFF Indicates heating and cooling are turned off Clock with Day of the Week...

Page 5: ...en for up to six hours Occupied Unoccupied icons Pages 13 16 Indicates the program number Occupied 1 2 3 or Unoccupied Setup icon Pages 18 23 Indicates the thermostat is in the advanced setup mode Fan...

Page 6: ...88 COOL HEAT Override Locked AUTO OUTSIDE Start Stop icons Pages 14 16 Appear when programming occupied time periods Locked icon Page 31 Indicates keypad has been locked Outside icon Page 32 Indicate...

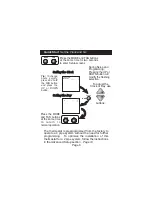
Page 7: ...same time for two seconds to enter Setup screens Quick Start Set the Clock and Go Press MODE Setting the Clock Setting the Day Am Setup I2 00 Setup Mo MODE FAN MODE FAN Press the MODE and FAN buttons...

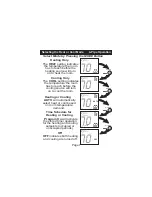
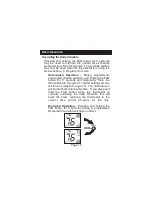
Page 8: ...y The COOL setting indicates the temperature the room has to reach before the cooling source will turn on to cool the room Cooling Only OFF indicates both heating and cooling are turned off Off AUTO w...

Page 9: ...r Cool Mode 2 Pipe Operation The HEAT setting indicates the temperature the room has to reach before the heating source will turn on to heat the room Heating Only Time Schedule for Heating or Cooling...

Page 10: ...r Cool Mode 2 Pipe Operation The COOL setting indicates the temperature the room has to reach before the cooling source will turn on to cool the room Cooling Only OFF indicates both heating and coolin...

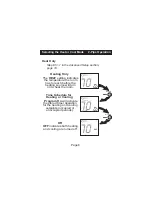
Page 11: ...ture is changed during the year the ther mostat will then automatically lock out the incorrect mode Heating and or Cooling Step 6 3 in Advanced Setup page 19 and the accessory changeover sensor ACC SE...

Page 12: ...just the desired set temperature with the Fan Operation Press FAN Press FAN Press FAN Press FAN Press FAN Low Speed Medium Speed High Speed Auto Fan Pressing the FAN button will run the fan in low med...

Page 13: ...grammed unoccupied periods pressing and holding the FAN button for 5 seconds will temporarily force the thermostat into Occupied 1 comfort settings for one to six hours step 14 page 22 The Override ic...

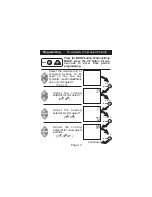
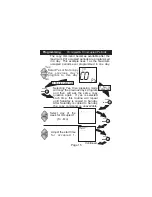
Page 14: ...MODE press the UP button for two seconds to enter time period programming MODE Select the maximum of occupied periods to be used on any one day Typically most installations use only Occupied 1 1 2 or...

Page 15: ...Mo Mo Pm Stop 1 6 00 Mo ON 1 Off On Mo Select day of the week to program Mo Su Adjust the start time for Occupied 1 Adjust the stop time for Occupied 1 Select Occupied 1 to run on this day On or not...

Page 16: ...this routine will repeat until Saturday is copied to Sunday After Saturday is copied to Sunday the copy command is unavailable The copy command becomes available after the maximum of occupied periods...

Page 17: ...ied to Sunday the copy command is unavailable If no is selected as in previous steps flashing prompts for input will appear for start and stop times for Occupied 1 If more than one occupied period was...

Page 18: ...effect at all times when 1 the program is on and 2 the current time is outside an occupied period For this reason start and stop times are not necessary for unoccupied If the same start and stop times...

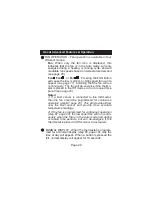
Page 19: ...kly press and hold the FAN button and press the UP or DOWN buttons NOTE Each step is located at the top right corner of the display for easy reference Press the MODE and FAN buttons at the same time f...

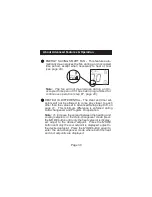
Page 20: ...ill blink when the large number is displaying room temperature and will remain solid when dis playing the heating or cooling setpoint 4 Setup 2 Note When Single Setpoint is selected the heating or coo...

Page 21: ...See Page 29 Note 2 Select operation when fan is in the Auto mode On continuous low speed fan Off only energize during a heating or cooling cycle 7 AUTO Continued On Off See Page 33 for further explana...

Page 22: ...Continued Setup I I I0 Step 10 will not appear if step 6 1 or 2 Page 21 Adjust the minimum difference between cooling heating setpoints 0 6 Press MODE Select sensor operation On sensor Off control to...

Page 23: ...pied time period 0 6 hours Press MODE Override 2 00 I4 Setup See Page 27 Page 22 Press MODE MODE Continued Select Dry Contact operation Occupied Unoc cupied Setup I6 occupied Unoccupied the thermostat...

Page 24: ...ons at the same time to leave the Setup screens If no buttons are pressed the display will leave the setup screens after 60 seconds Setup 85 I7 55 unoccupied Page 23 Off when the Dry Contact is closed...

Page 25: ...ff Off 2 2 Off F Off 2 Hours NO NC Occ Unocc Page 24 1 Time of Day 2 Day of Week 3 Display Blanking 4 Single or Dual Setpoint 5 2 or 4 Pipe System 6 2 Pipe System Operation 7 Fan Auto Operation 8 Fan...

Page 26: ...the following procedure Place the thermostat in the OFF mode Press the MODE button once The thermostat temperature will be displayed and may be calibrated using the UP or DOWN button After calibration...

Page 27: ...nt plus the 1st stage deadband step 9 page 20 plus the 2nd stage dead band This 2nd stage deadband is fixed at one degree and is not adjustable The low speed fan for heat or cool is turned on when The...

Page 28: ...tat will be forced into Unoccupied setpoints or Off step 17 page 23 and the Unoccupied icon will appear on the display Connect wires to a time clock or other device to force the thermostat into Occupi...

Page 29: ...e the MODE and DOWN buttons Then press and hold the FAN button for 2 seconds After the letters Fd appear on the display Factory Default release the FAN button Press the MODE button twice to return to...

Page 30: ...in the Off mode or an unoccupied time period see page 26 1 If a Duct sensor is connected to this thermostat then the fan should be programmed for continuous operation step 7 page 20 This will provide...

Page 31: ...ge 29 This feature auto 70 unoccupied Pm Mo I2 00 76 68 COOL HEAT Note The fan will not de energize during an Un occupied time period if it has been programmed for continuous operation step 7 page 20...

Page 32: ...isplay then release the buttons To unlock the keypad press and hold the MODE button While holding the MODE button press the UP and DOWN buttons together The LOCKED icon will disapp ear from the displa...

Page 33: ...perature will appear in the clock display Page 32 DUCT SENSOR P N ACC0402 The thermostat is programmed from the factory to automatically recognize when a Duct Sensor is connected step 13 page 21 Note...

Page 34: ...o seconds Release the MODE button to return to the normal display Page 33 FAN COIL TYPE This step instructs the thermostat how to set the G G2 and G3 outputs to yield the desired fan speeds Since this...

Page 35: ...Voltage Valve H2O Changeover Sensor COM G G3 G2 L M H R C R C G2 G3 G H2O V EH Y1 H O Changeover Sensor ACC SENFC 2 Generic Relay Board 24 Volt Water Valve 24vac Thermostat If 2 pipe with auxiliary el...

Page 36: ...ct Sensor ACC0402 R C R C G2 G3 G RS H2O Ck1 Y1 W1 H C 24 Volt Water Valves Thermostat 24vac Important Note If a Duct sensor is conn ected to this thermostat it is suggested that the fan be programmed...

Page 37: ...r to T1075 Fan Coil Thermostat C G2 W1 G3 G Y1 Thermostat Digital Sensor High Temp Heat Shrink Tubing 5 Plenum Rated Cable White Black Note It is important to the black wire from the Duct Sensor direc...

Page 38: ...a direct short which could damage the transformers and or the if the units share a common ground with single thermostat it is possible to encounter interfere with thermostat thermostats Phasing probl...

Page 39: ...DEALER OR OTHER PERSON WHATSOEVER ALL WORK UNDER THE TERMS OF THIS WARRANTY SHALL BE PERFORMED DURING NORMAL WORKING HOURS ALL REPLACEMENT PARTS WHETHER NEW OR REMANUFACTURED ASSUME AS THEIR WARRANTY...

Reviews: