Page 3
L151 0310A
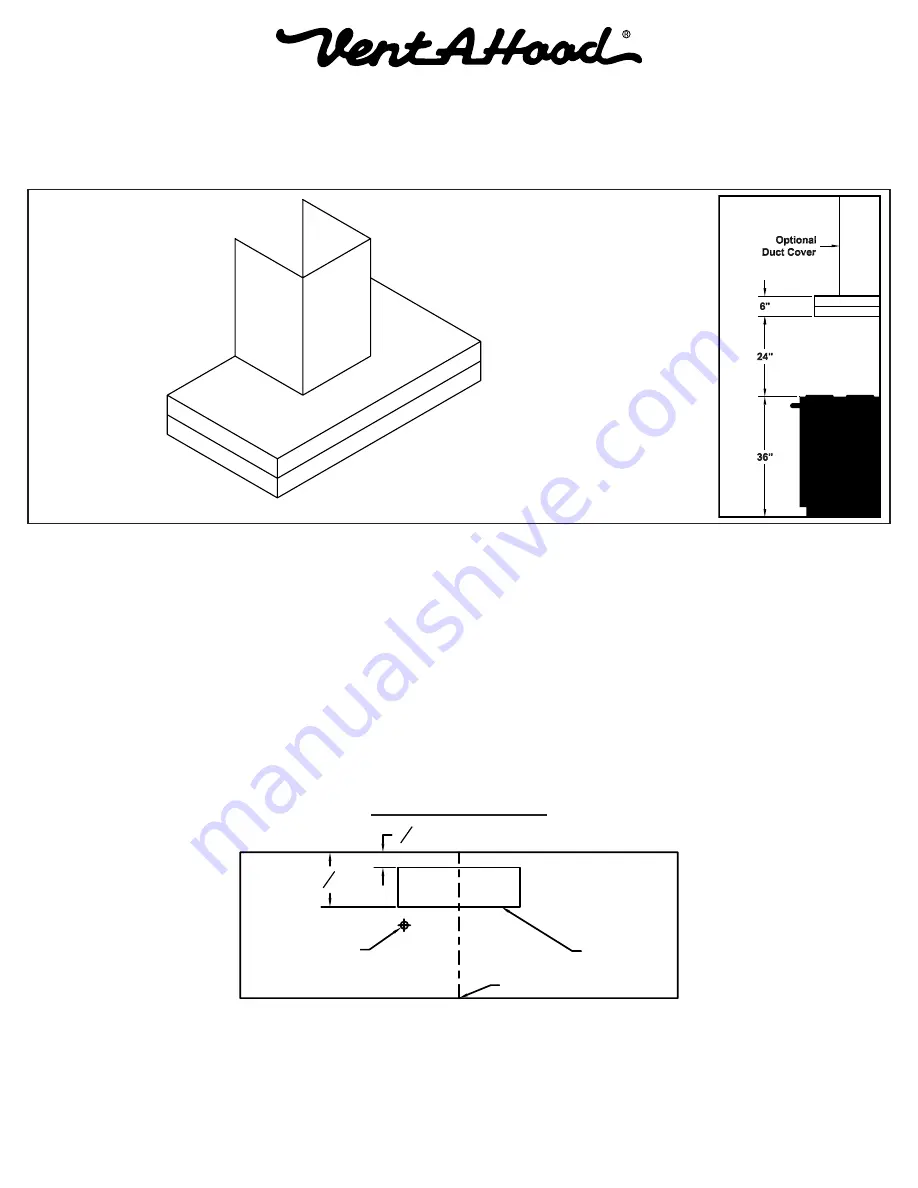
Installation Details
Shown with duct cover installed (sold seperately).
Connection Diagram
(Top View)
1) Read all instructions thoroughly before beginning installation.
2) When installing a CWEH6-K wall mount hood, it is recommended that the bottom edge of the hood be located no more
than 24” above the cooking surface. Exceeding recommended mounting height may compromise performance.
3) IF THE HOOD IS TO BE “BACK VENTED”, PROCEED DIRECTLY TO STEP 4.
Consult the connection diagrams (below) for further details on exhaust outlet placement.
Install the duct from the outside of the home down to the location of the exhaust outlet on the top of the hood allowing
room for the transition (if applicable). If the VP521 is used, cut the duct to reach the transition outlet plus 1". This will
allow the transition to engage 1" inside of the duct. One end of the duct must be crimped to fit inside the duct in the
ceiling. Insert the non-crimped end over the transition or into the exhaust collar on top of the hood and seal with duct
tape.
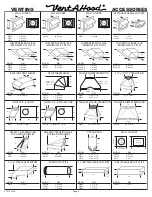
Use duct tape to seal all joints. A complete listing of available Vent-A-Hood ducting materials is provided on the back
page of this instruction sheet.
Transition height: 3-1/4” x 10” duct will connect directly to the exhaust outlet of the hood. Optional VP521 transition
to 7” round (sold separately) is 7 1/2” tall.
4) Remove the hood from its packaging and place the back of the hood on the floor or countertop in front of the wall
where it will hang.


