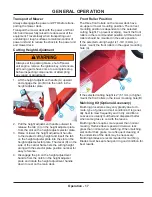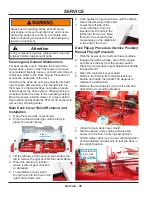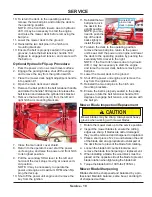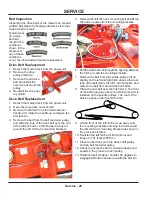
SERVICE
Service - 19
10. To return the deck to the operating position,
remove the two ball pins and rotate the deck to
the operating position.
NOTE: if the front hitch lowers due to hydraulic
drift, it may be necessary to start the engine
and raise the mower deck before removing the
ball pins.
11. Lower the mower deck to the ground.
12. Reinstall the two ball pins in the hitch arm
mounting brackets.
13. Ensure the belt is properly seated in the pulley
grooves, rotate the belt tensioner handle 180
degrees to engage belt tension, and secure with
the ball pin.
Optional Hydraulic Flip-up Procedure
1. Park the power unit on a smooth level surface.
2.
Engage the parking brake, shut off the engine,
and remove the key from the ignition switch.
3. Place the mower deck height adjustment handle
into position # 1.
4. Open the main deck cover shield.
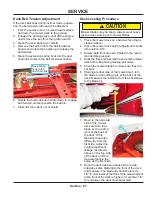
5. Remove the ball pin from the belt tensioner handle
and rotate the handle 180 degrees to release the
belt tension and release the cylinder lock bracket.
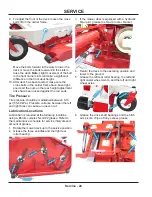
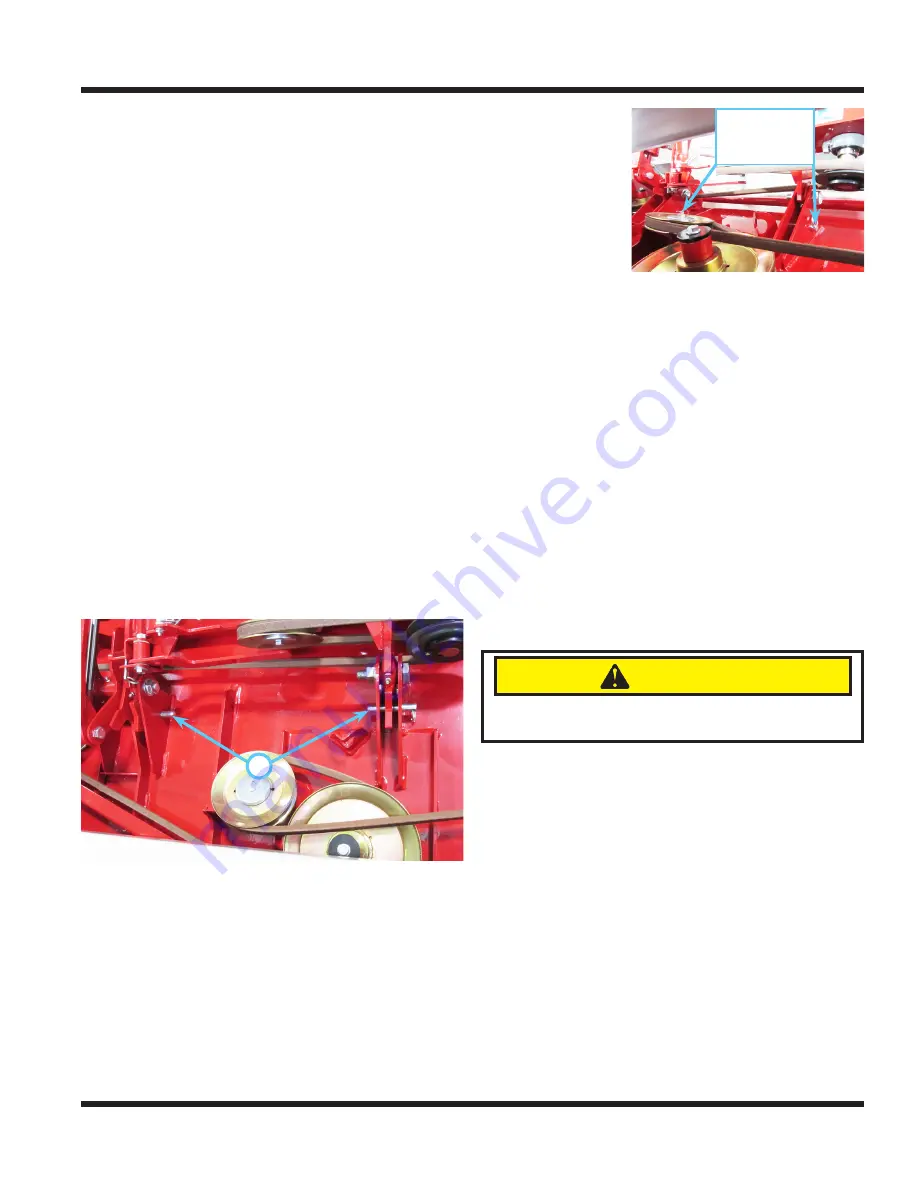
6. Remove the two ball pins (A) from the left and
right hitch arm mounting brackets.
7.
A
Close the main deck cover shield.
8. Return to the operator’s seat, start the power
unit’s engine, and raise the power unit front hitch
to its highest position.
9. Pull the secondary SDLA lever to the left and
hold until the deck stops moving at a near verti-
cal position.
NOTE: it may be necessary to operate the
power unit engine at maximum RPM when flip
-
ping the deck up.
10.
Shut off the power unit engine and remove the
key from the ignition.
11. Reinstall the two
Reinstall ball
pins to lock
deck in place
ball pins to lock
the deck in the
upright position.
NOTE: you may
need to push the
top of the deck
back slightly to
install the pins.
12. To return the deck to the operating position,
remove the two ball pins, return to the power
unit’s seat, start the power unit engine, and lower
the deck to the operating position by pushing the
secondary SDLA lever to the right.
NOTE: if the front hitch lowers due to hydraulic
drift, it may be necessary to start the engine
and raise the mower deck before removing the
ball pins.
13. Lower the mower deck to the ground.
14.
Shut off the power unit engine and remove the
key from the ignition switch.
15. Reinstall the two ball pins in the hitch arm
mounting brackets.
16. Ensure the belt is properly seated in the pulley
grooves, rotate the belt tensioner handle 180
degrees to engage belt tension, and secure with
the ball pin.
Mower Blade Inspection/Replacement
1.
CAUTION
Mower blades may be sharp. Always wear heavy
gloves when working with mower blades.
Rotate the mower deck up to the service position.
2. Inspect the mower blades to ensure the cutting
edges are sharp. If blades are dull or damaged,
they must be removed and sharpened or replaced.
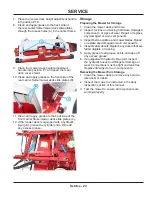
3. Place a short piece of 2 x 4 wood between the end
of the blade and an appropriate structural part of
the deck frame to prevent the blade from rotating.
4. Loosen the blade bolt counterclockwise and
remove the blade for sharpening or replacement.
5. When installing a blade, the wood block must be
placed on the opposite side of the blade to prevent
blade rotation when tightening the blade bolt.
6. Torque the blade bolt to 100 ft-lbs (136 Nm).
Mower Blade Sharpening
Blades should be sharpened and balanced by a pro-
fessional. Maintain balance, same bevel, and length
of sharpened surface.

