6
Product Overview
Connecting to your Computer
This Verbatim external hard drive provides four available connection protocols: eSATA, USB, FireWire 400 or
FireWire 800. You can attach your drive to a computer with any of these connections, but do not attempt to use
more than one connection type at the same time.
Connecting your drive to a computer is extremely simple. Follow the steps below.
1. Connect the included AC Adapter to the drive and then to a wall outlet.
2. Next, press and hold the Power Button for at least 3 seconds to turn on the drive.
3. Finally, connect one, and only one, of the following data cables.
•
USB:
Connect the included USB cable from the USB port on the drive to an available USB port on your
computer.
•
FireWire 400:
Connect the included 6-pin-to-6-pin FireWire cable from the FireWire 400 port on the drive to
an available FireWire 400 port on your computer.
•
FireWire 800:
Connect the included 9-pin-to-9-pin beta cable from one of the FireWire 800 ports on the
drive to an available FireWire 800 port on your computer.
•
eSATA:
Connect the included eSATA cable from the eSATA port on the drive to an available eSATA port on
your computer.
4. The hard drive will mount automatically, and a new icon will appear in
My Computer
(Windows) or a new icon
will appear on the desktop (Mac).
Depending on your computer’s operating system and the interface type you are using, the following special notes may apply:
Note 1: USB under Windows.
If you are using a USB 1.1 port on your Windows computer, the following
cautionary note may appear on your display:
Hi-Speed USB Device plugged into non-Hi-Speed USB hub
. This
does not indicate a problem because the drive is compatible with both USB 1.1 and USB 2.0 ports. Simply close
the message and proceed. However, in this case the drive will operate only at USB 1.1 speeds.
Note 2: USB or FireWire or eSATA under Mac OS X 10.2.
Mac OS X version 10.2 will not mount any single
FAT32-formatted (MS-DOS) partition greater than 128GB. To work around this OS limitation, you may partition the drive
into smaller FAT32 partitions, or you may reformat the drive to HFS+ format.
Note 3: eSATA.
Though the eSATA interface standard provides for “hot-plugging” of the drive, some computers
may not follow the standard precisely. If you find that your drive does not mount after attaching to a computer that is
powered on, shut down the computer, attach and power on the drive; then boot up your computer.
Disconnecting your Hard Drive
Your external hard drive is hot-swappable. It can be connected and disconnected without restarting your computer.
To disconnect your drive at any time, perform the following steps below. You can also disconnect your hard drive at
any time while your computer is powered off.
Note:
Please be careful to follow the correct procedure when disconnecting your unit. Simply unplugging the unit
without first following the instructions below may result in damage to your unit and/or loss of data.
For Windows Users:
1. If you have files located on your drive open in any applications, close them.
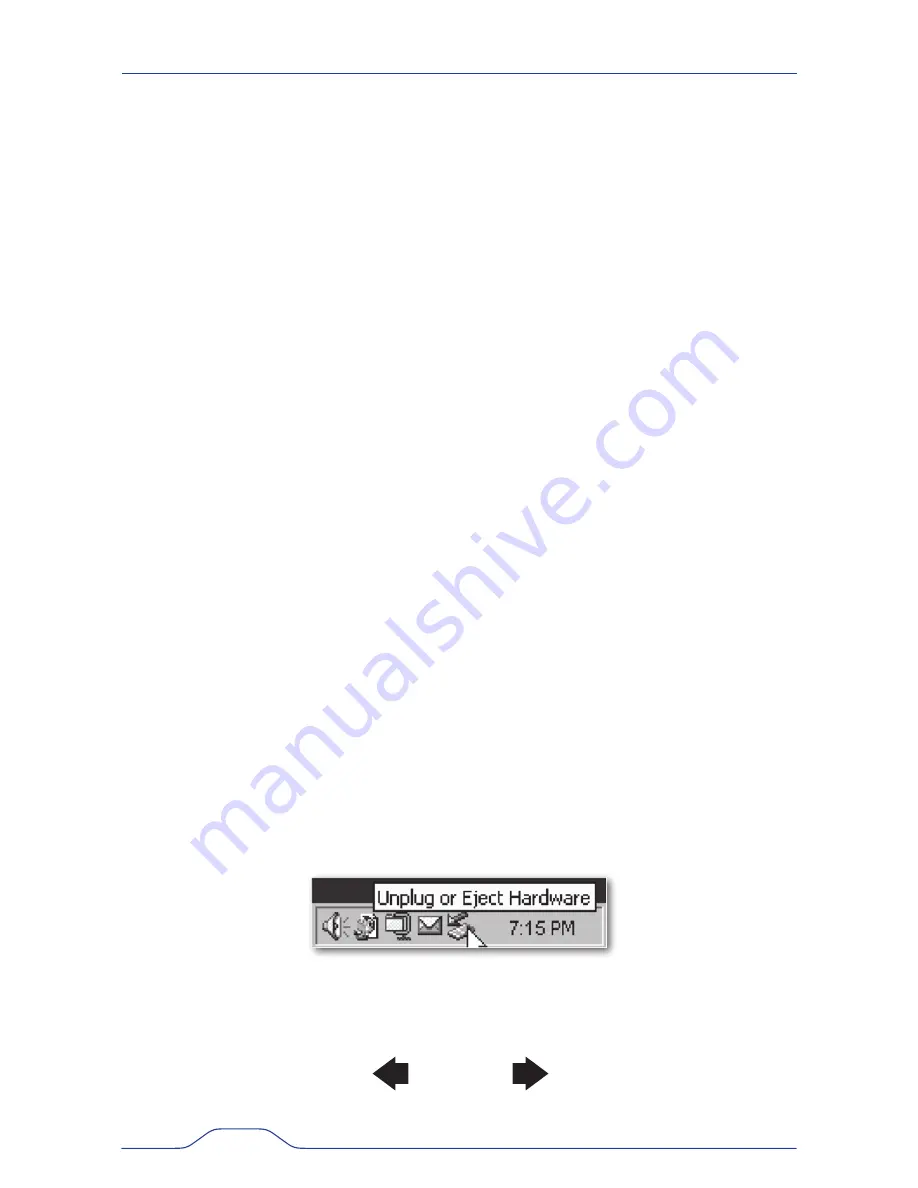
2. Click the
Unplug or Eject Hardware
button in the System Tray.
3. Select your drive from the menu that appears.
4. After a moment, Windows will display a message that your hardware can be safely removed.


