5.0 Operation
5.0
Operation
5.1
Operating Cycle
This product is fitted with an instrument switch which cuts off power to the control
circuit.
Connect the product to the electrical supply.
Turn on the instrument switch to activate the temperature controllers. The controllers
illuminate and go through a short test cycle.
Over-Temperature option only
. If the digital over-temperature option has not yet
been set as required, set and activate it according to the over-temperature controller
instructions.
Switch on the heater switch, located on the instrument panel. Unless a time switch is
fitted and is switched off, the product will start to heat up. The Heat light(s) glow
steadily at first and then flash as the product approaches the desired temperature or a
program setpoint.
Over-Temperature option only.
If the over-temperature circuit has tripped, an
indicator on the over-temperature controller flashes and the heating elements are
isolated. Find and correct the cause before resetting the over-temperature controller
according to the instructions supplied.
To switch off power to the heating elements, use the heater switch. To switch the
product off, use both the heater switch and the instrument switch. If the product is to be
left switched off and unattended, isolate it from the electrical supply.
5.2
Auxiliary Heater
The auxiliary heater is controlled by an independent temperature controller, which is
affected by the same instrument switch as the main controller. Note that a time switch
may not switch off the auxiliary heater, depending on other options ordered.
Set the auxiliary heater's temperature controller after setting the main controller, as
given in controller instructions.
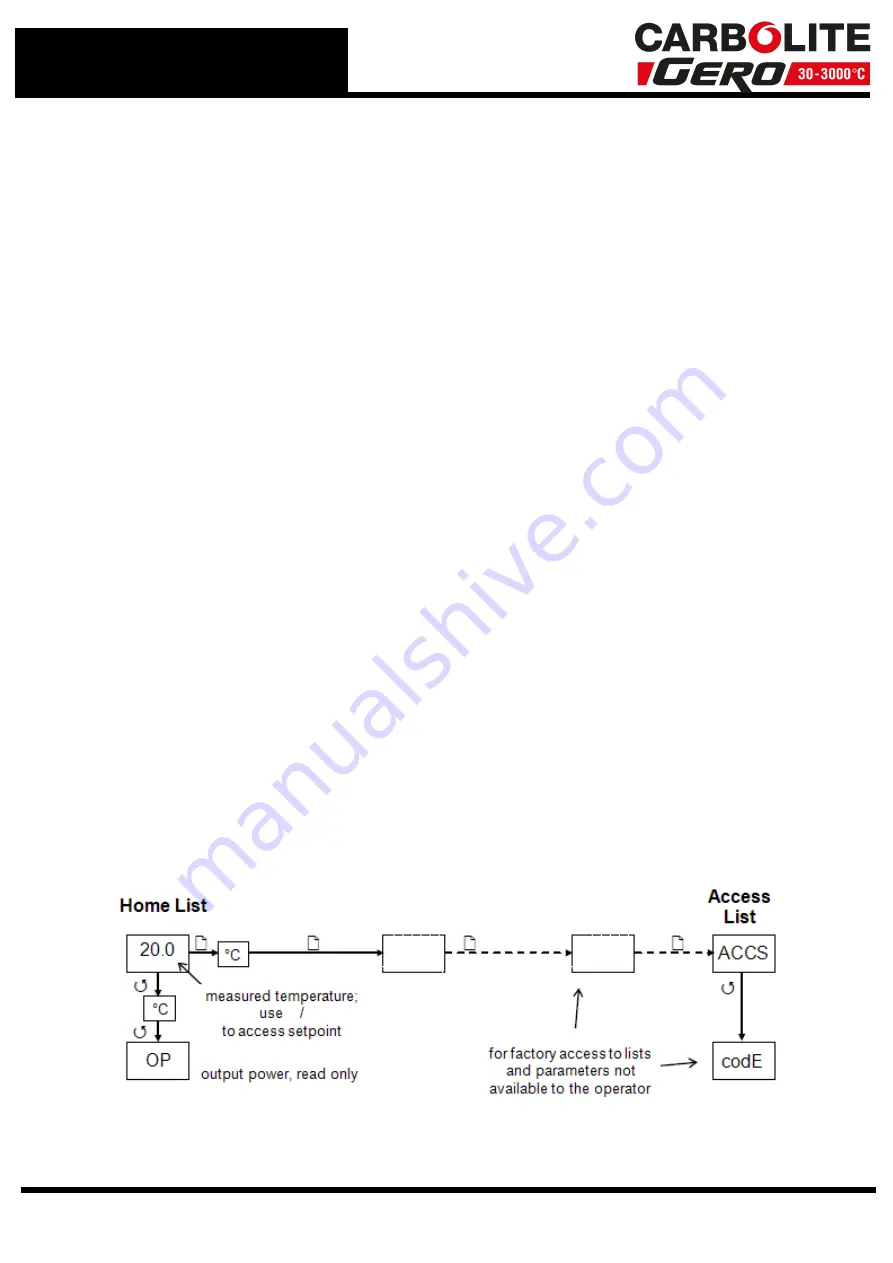
Auxiliary heater controller navigation diagram:
24
Summary of Contents for CARBOLITE CFM 14/1 AUX
Page 4: ...User Power Setting Adjustments 40 11 0 Specifications 41 11 1 Environment 41 4 ...
Page 6: ...1 0 Symbols and Warnings Caution Double Pole Neutral Fusing 6 ...
Page 20: ...3 0 2416 Controller 3 6 Navigation Diagram 20 ...
Page 37: ...9 0 Wiring Diagrams 9 1 WB 12 10 AUX 9 2 WB 12 11 AUX 37 9 0 Wiring Diagrams ...
Page 38: ...9 0 Wiring Diagrams 38 ...
Page 42: ......
Page 43: ...Notes Service Record Engineer Name Date Record of Work ...


