l
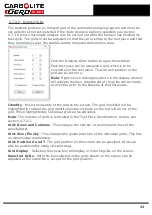
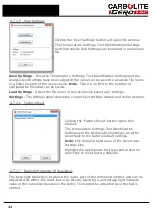
Dragging the scroll bar situated in the lower part of the Analysis tab window.
l
Selecting the arrows on the end of the scroll bar
l
Entering a sequence number into the 'Image in Sequence' box.
l
Entering a temperature into the 'Temperature' box.
l
Scrolling through images with a wheel mouse.
l
Using the left and right arrows on the keyboard.
Note
: These commands are only functional when the Analysis tab window is active.
(standard Windows functionality)
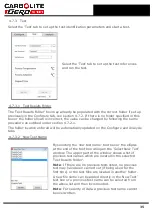
As the images are scrolled a text box is shown in the lower left corner of each image
showing the Temperature, Date, Time and test ID. When the relevant image is
displayed (e.g. a test piece showing the deformation) simply click in the relevant box
beneath that sample identification in the 'Results Form' window using the mouse
pointer. The relevant temperature will be entered automatically.
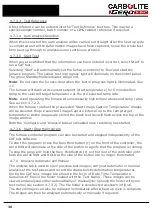
If the wrong temperature is entered into the wrong box locate the correct image and
re-click in the relevant box to over write the text or right mouse click to delete the
entered text.
When the deformations have been identified select 'Save and Exit', if temperatures
have been entered into the selected cells an information window will open indicating
how many images have been saved into the '
analysisfolder
' under your chosen folder
together with the Results.csv and Results.xls files containing the result information, see
section 4.7.4.10.
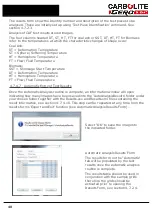
A computer printout can be obtained by selecting 'Print', the results are presented as a
printdata.pdf report sheet as shown in fig 18.
4.7.4.10
File Folders
{User test name}
folder. This is the header folder which contains all the data and
results, for both the manual and automatic analysis for the name test. See section
4.7.4.11 below for more information.
AnalysisResults
folder. This folder is created when the first deformation test results
are saved. This folder holds all the saved deformation point images for the name test in
the former:
'Test piece description_D.tif'
'Test piece description_S.tif'
'Test piece description_H.tif'
'Test piece description_F.tif'
The Results.xlsx and Results.csv files are also saved in this folder, see section 4.7.4.11.
AutoAnalysis
folder. This folder holds all the results from the automatic image analysis
program in the format 'Date-Time-Temperature-SequenceNumber.xml'. The data
contained within this file is for software functionality only and is not relevant to the user.
AutoAnalysisResults
folder. This folder is created when the first automatic
deformation test results are stored. This folder holds all the saved deformation point
images for the named test in the same format as the 'AnalysisResults' folder, together
with the Results.xlsx and Results.csv files, see section 4.7.4.11.
43
Summary of Contents for CARBOLITE GERO CAF G5
Page 63: ...Fig 3 Front Tube Seal Assembly Fig 4 Door Arm Assembly 63 ...
Page 64: ...Fig 5a Camera Mounting Bracket Fig 5b Lens and Camera Assembly 64 ...
Page 65: ...Fig 5c Sliding the Camera Mounting Bracket Assembly onto the Door Arm 65 ...
Page 66: ...Fig 5d Securing the Camera Mounting Bracket Assembly to the Door Arm 66 ...
Page 67: ...Fig 5e Mounting the Lens and Camera Assembly 67 ...
Page 68: ...Fig 5f Lens and Camera Assembly in Position 68 ...
Page 69: ...Fig 6a Rear View of the Standard CAF G5 Furnace Showing Brick Box Assembly 69 ...
Page 71: ...Fig 7 Front Tube Seal Position 71 ...
Page 72: ...Fig 8 Tube End Seal Assembly Tightening Sequence Fig 9 Work Tube Front Support 72 ...
Page 73: ...Fig 10 Fitting the Door Arm Assembly Fig 10a Adjusting the Door Arm Assembly 73 ...
Page 74: ...Fig 11a Furnace Case and Controls 74 ...
Page 75: ...Fig 11b Gas Inlet Pipe Fig 12 Positioning the Furnace 75 ...
Page 77: ...Fig 13c Loading Samples into the Work Tube 77 ...
Page 78: ...Fig 16 File Folder 78 ...
Page 79: ...Fig 17 Door Arm Assembly Exploded View 79 ...
Page 82: ...SST DT HT FT Fig 18 Report Sheet Page 2 Side View Plan View Fig 19 Formed Wire Sample 82 ...
Page 83: ...Fig 20 Sample Carrier Sample Tiles and Sample Positions 83 ...
Page 84: ...Fig 21a Coal and Coke Test Piece Mould Fig 21b Biomass Test Piece Mould and Hand Press 84 ...
Page 85: ...Fig 22 Sample Loading Tool Fig 23 Camera Ethernet Connection 85 ...
Page 86: ...Fig 24 LED Driver Connection 86 ...
Page 87: ...Notes Service Record Engineer Name Date Record of Work ...

