V-Sense
TM
Brake TEST
Quick Start Guide
Brake Testing
–
Short Version
After you select the
Send Test Setup
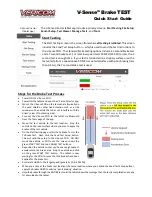
button, the V-Sense Director app will send the test setup to the V-
Sense POD.
The ‘test setup’ is the instructions for the test (meaning defining the start/stop triggers and
the sensors that are turned on for the test). During the
‘
Send Test Setup
’
process the V-Sense POD is also
Zero Adjusting
. DO NOT MOVE during the
Send Test Setup
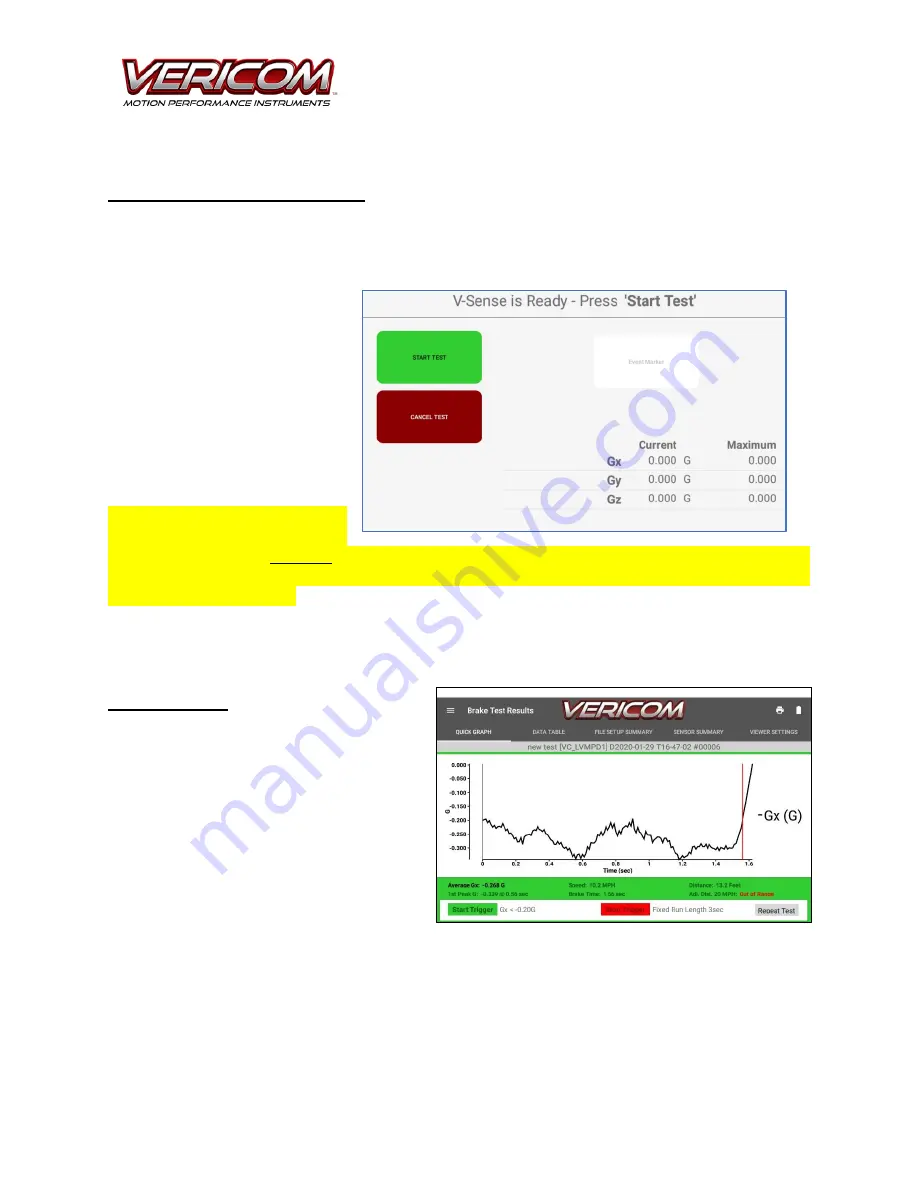
process. When the V-Sense system is ready,
the screen will display the message
V-Sense is Ready
and show green
START TEST
and red
CANCEL TEST
buttons. When you are ready to
accelerate to the brake test
location, select the green
START
TEST
button. The V-Sense POD is
now waiting to sense the
start
trigger
(which is -0.2Gx by default)
and will automatically stop the test
3 or 7 seconds after it commences.
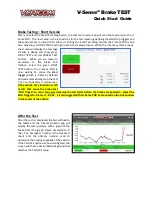
If the vehicle has vibration or shift
events that cause the brake test
‘
Start Trigger
’
to occur too early (meaning the test starts before the brakes are applied)
–
adjust the
Start Trigger to -0.3 Gx or -0.4 Gx. It is also suggested the V-Sense POD be mounted on the side window
in the center of the vehicle.
After the Test
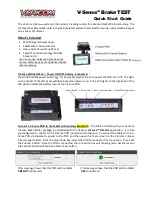
After the test is completed, the test will load to
the tablet and the V-Sense Director app will
display the test summary with a graph of the
brake data (the graph shows deceleration in
‘Gs’). The ‘Average G’ number is the brake test
result and the primary number used to
determine the braking capability of the vehicle.
If the Pass/Fail option has been configured, the
screen will show a Green/Red background that
matches the Pass/Fail setup.


