background image

9

Bulb Removal and Replacement — continued 

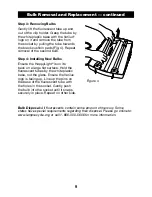
Step 3: Removing Bulbs

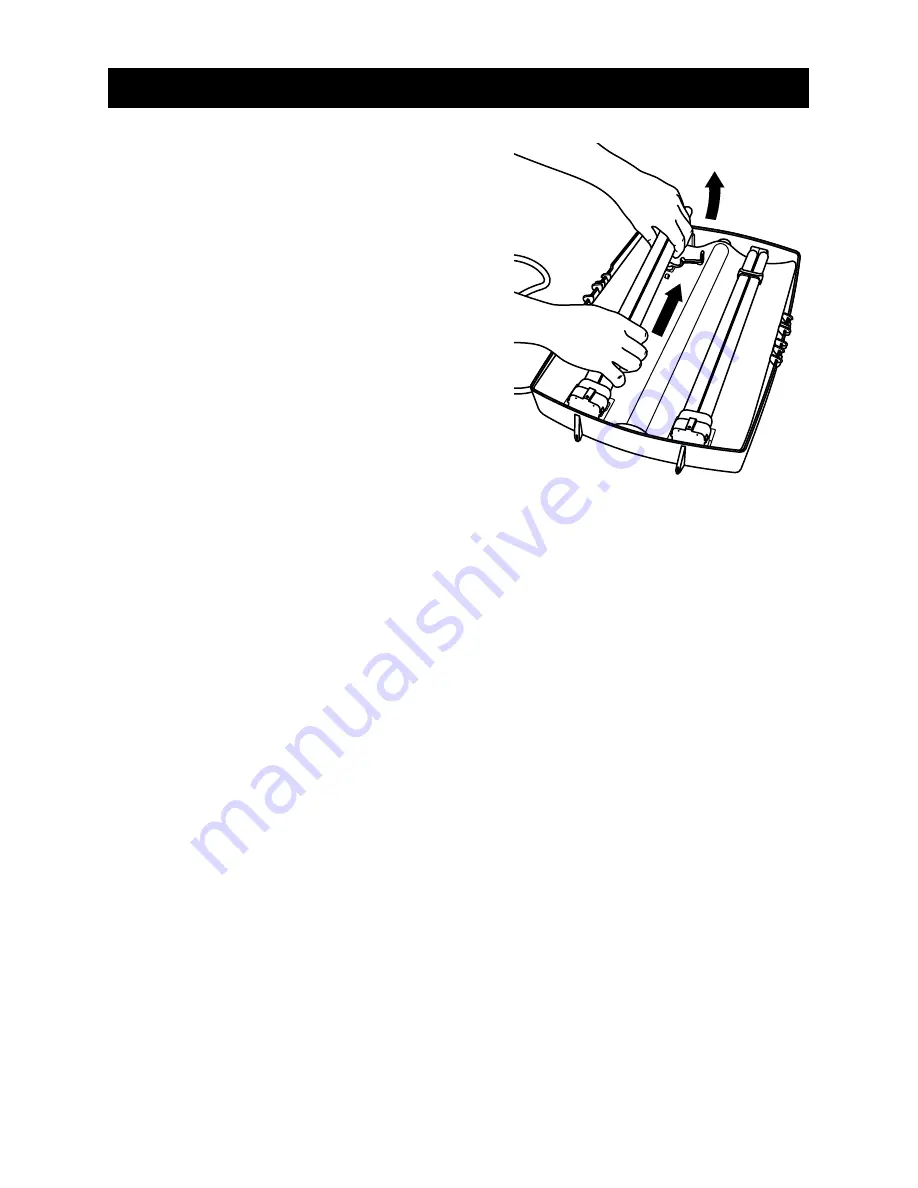
Gently lift the fluorescent tube up and 

out of the clip holder. Grasp the tube by 

the white plastic base with the Verilux

®


logo on it and remove the tube from 

the socket by pulling the tube towards 

the black cushion pads (Fig. 4). Repeat 

removal of the second bulb.

Step 4: Installing New Bulbs

Ensure the HappyLight

®

 is on its 

back on a large flat surface. Hold the 

fluorescent tubes by the white plastic 

base, not the glass. Ensure the Verilux 

logo is facing up. Line up the pins on 

the base of the fluorescent tube with 

the holes in the socket. Gently push 

the bulb into the socket until it snaps 

securely in place. Repeat on other side.

Bulb Disposal: 

All fluorescents contain some amount of mercury. Some 

states have special requirements regarding their disposal. Please go online to: 

www.lamprecycle.org or call 1-866-300-5606 for more information.

Figure 4

Summary of Contents for HappyLight

Page 1: ...HPLDF...

Page 2: ...our home or office Many other healthy lighting products are available through our catalog and online To request a free copy of our catalog call our toll free number 1 800 454 4408 You may also visit u...

Page 3: ...eatures 5 Operation 6 Selecting a Location 6 Instructions for Use 6 Bulb Removal and Replacement 8 Re installing Bulb and Plastic Diffuser 9 Troubleshooting 10 Care and Cleaning 10 Technical Specifica...

Page 4: ...e fallen onto the lamp the lamp has been exposed to rain or moisture the lamp does not operate normally or it has been dropped it should not be operated There are no user serviceable parts in this lam...

Page 5: ...d unplugged the lamp and have allowed sufficient time for the bulb to cool SAVE THESE INSTRUCTIONS Your new Verilux HappyLight Deluxe Sunlight Supplement Light System Delivers Natural Spectrum Dayligh...

Page 6: ...ing hobbies and crafts sewing needlepoint applying make up painting or working at your computer or desk 1 Turn on the lamp and allow a few seconds for the bulb to achieve full brightness 2 The HappyLi...

Page 7: ...arly and at about the same time each day It is not necessary to sit in front of the lamp continuously You can divide the time into several mini sessions Continue to use the HappyLight daily to feel an...

Page 8: ...located under the grey handles Open the lens cover by grasping the gray handles with your hands Remove the lens and gently place it next to the unit with the logo face up Figure 1 Step 2 Opening the B...

Page 9: ...ure the HappyLight is on its back on a large flat surface Hold the fluorescent tubes by the white plastic base not the glass Ensure the Verilux logo is facing up Line up the pins on the base of the fl...

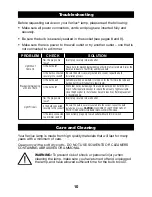
Page 10: ...Is the bulb old Is the bulb connected securely into socket Is the bulb new Is the bulb old Has the plug come loose Is the bulb connected securely to the socket Is the lamp connected to a dimmer switc...

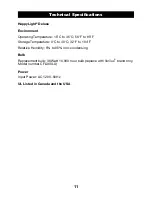
Page 11: ...e 15 C to 35 C 56 F to 95 F Storage Temperature 0 C to 40 C 32 F to 104 F Relative Humidity 5 to 95 non condensing Bulb Replacement bulb 36 Watt 10 000 hour bulb replace with Verilux brand only Model...

Page 12: ...This limited warranty does not include any postage freight handling insurance or delivery fees This warranty does not cover damage defect or failure caused by or resulting from accident external dest...

Reviews: