
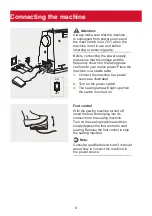

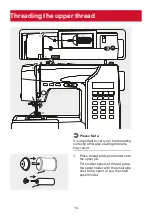


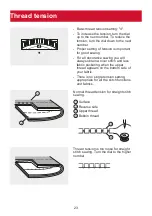


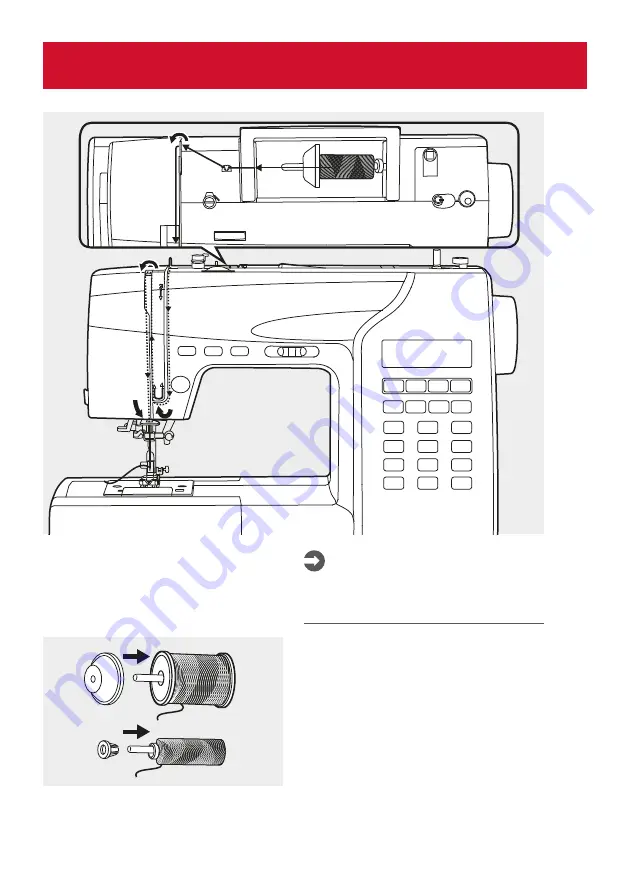
Threading the upper thread
Please Note:
It is important to carry out the threading
correctly otherwise sewing problems
may result.
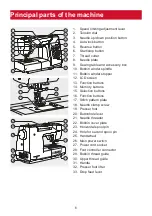
5
7
8
6
1
2
4
3
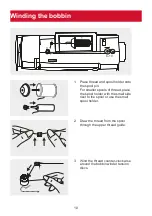
1. Place thread and spool holder onto
the spool pin.
For smaller spools of thread, place
the spool holder with the small side
next to the spool or use the small
spool holder.
14


