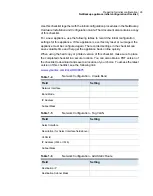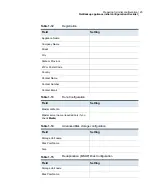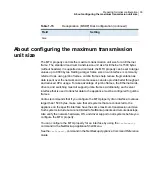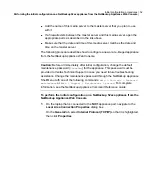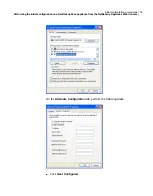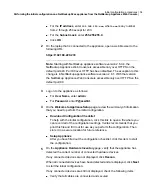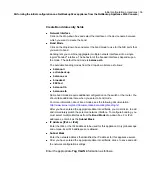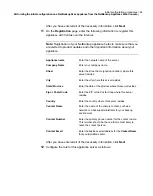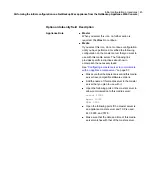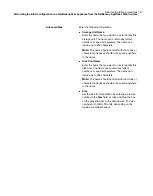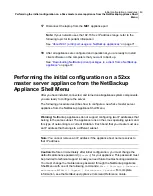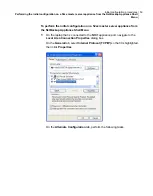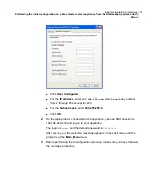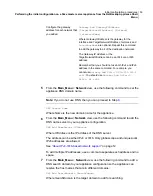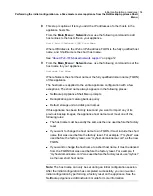
Enter the following
Host name resolution
information:
■
To edit the hosts file manually, click here
If you prefer, you can add the IP address, the fully qualified
host name, and the short host name directly into the
/etc/hosts
file. Click
here
to open and edit the
/etc/hosts
file
file.
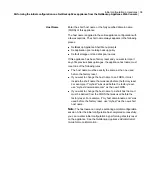
To enter two or more short host names, add a comma with no
space between each name.
Otherwise, enter this information in the data entry fields as
follows:
■
IP
Enter the IP address of the appliance.
The address can be either IPv4 or IPv6. For IPv6
addresses, only global-scope or unique-local addresses
are allowed.
See
“About IPv4-IPv6-based network support”
on page 12.
■
Fully qualified host name
Enter the fully qualified host name (FQHN) of the appliance.
■
Short host name
Enter the short name of the appliance.
To enter two or more names, add a comma with no space
between each name.
After you have populated all fields, click the
+
icon. The added
entries now appear below the fields.
After you have entered all of the necessary information, click
Next
.
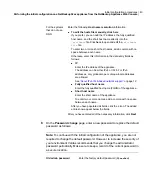
For the systems
that do not use
DNS:
8
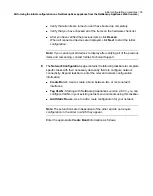
On the
Password change
page, enter a new password to replace the default
password as follows:
Note:
To continue with the initial configuration of the appliance, you are not
required to change the default password. However, to increase the security of
your environment Veritas recommends that you change the administrator
password periodically. Make sure to keep a record of the current password in
a secure location.
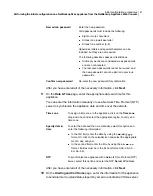
Enter the factory default password (
P@ssw0rd
)
Old admin password
40
Initial configuration procedures
Performing the initial configuration on a NetBackup 52xx appliance from the NetBackup Appliance Web Console

