EUROBLOC
SERVICE MANUAL FOR HOIST
28/212
This document and the information contained herein, is the exclusive property of Verlinde S.A.S. and represents a non-public, confidential and proprietary trade secret that
may not be reproduced, disclosed to third parties, altered or otherwise employed in any manner whatsoever without the express written consent of Verlinde S.A.S.
Copyright © (2013) Verlinde S.A.S. All rights reserved.
06/2015
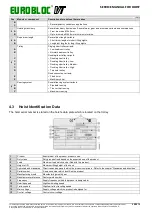
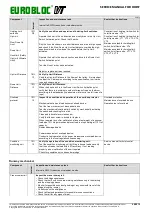
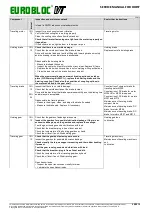
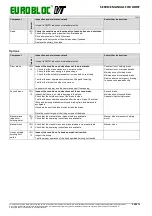
Component
In
te
rv
a
l
Inspection and maintenance task
Interval is SWP% reduction or calendar months
See further instructions
Bridge rail
sweeps
10%
12
Check the condition of bridge rail sweeps for any signs of wear and
replace them if necessary.
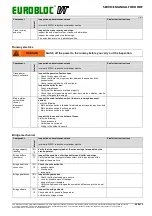
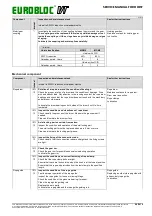
Bridge electrics
Component
In
te
rv
a
l
Inspection and maintenance task
Interval is SWP% reduction or calendar months
See further instructions
Bridge travel
limits
10%
12
Check the operation of Slowdown and Stop Travel Limits of the
bridge.
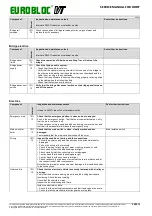
Bridge power
supply
10%
12
Check the festoon cable system.
• Check that the cable is not worn
• Verify that the cable is running smoothly from one end of the bridge to
the other end, indicating that the cable carrier is not damaged and the
cable is not running into any obstacles
• Check that the pull cable is secure and working properly, relieving strain
on the cable when the trolley is pulling
• Check that the festoon arm is secure.
Bridge disconnect
switch
10%
12
Verify that the bridge disconnect switch on the bridge panel turns on
and off the power.
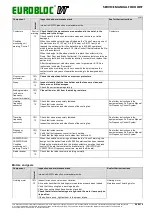
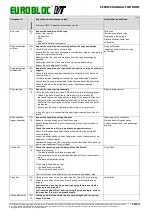
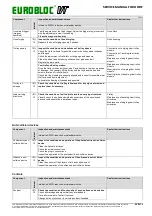
Electrics
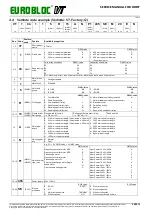
Component
In
te
rv
a
l
Inspection and maintenance task
Interval is SWP% reduction or calendar months
See further instructions
Emergency stop
10%
12
Check that the emergency button is clean and not damaged.
Push in the emergency button. Test that no movement activates. Verify
that the main contactor is off.
If the emergency stop is equipped with key locking, remove the key and
test that it is not possible to release the emergency stop.
Main switch for
hoist
10%
12
Check that the main switch is clean, clearly marked and not
damaged.
Test manually that the main switch switches off the hoist.
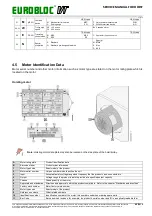
Main isolation switch
Wiring
10%
12
Inspect the condition of wiring and the connections.
• Follow the power supply and visually check the potential areas for
damages
• Pull on the wiring at the terminals
• Check the wiring for any signs of wear, crushing, breaks, or cuts
• Check visually that the cable bushings are tight
• Check visually that the connectors are not damaged
• Test by hand that the cable bushings are tight
• Test by hand that the connectors are tight
• Check randomly the tightness of screws at the terminal blocks and at
the connections of other components.
Note that the terminals can cause a heat damage to the insulation and/or
to the connections.
Hoist cubicle
10%
12
Check that the electrical cubicle is securely fastened with a trolley or
a bridge.
Verify that the doors are closing properly and the locking devices are
functioning. Check the door sealing.
Check that the cubicle is clean.
Inspect the air conditioning and filters.
Inside the electrical cubicle:
• Check that the electrical components and their fastenings are secure.
• Check that all the electrical protection guards are in place.

