EUROBLOC
SERVICE MANUAL FOR HOIST
96/212
This document and the information contained herein, is the exclusive property of Verlinde S.A.S. and represents a non-public, confidential and proprietary trade secret that
may not be reproduced, disclosed to third parties, altered or otherwise employed in any manner whatsoever without the express written consent of Verlinde S.A.S.
Copyright © (2013) Verlinde S.A.S. All rights reserved.
06/2015
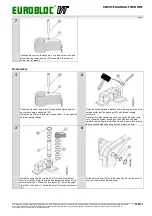
Reassembly
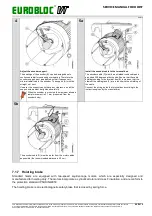
1
2
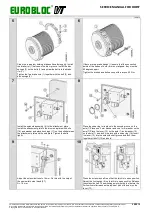
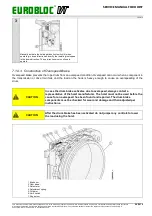
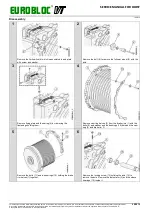
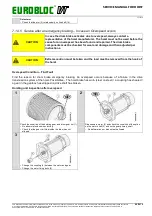
Install the pinion (7) and secure in place with the snap ring (6).
Install the brake disc (4), friction disc (5) and the brake (1) and
secure it with screws.
Remove the wedge locking the drum. Install the protective
cover to the hoisting machinery and switch ON the power
supply to the hoist.
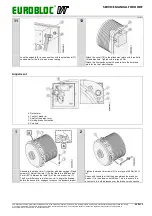
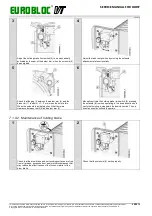
7.1.8.1 Maintenance of second brake
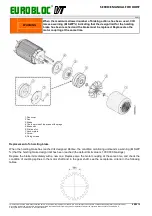
1
2
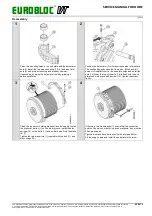
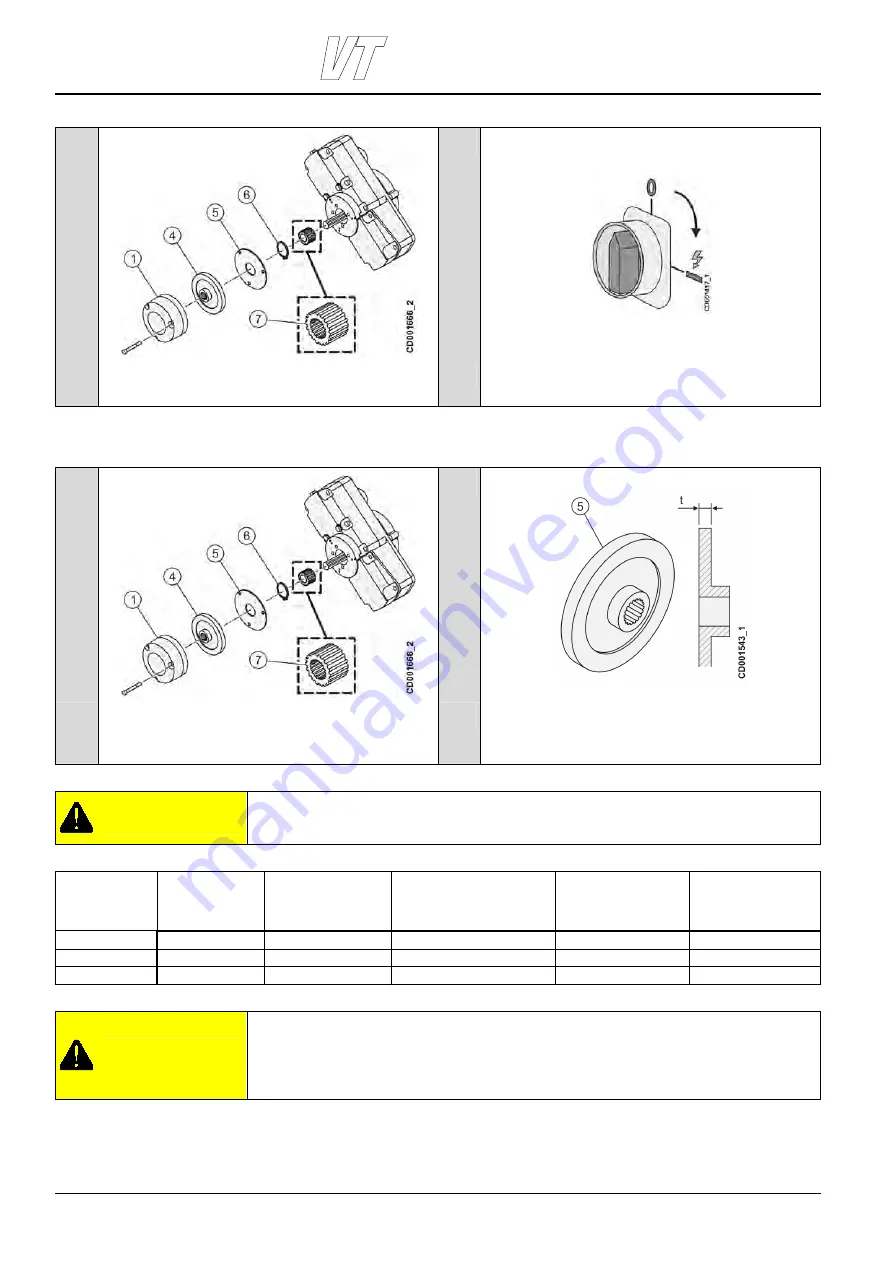
Disassemble the brake and clean the brake disc (4) and the
friction disc (5).
Check the brake type on the rating plate that is fixed to the
brake. Measure the thickness of the brake disc (5).
Replace the brake disc if the thickness (t) is less than the
minimum thickness as according to the table below.
CAUTION
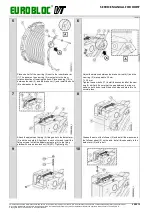
Check the oil leakage. There must not be any oil leakage from the gear box to
the brake.
Brake type and
size
Original
thickness of the
brake disc
[mm]
Recommended
thickness for brake
disc change
[mm]
Minimum thickness of the
brake disc
[mm]
Tightening torque for
brake fixing screws
[Nm] / [lbf.ft]
Tightening torque for
anchor plate screws
[Nm] / [lbf.ft]
NM39330NR#
10.40
10.2
10.1
9 / 6.6
2.0 / 1.5
NM39340NR#
11.15
10.6
10.4
22 / 16.2
3.5 / 2.6
NM39351NR#
14.00
13.4
13.2
22 / 16.2
8.0 / 5.9
CAUTION
Friction material of NM409 brakes (identified with the manufacturer’s red
stamp: RSM-X) is different from the NM387 series brakes (identified with the
manufacturer’s red stamp: RSM-H or RSM). These brake discs must not be
mixed.

