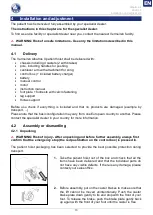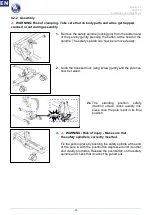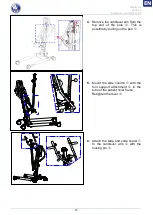
Albatros II
2022-08
Using the patient hoist
12
EN
NL
First use
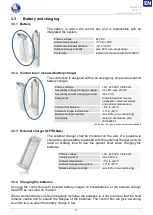
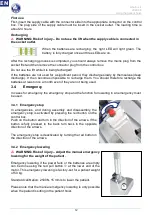
First, insert the supply cable with the connector side into the appropriate connector on the control
box. The plug side of the supply cable must be insert in the socket outlet. The loading time is
about 24 hours.
Recharging
L
WARNING: Risk of injury – Do not use the lift when the supply cable is connected in
the socket outlet.
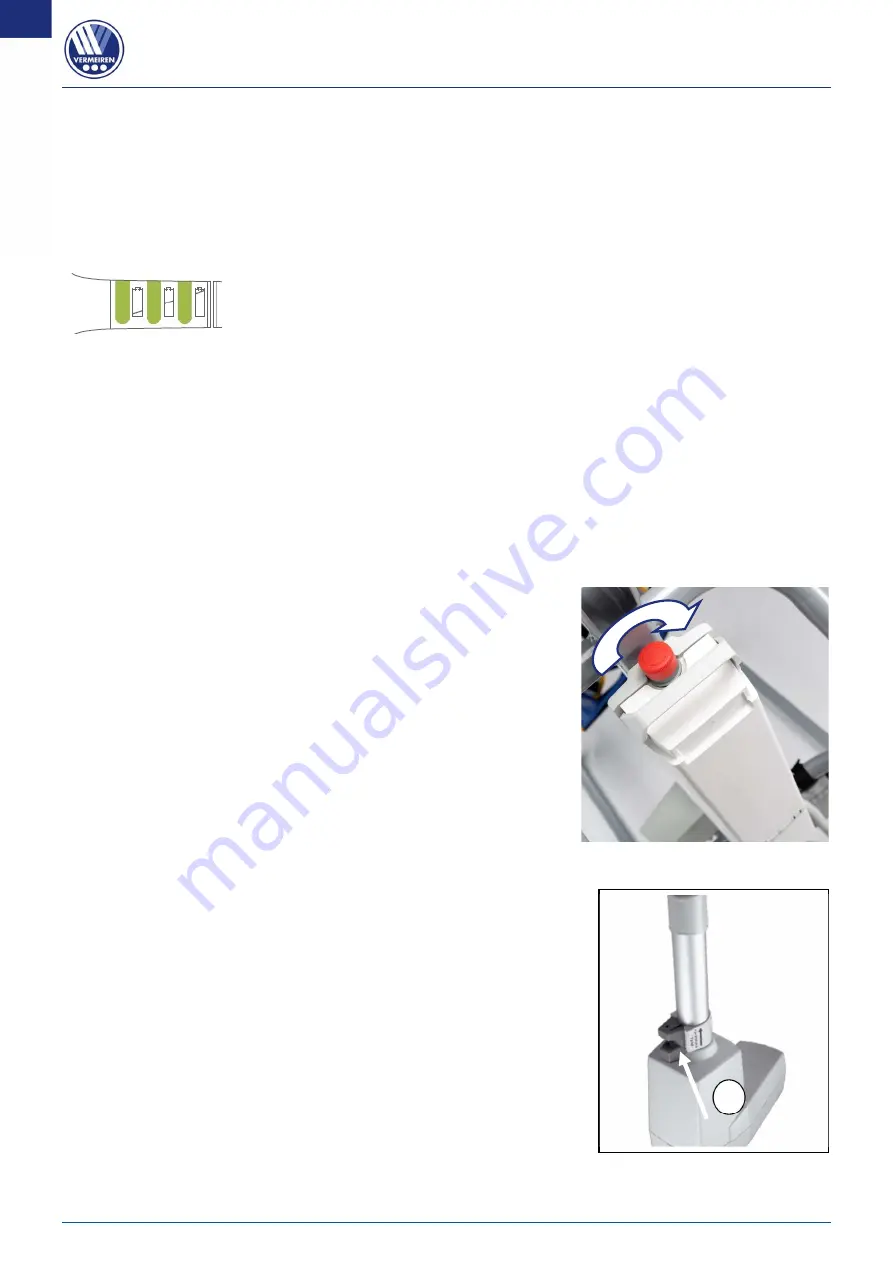
When the batteries are recharging, the right LED will light green. The
battery is fully charged once all three LEDs are on.
After the recharging process is completed, you should always remove the mains plug from the
socket first and then remove the connector plug from the control box.
Do not use the lift while it is being recharged!
If the batteries are not used for a significant period, they discharge slowly by themselves (deep
discharge). It then becomes impossible to recharge them. You should therefore recharge the
batteries at least once a month even if they are not being used.
3.4
Emergency
In cases for emergency the emergency stop and the function for lowering in an emergency must
be used.
3.4.1 Emergency stop
In emergencies, and during assembly and disassembly, the
emergency stop is activated by pressing the red button on the
control box.
Push on the button and turn in the direction of the arrows. If the
button is fully pressed to the back turn back in the opposite
direction of the arrows.
The emergency stop is deactivated by turning the red button in
the direction of the arrows.
3.4.2 Emergency lowering
L
WARNING: Risk of injury – Adjust the manual emergency
lowering for the weight of the patient.
Emergency lowering if the power fails or the batteries are empty
can be done using the red pull button
at the lower end of the
motor. This emergency lowering is factory-set for a patient weight
of
50 kg.
Standard calibration: 2500N, 15 mm/s to lower the patiënt.
Please note that the manual emergency lowering is only possible
when the patient is sitting in the patient hoist.
1
Summary of Contents for Albatros
Page 4: ...This page is intentionally left blank ...
Page 32: ......
Page 88: ......
Page 114: ...Albatros II 2022 08 Technische Daten 26 EN NL DE 7 Technische Daten Vorwärtsrichtung ...
Page 144: ...Albatros II 2022 08 Specifiche tecniche 28 EN NL IT 7 Specifiche tecniche direzione avanti ...
Page 176: ......
Page 203: ...Albatros II 2022 08 Parametry techniczne 27 EN NL PL 7 Parametry techniczne Do przodu ...
Page 206: ......
Page 232: ...Albatros II 2022 07 Technické údaje 26 EN NL PL CS 7 Technické údaje Směr dopředu ...

